Potted Rose Repotting and Soil Preparation | Basic Techniques for Blooming Every Year
Explains repotting methods and soil preparation for potted roses. We introduce the timing and frequency of repotting, soil mixture ratios, pot size selection, root handling methods, and care after repotting.
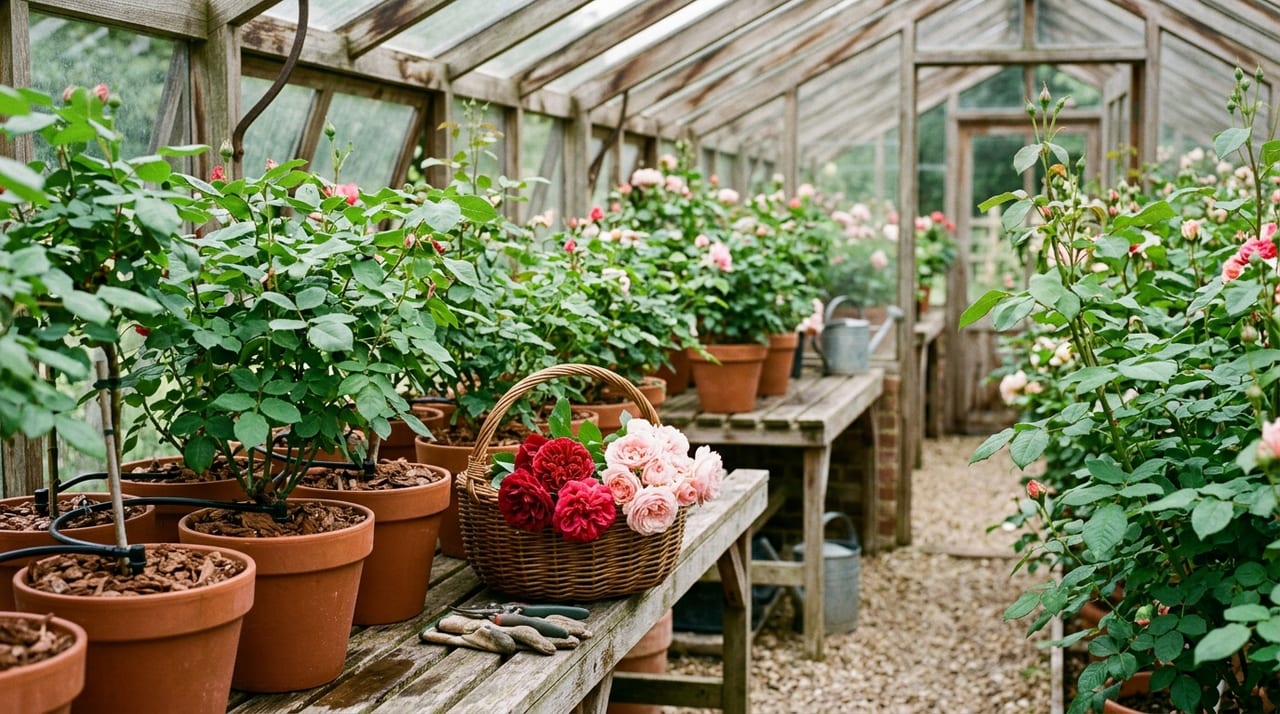
Key Takeaways
Explains repotting methods and soil preparation for potted roses. We introduce the timing and frequency of repotting, soil mixture ratios, pot size selection, root handling methods, and care after repotting.
Potted roses require regular repotting and proper soil preparation as critical factors for continuous blooming. This guide explains the basic techniques for keeping roots healthy in the limited space of a pot and supplying the nutrients that roses need.
Why Repotting Is Necessary
Potted roses, unlike garden-planted roses, have limited space for roots to expand. As a result, the following problems progress year after year:
- Root Binding: Roots become tightly packed inside the pot, making it impossible to absorb water and nutrients
- Soil Deterioration: Materials like red ball clay break down and drainage becomes poor
- Nutrient Depletion: The nutrients in the limited soil supply become exhausted
- Accumulation of Waste Products: Metabolic waste from roots accumulates in the soil
- pH Changes: Soil acidity shifts due to fertilizer application
To resolve these issues, annual repotting (at minimum every two years) is recommended.
Timing of Repotting
Optimal Period: December to February (Dormancy)
- Winter when roses are in complete dormancy is ideal
- Perform after leaves have fallen but before buds break
- Heavy root trimming causes minimal damage to the plant during dormancy
Times to Avoid
- Spring through autumn after buds break: Root damage cannot recover in time
- Midsummer: High temperature stress combined with root trimming damage compounds
Ideal Soil Mixture for Roses
Rose soil should be "well-draining, moisture-retentive and nutrient-holding, and adequately heavy."
Basic Mixture
- Red ball clay (medium grain): 4
- Compost (mature composted cow manure): 3
- Kanuma soil (medium grain): 2
- Charred rice hull (charcoal): 1
Benefits of This Mixture
- Red ball clay provides drainage and water retention base
- Compost supplies nutrients and soil microorganisms
- Kanuma soil improves drainage and supplies oxygen to roots
- Charred rice hull aids pH adjustment and root health
Using Commercial Rose-Specific Soil
- High-quality rose-specific soil is comparable to homemade mixtures
- However, inexpensive versions may have low-quality red ball clay
- If drainage is insufficient, add Kanuma soil or perlite
Selecting Pot Size
Basic Rule
- Repot into a pot one size larger than the current pot
- However, pots that are too large retain moisture too long and cause root rot
Size Guide
- Miniature roses: 6–8 gallon pots (18–24 cm diameter)
- Medium bush types: 8–10 gallon pots (24–30 cm diameter)
- Large varieties: 10–12 gallon pots (30–36 cm diameter)
Pot Materials
- Terracotta pots: Excellent air permeability and drainage; ideal for roses. Heavy and stable
- Plastic pots: Lightweight and easy to move. Affordable
- Terra cotta pots: Similar performance to terracotta with high aesthetic appeal
- Slit pots prevent root circling and are effective for roses
Repotting Procedure
Materials Needed
- New pot and soil
- Pruning shears (sterilized)
- Pot mesh and drainage stones
- Water
Steps
- Reduce watering: Stop watering 2–3 days before repotting to dry the soil (makes work easier)
- Remove from pot: Lay the pot on its side and gently tap the rim to remove the plant. If the root ball is dense, the pot may need to be broken
- Remove old soil: Remove about one-third to half of the soil from the root ball using your hands or a stick. Loosen the outer roots
- Prune roots: Cut away blackened or damaged roots. Trim excessively long roots to fit in the pot. Retain thick roots as much as possible
- Plant in new pot: Lay down pot mesh and drainage stones, then add soil. Adjust so the graft union sits above the soil surface
- Fill with soil: Add soil around the plant and work it down with a stick to eliminate air pockets
- Water thoroughly: Water generously until water flows from the pot bottom
Root Handling Tips
- Don't cut thick roots: Thick primary roots are the lifeline of the rose. Keep them unless severely damaged
- Renew fine roots: Remove old fine roots and encourage new root growth
- Don't completely break up the root ball: Remove about half the soil while keeping the rest of the root ball intact. Completely breaking it up slows recovery
- Check for crown gall: Look for knot-like growths at the base. If present, remove and disinfect
Care After Repotting
- Water only for one week: Do not apply fertilizer. Wait for roots to recover
- Place in a sunny location: Expose to sunlight even in winter
- Avoid cold winds: The newly repotted plant is weakened, so avoid locations exposed to strong north winds
- Apply base fertilizer by late February: Apply slow-release fertilizer to the soil surface before buds break
Annual Soil Management for Potted Roses
Beyond repotting, year-round soil management supports the health of potted roses.
- March–October (Growing Season): Monthly liquid fertilizer or slow-release fertilizer application
- June (Before Rainy Season): Loosen the soil surface to improve air circulation
- Summer: Mulch to prevent soil temperature rise
- November: Apply a modest amount of compost as a thank-you fertilizer
- December–February: Repot or partially replace the soil
Finding Potted Roses at GrowerDirect
At GrowerDirect, you can purchase potted rose seedlings directly from specialist growers. Being able to consult directly with growers about pot size preferences and soil needs for each variety is a reassuring advantage. Discover beautiful blooming potted roses at GrowerDirect year after year.