Complete Guide to Agave Pup Propagation | Timing, Methods, and Grower Tips for Success
Learn from an agave specialist grower the optimal timing for pup propagation, correct separation methods, and root management. Master the know-how to cultivate healthy plants by understanding common failure points.
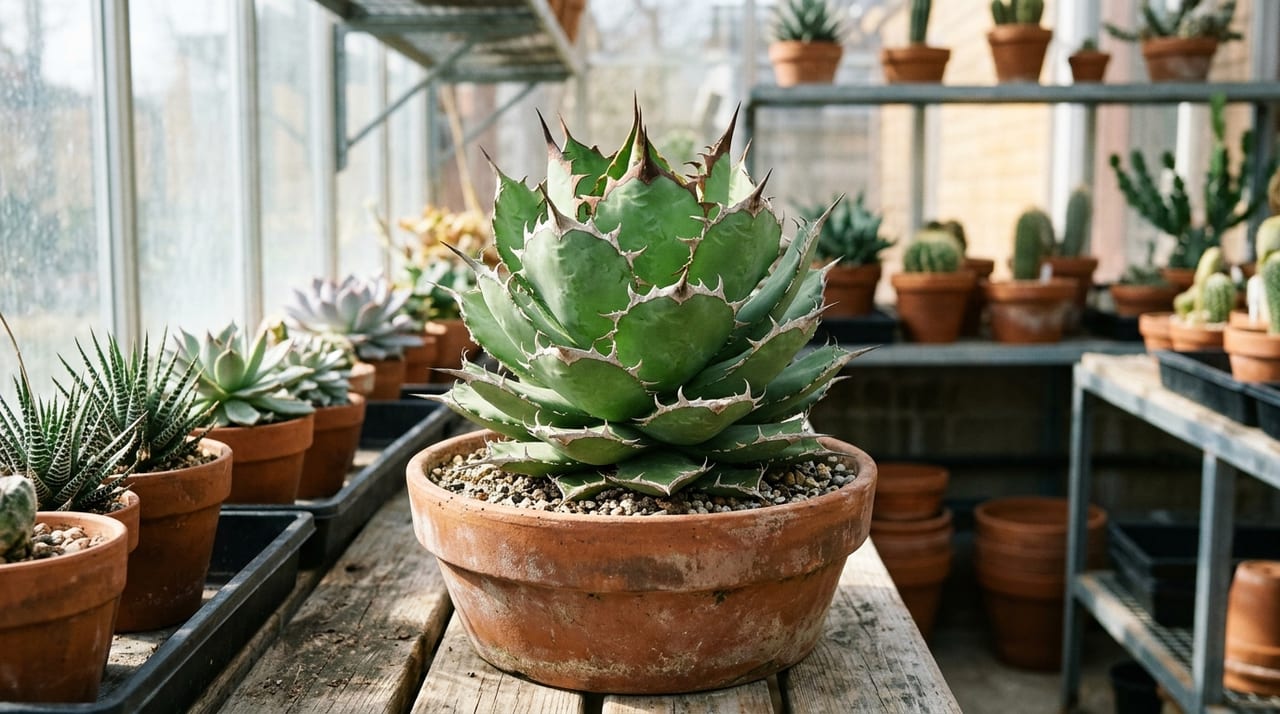
Key Takeaways
Learn from an agave specialist grower the optimal timing for pup propagation, correct separation methods, and root management. Master the know-how to cultivate healthy plants by understanding common failure points.
Related Species
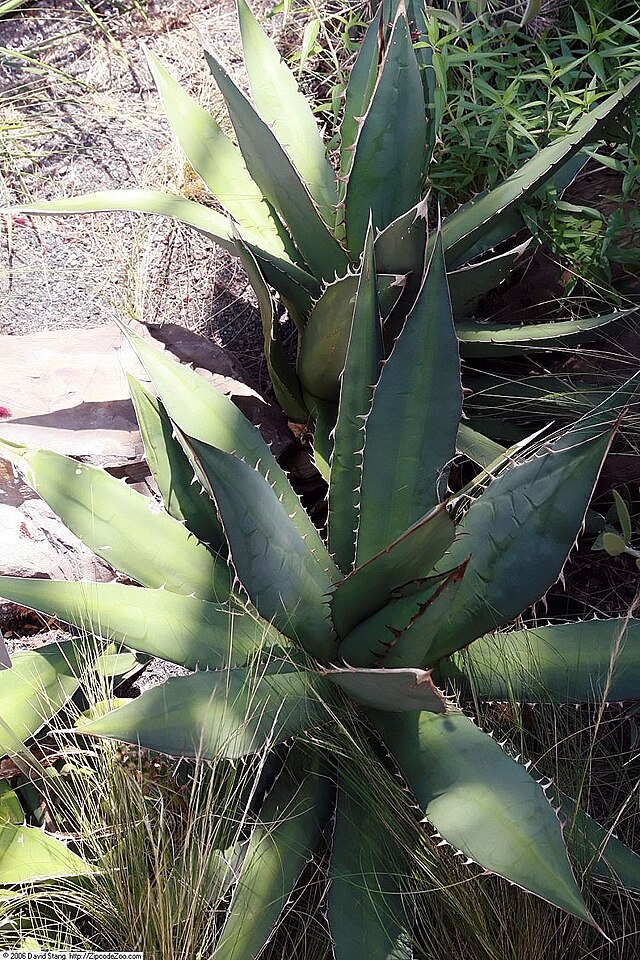
What Agave Pup Propagation Is
Agave titanota and Agave tequilana are among the popular species that produce "pups" (subsidiary buds) from the base of the main plant as they grow. Separating these pups from the mother plant and growing them in individual pots is called "pup propagation" or "plant division."
While pup propagation is one of the great pleasures of agave cultivation, it is also a process prone to failure. From my experience working in agave propagation for over 10 years, I'll share all the practical know-how I've gained in the field.
Optimal Timing for Pup Propagation
Season Selection Determines Success
The best times for pup propagation are late April through early June and September. The reasons are clear: these periods have stable temperatures (20–30°C daytime) that promote both cut-surface drying and root development, and they fall during relatively dry times—before the rainy season starts and after it ends.
Conversely, avoid the following periods:
- Mid-summer (July–August): Bacteria proliferate before the cut dries, creating high rot risk
- Mid-winter (December–February): Root development is significantly delayed, and pups may exhaust themselves and die
- Peak rainy season (mid-June through July): High humidity promotes bacterial growth at the cut site
As a grower doing large-scale work, I set the 2–3 weeks from the end of the May holiday through the start of the rainy season as my peak working period.
Judging Separation Timing by Pup Size
I often get asked "how big should the pup be before dividing?" but counting expanded leaves is more reliable than measuring size.
The ideal stage is when 5–8 or more leaves have unfurled and the pup has begun developing its own roots at the base. At this stage, the pup has enough vigor to survive as an independent plant after separation from the mother.
Conversely, separating tiny pups with only 2–3 leaves is advanced work. Separating pups before they have roots is far more demanding; beginners should wait until the pup is more developed before attempting division.
Tools Needed for Pup Propagation
Gather the following tools before starting. Tool quality and cleanliness directly affect success.
- Stainless steel knife or sharp pruning shears: A clean cut dries faster
- Disinfectant alcohol (70% or higher): Always sterilize tools before and after use
- Dry newspaper or paper towels: Use to place separated pups
- Terracotta or small plastic pots: For initial planting of pups
- Well-draining potting mix: A blend based on Kanuma soil, pumice, and akadama
Separating Pups: Step by Step
Step 1: Remove the Mother Plant from the Pot
If the pup is growing in a pot, first remove the entire mother plant from the pot. Carefully observe how the pup's roots connect to the mother plant's roots without damaging the root ball.
If planted in the ground, carefully dig around the pup with a shovel and examine the root condition before proceeding.
Step 2: Locate the Runner (Underground Stem)
The mother and pup are often connected by an underground stem (runner). Where you cut this is critical—leave as much of the runner as possible on the pup side.
Cutting too short reduces the points where roots can develop on the pup, delaying rooting.
Step 3: Make a Clean Cut with a Sterilized Tool
Wipe the tool with alcohol, then cut decisively in one motion. Sawing back and forth like a saw roughens the cut, slows drying, and invites infection.
If lower leaves get in the way, remove 2–3 of them before cutting for easier work.
Step 4: Allow the Cut to Dry
Dust the cut surfaces of both pup and mother plant with sulfur powder or fungicide. Then let the cuts dry in a shaded, well-ventilated location out of direct sunlight for at least 2–5 days.
Skipping this drying step is the biggest cause of failure. Rushing to pot up leads to rot from the cut surface and loss of the plant.
Root Development Management for Pups
Basic Principles for Promoting Rooting
Once the cuts are completely dry, plant the pup in well-draining soil. At this stage, minimal watering is essential.
For the first 1–2 weeks, don't water—keep the pot very dry to the touch. Roots grow toward moisture, so mild drought stress encourages rooting.
Signs That Roots Are Developing
You can tell rooting is occurring by the weight of the pot. Once roots establish, the pot gets heavier and the pup resists being pulled out.
Using a clear plastic pot lets you see roots from the side—I recommend this for beginners. Rooting typically shows up in 3–8 weeks, though timing varies by species and individual. Patience is key.
Care After Rooting
Once roots are visible, gradually return to normal watering. Also acclimate the pup to sunlight in stages. Exposing it to intense light immediately causes leaf burn; start in bright shade and transition over 2–3 weeks.
Key Points to Avoid Failure
Common Mistake 1: Not Drying the Cut Surface
I'll repeat this because it's the most common mistake: resist the urge to pot up quickly. Plant only after the cut is completely dry. Insufficient drying allows soil bacteria to enter the cut and rot the entire plant.
Common Mistake 2: Over-Watering Before Rooting
Over-watering a pup before rooting is fatal. Excess moisture without roots only causes rot. You must be patient and keep the pup on the dry side while waiting for roots.
Common Mistake 3: Forcing Tiny Pups to Separate
Separating tiny pups just because they're adorable results in low survival. Leaving pups on the mother plant until they're more developed ultimately yields better results.
Common Mistake 4: Using Unsterilized Tools
Dirty, reused tools harbor pathogens. Make it a habit to sterilize tools every time, even if it's tedious. Pay special attention after handling diseased plants.
Don't Forget to Care for the Mother Plant
After removing pups, care for the mother plant's cut surfaces too. Dry and treat them with fungicide, then replant or return to their original location.
A healthy mother plant will continue producing new pups, so caring for it is an investment in the next propagation cycle.
Summary
Agave pup propagation is achievable for beginners if you nail these four points: timing, clean tools, drying, and root management.
The key is patience. Taking time with every step—drying, waiting for roots, gradual acclimation—leads to healthy plants.
Watching a successfully rooted and established pup grow into a new individual is a special joy in agave cultivation. Please use this guide as a reference and give patient pup propagation a try.