Shinpaku Wire-Training Basics: Fundamental Wrapping Methods and Shaping Techniques
An introduction to wire-training shinpaku bonsai for beginners. This guide covers wire selection, basic wrapping methods, techniques for bending branches, how to express deadwood (shari and jin), and when to remove the wire.
Key Takeaways
An introduction to wire-training shinpaku bonsai for beginners. This guide covers wire selection, basic wrapping methods, techniques for bending branches, how to express deadwood (shari and jin), and when to remove the wire.
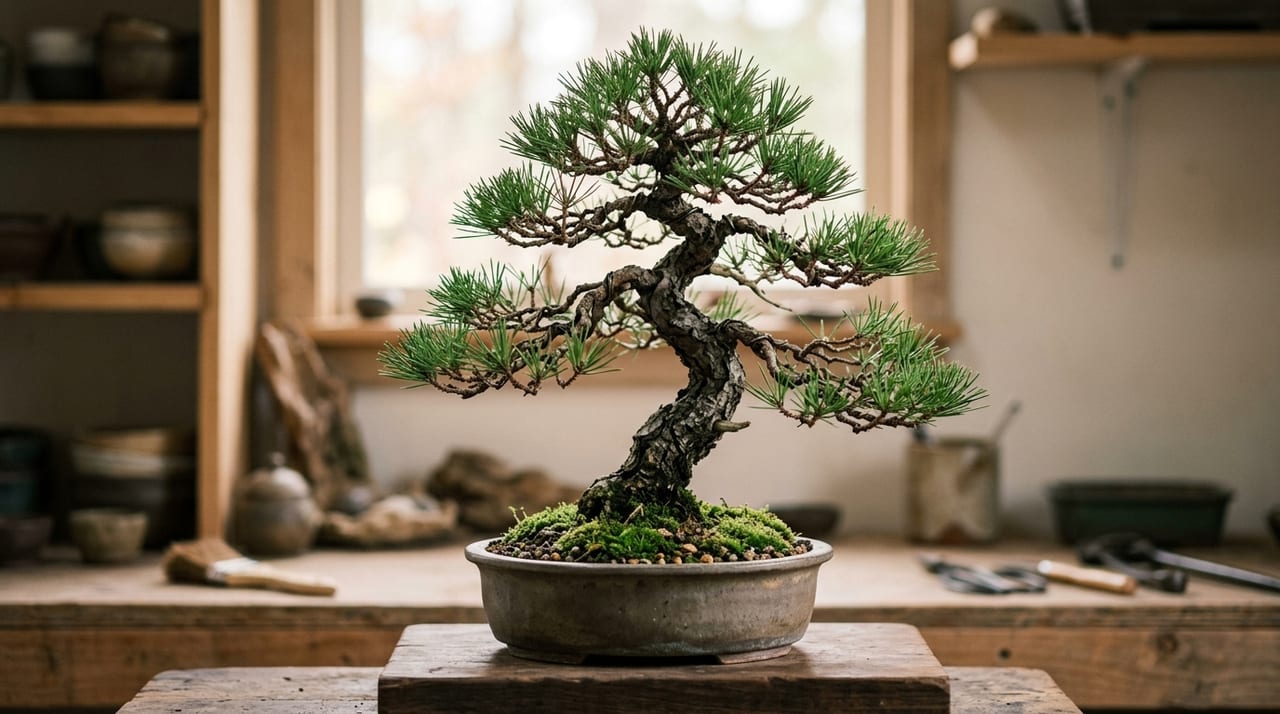
Shinpaku is a tree species that offers particular satisfaction in wire training among bonsai. Its flexible trunk and branches can be bent dynamically with wire to create a powerful form that resembles an ancient tree weathered by wind and snow in nature. Master the basics of wire training and unlock the full appeal of shinpaku bonsai.
Why Shinpaku Is Well-Suited for Wire Training
- Flexible branches: Compared to other tree species, the branches are supple and resistant to breaking
- Strong recovery: Even if wire marks remain, the tree recovers relatively quickly
- Evergreen: Year-round green foliage makes it easy to observe the tree form
- Shari and jin expression: It's possible to create distinctive forms by utilizing deadwood (white sapwood)
- Longevity: You can refine the tree form over the course of decades
Types of Wire and How to Choose
Wire materials
- Aluminum wire: Soft and easy to work with. Recommended for beginners. More affordable than copper
- Copper wire: Hardens after application and holds branches firmly in place. For advanced practitioners. Looks more natural
Choosing the right thickness
- As a guideline, select wire that is approximately one-third the thickness of the branch you want to bend
- Wire that is too thick will damage the branch, while wire that is too thin will allow the branch to spring back
- It's convenient to have multiple thicknesses on hand (approximately 1mm, 1.5mm, 2mm, 2.5mm, 3mm)
Tools you'll need
- Bonsai wire (aluminum or copper)
- Wire cutters
- Pliers (for bending wire)
- Carving tools and files for jin work (for creating shari and jin)
Best Timing for Wire Training
Optimal period: October to March (fall and winter)
- Since shinpaku is evergreen, there are few strict timing restrictions, but fall and winter when growth is more moderate make work easier
- The flow of tree sap is gentler, minimizing damage when branches are bent
Times to avoid
- Spring when new buds are sprouting (April–May): New growth is easily damaged
- Midsummer heat: Stress compounds
Basic Wire Wrapping Methods
Basic rules
- Wrap the wire at approximately a 45-degree angle to the branch, keeping the spacing uniform
- Direct the wrapping toward the direction you want the branch to bend
- Wrap from the trunk toward the branch tip
- Secure the starting point of the wire by wrapping it around the trunk one to two times
- Wrapping two adjacent branches with a single wire (dual-branch wrapping) provides stability
Dual-branch wrapping method
- Wrap two opposite branches on either side of the trunk with a single continuous wire
- Secure the wire by wrapping it around the trunk one to two times before continuing to wrap the opposite branch
- If the branches differ significantly in thickness, use separate wires for each
Precautions when wrapping
- Keep the wire spacing uniform. Spacing that is too tight constricts the branch, while spacing that is too loose has no effect
- Be careful not to wrap up the foliage (scale leaves)
- Press the wire against the branch as you wrap. Loose wire will not hold the branch in place
Techniques for Bending Branches
Basic bending method
- After wrapping the wire, use your thumbs as a fulcrum and bend the branch slowly
- Don't bend all at once; apply the bend gradually in small increments
- If you hear a "cracking" sound, be careful. This is a warning that the branch is about to break
- After bending, release your hands and check that the branch doesn't spring back
Bending thick trunks
- Protect a thick trunk by wrapping it with raffia (coconut fiber) before applying wire
- Use two to three copper wires overlapped together
- It's safer to bend gradually over several months rather than attempting a large bend all at once
Ideal branch arrangement
- Natural tree form has thick lower branches that taper to thinner branches as they rise
- For branches that emerge in pairs from the same point (opposite branches), remove one and arrange branches alternately
- Arrange branches to create depth when viewed from the front
Expressing Shari and Jin
The greatest appeal of shinpaku bonsai lies in the expression of shari and jin.
What is shari Shari is created by removing a section of bark from the trunk to expose the white sapwood. It represents the appearance of an ancient tree scarred by lightning or wind and snow in nature.
What is jin Jin is a branch tip left to die off and become bleached white. It represents the appearance of a deadwood branch whitened by exposure to wind and rain.
Basic technique
- Carefully remove the bark using carving tools or jin tools
- Apply lime sulfur compound to whiten (it also has a preservative effect)
- Make curved rather than straight cuts for a natural appearance
Precautions
- Overuse of shari will weaken the tree. Always preserve the living portions (sapwood for water absorption)
- The balance between shari and jin determines the artistic quality of shinpaku bonsai
- Beginners are advised to start with small jin (branch-tip work)
When to Remove Wire
- Wire is normally removed after 3 to 6 months
- Remove wire immediately once it begins to cut into the branch (to prevent scarring)
- When removing wire, cut it into small pieces with wire cutters rather than unwinding it
- If the branch springs back after removal, re-apply the wire
Practice Methods for Beginners
- Start by practicing on inexpensive material (cuttings or seedlings)
- Begin with thin branches rather than thick ones to develop a feel for the technique
- Direct instruction at bonsai classes or workshops is the fastest way to improve
- Observe fine examples at exhibitions and envision your ideal tree form
Common Beginner Mistakes and How to Avoid Them
Mistake 1: Using wire that is the wrong thickness Wire that is too thin cannot hold the bend, while wire that is too thick damages the bark. The guideline is approximately one-third the diameter of the branch you want to bend. If one wire is insufficient, it's safer to lay two wires side by side.
Mistake 2: Bending sharply immediately after wrapping Bending the branch sharply right after wrapping causes the interior to split. Divide the bend into several applications with intervals of several weeks between each. Wrap vulnerable areas with burlap before working.
Mistake 3: Not planning when to remove the wire Shinpaku grows quickly, and wire left on too long will cut into the bark. Always record the date you applied the wire and remove and re-apply it after 3 to 6 months during the growing season. When removing wire, cut it with nippers rather than unwinding it to minimize damage to the branch.
Finding Shinpaku Bonsai on GrowerDirect
On GrowerDirect, you can purchase shinpaku bonsai ideal for wire training directly from specialist growers. A key advantage is the ability to ask growers directly for advice on shaping and wire-training techniques. Experience the joy of creating tree forms with your own hands using shinpaku from GrowerDirect.