How to Grow Orchid Flask Seedlings | A Roadmap from Flask Removal to Blooming Plants
A detailed guide to the management procedures for raising flask seedlings (micropropagated plants) from flask removal through acclimatization, repotting, and bloom-stage plants.
Key Takeaways
A detailed guide to the management procedures for raising flask seedlings (micropropagated plants) from flask removal through acclimatization, repotting, and bloom-stage plants.
Related Species
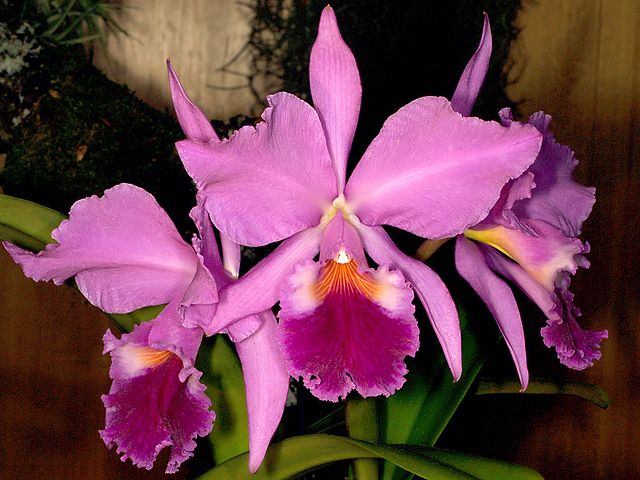
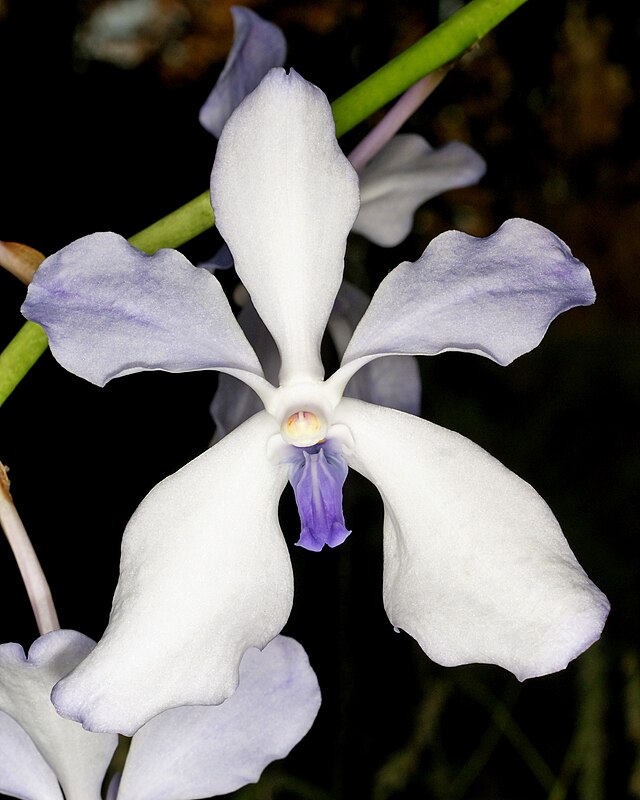
Orchid flask seedlings are young plants grown from seeds or tissue culture on sterile media. After germinating and growing to a certain size within the flask, the seedlings are removed from the flask (flask removal) and acclimated to a normal growing environment for cultivation. The greatest appeal of purchasing flask seedlings is that they are significantly cheaper than buying mature flowering plants, and you can experience the satisfaction of raising them from scratch with your own hands. However, depending on the variety, flowering typically takes 2 to 5 years, so patience and a long-term cultivation plan are necessary.
Obtaining and Assessing Flask Seedlings
Flask seedlings can be purchased from specialist growers and nurseries. A single flask typically contains 5 to 30 seedlings, and seedling size varies by variety. Check the following points when purchasing:
First, verify that the media is not contaminated. Avoid flasks showing any signs of mold or bacterial colonies (discolored media or white cloudy masses). Good condition is indicated by green, healthy-looking seedling leaves and white, extending roots. A flask with many brown-tinted seedlings may have a low survival rate.
Seedling size is also important. Seedlings with 3 to 5 leaves and roots extending 2 cm or more are the right size for flask removal. Seedlings that are too small carry a higher risk of dying during acclimatization. It is safest to purchase after confirming with the grower whether the seedlings are ready for flask removal.
Steps for Flask Removal and Materials Needed
Materials needed for flask removal include fine-tipped tweezers, a bowl or bucket, sterilizing agent (such as Benomyl), sphagnum moss (high-quality AAA grade) or fine bark, cell trays or small pots, and labels.
First, gently wrap the flask in a towel and break it, or if the mouth is wide, carefully extract the seedlings using a spoon or chopstick. Soak the removed seedlings in lukewarm water and gently rinse away the media (agar) adhering to the roots. If media remains, it will cause bacterial proliferation, so wash thoroughly without damaging the roots.
After cleaning, soak in sterilizing agent diluted to the recommended concentration for 10 to 15 minutes. This significantly reduces the risk of pathogenic infection immediately after flask removal. Then lightly drain excess water and proceed with planting.
Planting is typically done by lightly wrapping the roots in moist sphagnum moss and planting in cell trays or small pots. Pack the moss loosely enough for the roots to breathe. If using fine bark, frequent watering is necessary due to its low water retention.
Post-Flask Acclimatization Management — The First 3 Months Are Critical
After removal from the flask, seedlings are suddenly exposed to the outside world from the sterile, high-humidity environment within the flask, making this a period of extreme stress from environmental change. Management during the first 3 months will largely determine the survival rate.
Ideally, maintain humidity above 80%. An effective method is to place seedlings in clear plastic storage boxes or food containers and keep them loosely closed. Complete sealing risks mold growth, so poke a few small holes in the lid or open it once a day for ventilation.
Provide dim light. Direct sunlight is strictly forbidden; begin with weak light from fluorescent or LED indirect lighting (1,000–3,000 lux). Gradually increase light intensity every 2 to 3 weeks, and after 3 months acclimate the seedlings to the normal light levels appropriate for their variety.
It is important not to let the seedlings dry out too much. When the surface of the sphagnum moss begins to dry, mist it. However, keeping it constantly soaked will cause root rot. The key is to maintain a lightly moist state when touched with a finger.
Growing Medium Seedlings to Flowering Plants — Repotting and Fertilization Strategy
After 6 months to 1 year following flask removal, when seedlings have grown large enough to overflow the cell trays, pot them up into individual pots. Plant in 2 to 2.5-inch pots using sphagnum moss or medium bark. From this stage, transition to normal orchid management.
Do not fertilize for 3 months after flask removal; begin once roots are well established. Apply dilute liquid fertilizer (diluted 2 to 3 times from normal concentration) about twice a month. As seedlings develop, gradually increase fertilizer strength, and by the end of a year manage at normal concentration. For growth promotion, nitrogen-rich fertilizers (such as 30-10-10) are effective.
The time to reach flowering size varies greatly by variety. Phalaenopsis orchids typically take 2 to 3 years from flask removal, Cattleyas 3 to 5 years, and Vandas 4 to 6 years. Enjoy watching your plants grow steadily year by year without rushing.
The Joys of Flask Seedling Cultivation and Lessons from Failure
Growing from flask seedlings is one of the most deeply rewarding pursuits in orchid collecting. The emotion of seeing a plant you removed from the flask and nurtured for years bloom for the first time is indescribable. Even sibling seedlings from the same flask can show individual variation in flower color and form, and you may experience a meeting with a flower that exists nowhere else in the world.
However, failure is always a possibility. Complete loss can occur immediately after flask removal. The most common causes of failure are drying out and excessive light during acclimatization. Flask seedlings have thin leaves and are far more sensitive to environmental changes than mature plants. At first, even over-protective care is justified.
How to Keep Records of Flask Seedling Cultivation
When cultivating flask seedlings over a long period, keeping management records is extremely important. Recording the following items will help with improvement:
- Date of flask removal, number of seedlings at removal, and survival rate
- Temperature and humidity changes during acclimatization
- Date of potting up and media used
- Date fertilization began and type of fertilizer used
- Pace of new leaf development and changes in plant size
- Date of first bloom and flower characteristics
Hybrid flask seedlings show individual variation in flower color and form even among siblings. Records when the first bloom appears are essential information for selecting superior individuals. Keeping photo records as well provides an enjoyable way to review the growth process.
Recommendation for Keeping Management Records
Flask seedling cultivation spans a long period, so keeping management records is key to success.
- Date of flask removal, number of seedlings at removal, and survival rate
- Temperature and humidity changes during acclimatization
- Date of potting up and media used
- Date fertilization began and type of fertilizer used
- Pace of new leaf development and size changes
- Date of first bloom and flower characteristics (color, form, size)
Hybrid flask seedlings show individual variation in flower color and form even among siblings. These become valuable data for selecting superior individuals. Keeping photo records as well provides an enjoyable way to reflect on the growth process. Exchanging information via social media with other enthusiasts growing the same flask is also an enjoyable experience.
Take on Flask Seedlings with GrowerDirect
On GrowerDirect, you can purchase quality-controlled flask seedlings directly from specialist growers. Being able to ask growers directly about the breeding parents, timing for flask removal, and cultivation tips is especially reassuring for flask seedling cultivation. Experience the joy of nurturing plants over time with flask seedlings from GrowerDirect.