Orchid Flask Deflasking Complete Guide: From Seedling Removal to Growing Flowering Plants
Explaining how to safely grow seedlings of orchids cultured in flasks by removing them from bottles, and tips for growing them to flowering plants.
Key Takeaways
Explaining how to safely grow seedlings of orchids cultured in flasks by removing them from bottles, and tips for growing them to flowering plants.
Related Species
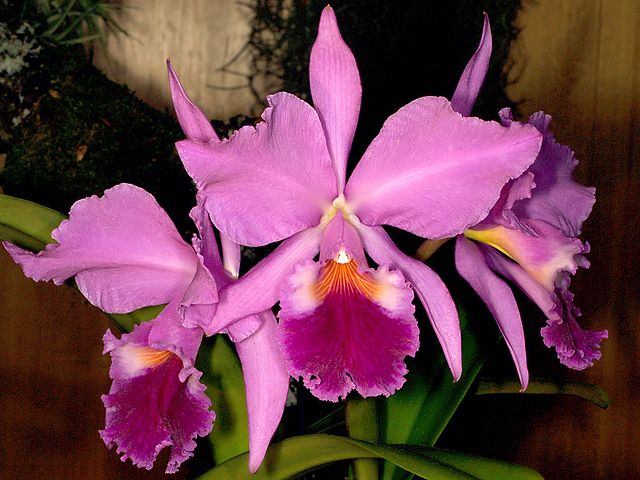
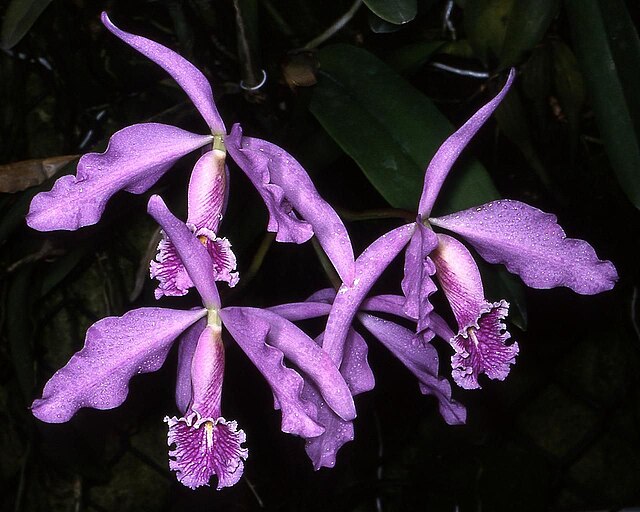
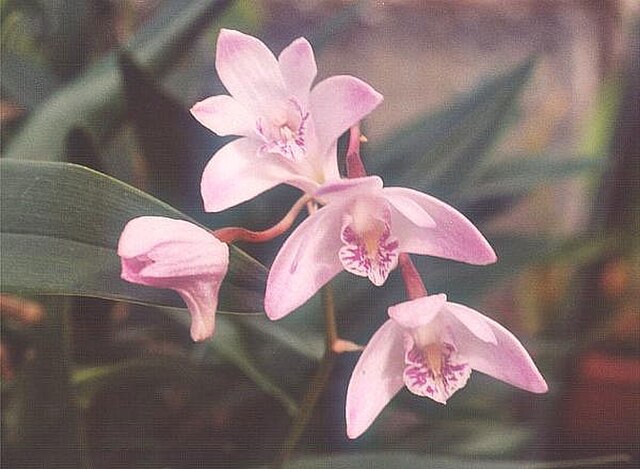
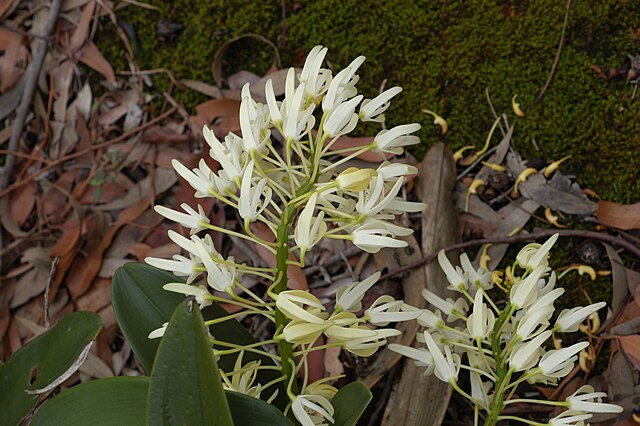
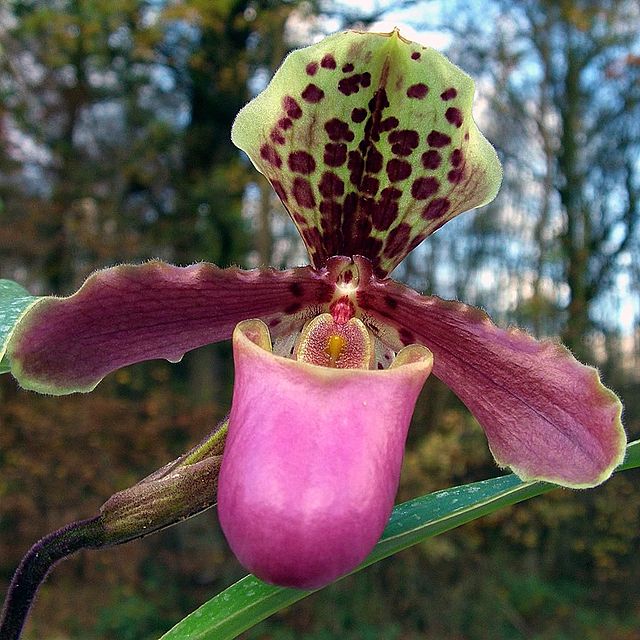
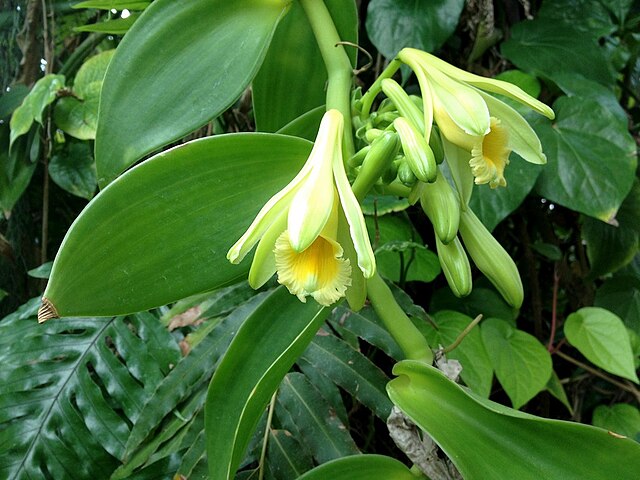
Flask deflasking is the process of moving orchid seedlings cultured in a sterile flask to an external environment. Since flask seedlings are grown in a sterile, pathogen-free agar-filled flask, they are extremely sensitive to sudden environmental changes. If this transfer process fails, large numbers of seedlings can die at once. By understanding the correct procedures and management methods, you can safely grow seedlings of rare hybrid varieties and collector's items and develop them into the flowering plants of your dreams.
Correctly Understanding Flask Seedling Characteristics
Seedlings created through tissue culture (meristem culture or seed sowing) are grown in sterile agar-filled flasks. This environment is fundamentally different from normal cultivation.
- Pathogen-free environment dependency: Since they have never been exposed to pathogenic organisms, their immune resistance is extremely weak
- Root fragility: Since they receive moisture and nutrients from agar medium, root hairs are sparse and independent water absorption capacity is weak
- High humidity adaptation: Completely acclimated to a near-saturated environment of 95–100% humidity
- Limited photosynthetic capacity: Chloroplasts are present but have functioned only under indirect light inside the flask, and lack tolerance for strong light
Because of these characteristics, flask-defalsked seedlings immediately require special protection against three threats: desiccation, fungal contamination, and sudden temperature changes. The biggest mistake beginners make is "rushing to acclimate to the external environment by hastening ventilation." Haste leads directly to mass death of seedlings.
Appropriate Timing for Flask Deflasking
Determining when to remove seedlings from flasks is a critical judgment that affects survival rate. As a general guideline, the condition is that 2 or more roots are visible and 2 to 4 leaves have unfurled.
Size guidelines by genus are as follows.
- Cattleya alliance: Leaf length 2–3 cm or more, 2 or more roots
- Dendrobium: Stem height 3–4 cm, 2 or more roots
- Paphiopedilum: Leaf length 2–3 cm, 2 or more roots
- Phalaenopsis: Leaf length 3–4 cm, 3 or more roots
Among Cattleya varieties, large-flowered types such as Cattleya maxima and fragrant Dendrobium speciosum often show individual differences in growth speed after deflasking, so it's helpful to be aware of the characteristics of specific varieties as well as the genus. When seedlings become crowded inside the flask and agar medium remaining decreases, this is a sign that time is running out. Conversely, removing seedlings too early when they are too small also significantly reduces survival rate. To avoid being pressured to deflask immediately upon receipt when purchasing a flask, it is wise to check the seedling condition with the grower beforehand.
Necessary Tools and Prior Preparation
Before working, gather and sterilize all the following tools.
- 70% ethanol (for sterilizing tools and work surface)
- Soft-tipped tweezers (ones that don't damage roots)
- Warm water (40–45°C) + diluted hypochlorous acid water
- New Zealand sphagnum moss (fine grade) or bark (fine grade)
- 2–3 cm slitted pots or small unglazed clay pots
- Sealable high-humidity container (plastic case, dome tray)
- Benlate (benomyl) or Daconil 1000 (chlorothalonil) fungicides
- Root-promoting agent (Oxyberon (indole-3-butyric acid) dilution, optional)
Sphagnum moss should be sterilized with boiling water in advance and cooled thoroughly before use. Bare-handed work can cause bacterial contamination, so disposable gloves are recommended.
Flask Deflasking Steps
1. Sterilization and Preparation
Wipe the work surface with ethanol and sterilize all tools to be used. Wipe the outside of the flask with ethanol before opening.
2. Removing the Seedling
Tilt the flask opening slightly downward and tilt the agar with the seedling to remove it. Using tweezers, gently separate the boundary between agar and roots without damaging the roots. If multiple seedlings are tangled together, soaking them in warm water around 40°C while separating them can reduce stress on the roots.
3. Complete Agar Removal
Gently rinse off any remaining agar from the roots with warm water. Remaining agar becomes a breeding ground for decay and microbial proliferation. After washing, rinse thoroughly with clean water (Benlate (benomyl) is not registered for orchids, and the dilution rate and soaking time are not specified on the label).
4. Planting
Sphagnum moss should be wrung out well and kept moist but not dripping. Lightly fill a small pot, unfurl the seedling's roots and place them at a natural angle, and gently wrap the surrounding area with sphagnum moss. It is important not to force the roots in and to leave gaps for air circulation.
5. Housing in a High-Humidity Environment
Place the planted seedling immediately in a sealed container, maintaining interior humidity at 95–100%. A simple method is to add a small amount of water to the bottom and place the seedling on a stand so it does not touch the water directly. Light should be managed under fluorescent lamps or weak LED light (approximately 2000–3000 lux), and direct sunlight is strictly prohibited.
Humidity Acclimatization Management for 4 Weeks After Deflasking
The first 4 weeks after flask deflasking is the most delicate period. Humidity management during this period determines survival rate.
Weeks 1–2: Maintain humidity in the sealed container at 95–100%. Open the lid for only tens of seconds 1–2 times daily for ventilation to prevent CO2 accumulation. Observe daily whether leaves are wilting or discoloring.
Week 3: Gradually extend ventilation time and lower humidity to around 85–90%. If new root tips are turning white and beginning to extend, this is a sign of good progress.
Week 4: Gradually acclimate to several hours of open exposure daily, and finally transition to a state where leaves remain firm even at 70–80% humidity. If new leaf expansion is confirmed at this stage, acclimatization is near success.
If rot from fungi occurs during this period, remove the affected area with clean scissors and let the cut edge dry to prevent spread. Seedlings with rot extending to the entire root system are difficult to save, so early detection and early treatment are important.
Transition to Normal Cultivation Environment and Growing to Flowering
2–3 months after deflasking, when new leaves and roots are consistently visible, transition to a normal cultivation environment. Manage the growing medium with medium-grade bark or sphagnum moss, and acclimate to a watering cycle of watering when the surface dries.
Begin fertilizing after growth begins, initially applying liquid fertilizer (N-P-K balanced type) at approximately 1/4 standard concentration once weekly. As the number of leaves increases and roots become established, gradually increase the concentration and frequency. During the growing season (spring to fall), fertilize at standard concentration approximately twice weekly. For more detailed fertilizing schedules by growth stage, see Orchid Fertilizer Complete Guide | Fertilizing Schedule by Type and Liquid Fertilizer Selection.
The period until plants grow to flowering size varies greatly by genus.
- Miniature Cattleyas and Dendrobiums: 2–3 years
- Standard Cattleyas and Paphiopedilums: 4–5 years
- Large-flowered Phalaenopsis hybrids: 2–4 years (from seed sowing)
- Vanillas and some terrestrial orchids: 7 years or more
This long growing period is itself the charm of handling flask-defalsked seedlings. When seedlings you have defalsked yourself finally bloom after many years, the emotion is different from the joy of purchasing a finished plant. Properly understanding Orchid Repotting Timing and Growing Media Selection will further increase the success rate of cultivation. For enthusiasts challenging the cultivation of rare hybrid varieties, mastering flask deflasking technique is a door to a new stage of orchid cultivation.