Orchid Division and Bulb Propagation to New Plant Development | Complete Roadmap from Seedling to Flowering Stock
Orchid division is an important propagation method for bulb-bearing orchids such as Cymbidiums and Dendrobiums. This article provides a detailed explanation of the complete process from division to bulb propagation and new plant development. It covers the full range of successful techniques, from selecting the optimal timing, separating bulbs, planting new plants with initial care management, to the timeline through flowering.
Key Takeaways
Orchid division is an important propagation method for bulb-bearing orchids such as Cymbidiums and Dendrobiums. This article provides a detailed explanation of the complete process from division to bulb propagation and new plant development. It covers the full range of successful techniques, from selecting the optimal timing, separating bulbs, planting new plants with initial care management, to the timeline through flowering.
Related Species
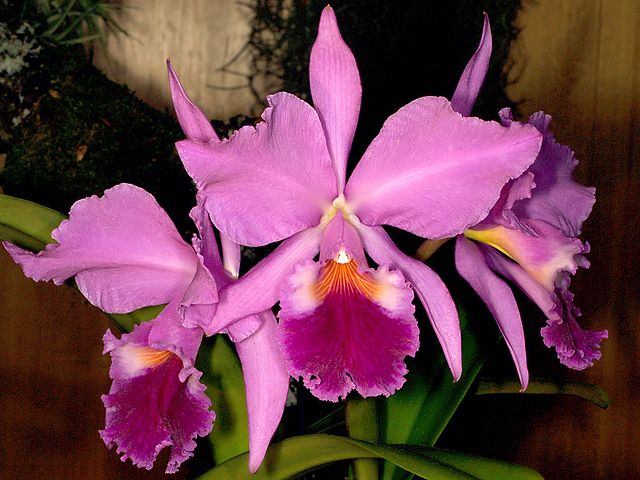
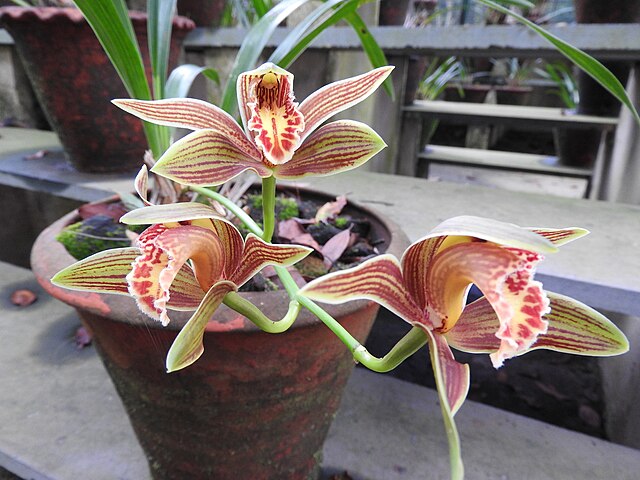
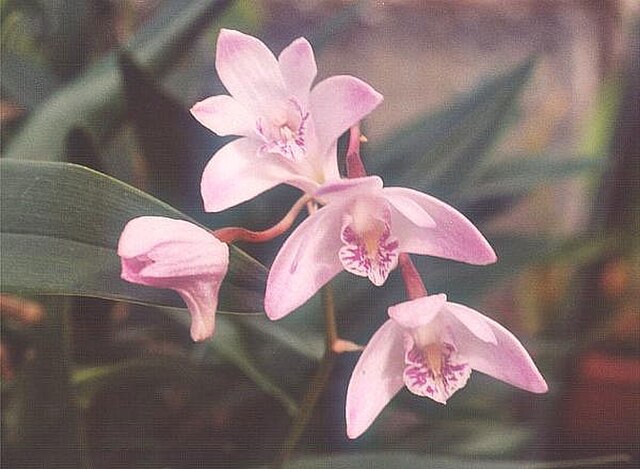
Before Starting Division—Selecting the Right Time and Checking Plant Condition
Among orchid propagation methods, division and bulb propagation are relatively reliable techniques that produce new plants inheriting the same characteristics as the parent plant. While seedlings grown from seed take several years to flower and require knowledge of hybridization, division allows you to develop vigorous new plants in a short timeframe.
The optimal time for division is spring when new growth begins. For Cymbidiums, March to April after flowering is the target window; for Dendrobiums, March to May. Working during this period encourages new root development and smooth establishment. If dividing in autumn, allow time for roots to establish before temperatures drop.
The key points to determine if a plant is ready for division are as follows.
- At least four bulbs are present (leaving a minimum of 2–3 per division)
- Decayed roots or darkened bulbs are limited to only a small portion of the entire plant
- Roots are beginning to emerge from the bottom of the pot or other signs of needing repotting appear
- New growth is visible
Dividing a weak plant is unlikely to establish successfully, so it is recommended to first allow the plant to recover before attempting division.
Tool Preparation and Sanitation
The most important principle in division is "cut quickly with a clean blade." When cutting the rhizome connecting bulbs, a dirty blade increases the risk of pathogens entering the cut surface.
Before work, sterilize scissors or knives by briefly heating them over a flame or wiping them with approximately 70% ethanol. When handling multiple plants, ideally disinfect after each one.
Prepare the following items.
- Clean knife or scissors (sharp)
- Disinfectant ethanol or lighter
- Fresh orchid potting medium such as bark, sphagnum moss, or pumice
- Terracotta or plastic pot (with drainage holes)
- Activated charcoal or protective powder for cut surfaces
To protect cut surfaces, using a registered fungicide within the approved range for cut flowers and ornamental foliage is one option. However, always check the product label's approved crops section; if orchids are not listed, lightly applying activated charcoal powder can still help drying. Follow the product label for dilution rates and application duration.
Actual Division Work—From Bulb Separation to Planting
Stop watering the day before removing the plant from the pot; slightly dry soil and roots reduce damage. Tilt the pot and gently slide the plant out; if roots are tangled, gently rinse under running water to remove soil.
After checking the roots, remove brown, dead roots at the base. White, firm roots or slightly greenish roots are healthy and should be retained. Identify the rhizome connection points and cut between the bulb groups you wish to divide with a knife. Allow cut surfaces to air-dry in shade for 30 minutes to 1 hour before potting.
When potting, position the old bulbs toward the center of the pot and leave space toward the rim on the new growth side. This provides room for shoots to grow outward in the next growth cycle. Bark-only medium offers high drainage and resists root rot, but dries quickly, requiring frequent watering. Sphagnum-only medium retains moisture well but risks overwatering. It is recommended to gain experience with one type before attempting mixed media.
Initial Care After Potting—Creating Conditions for Establishment
The first 2–3 weeks after potting are the "establishment period" requiring special care. Most failures during this phase result from overwatering or direct sunlight.
Light and Temperature: Provide bright, indirect light or dappled light through a shade cloth, avoiding direct sun. Daytime temperatures should be 20–27°C (68–81°F), with nighttime around 15°C (59°F).
Watering: Keep the medium dry for 3–5 days after potting, then water when the surface dries. Misting around bulbs to supplement humidity is also effective.
Humidity: Maintaining 60–70% humidity promotes root development. In dry indoor spaces, placing a tray with wet pumice beneath the pot helps raise surrounding humidity.
Fertilizer: Do not fertilize until new roots begin to emerge from the pot bottom; feeding too early can damage roots. Once roots appear, apply diluted liquid fertilizer at half strength during the growth period.
From Seedling to Flowering Plant—Long-Term Development Roadmap
Growing from seed rather than division takes more time and effort, but allows creating new varieties through hybridization. Orchid seeds are extremely small and contain almost no nutrients needed for germination on their own. In nature, they germinate through symbiosis with specific mycorrhizal fungi; in cultivation, sterile culture (flask culture) is the standard method.
Flask culture requires specialized equipment, so many enthusiasts obtain established flask seedlings and grow from the "removal from flask" stage onward. Seedlings removed from the flask are delicate, with humidity management and contamination prevention being especially critical.
The approximate time from removing seedlings from the flask to reaching flowering size varies by genus.
- Cymbidium: approximately 3–5 years from flask removal to first flowering
- Dendrobium: approximately 2–3 years
- Phalaenopsis (Moth Orchid): approximately 1–2 years
- Cattleya: approximately 3–6 years
These vary significantly depending on growing conditions, so treat them as guidelines only. For plants in their first winter, prioritizing plant vigor over flower bud formation is the best approach long-term.
Bulb Propagation and Long-Term Plant Management
To enjoy orchids long-term, it is important to balance "increasing plant numbers while maintaining plant health" through repeated division. Dividing annually exhausts the plant, so maintain a cycle of waiting for sufficient bulb increase before dividing again.
During the growing season (spring to autumn), apply liquid fertilizer approximately every two weeks; in winter, reduce fertilizer to focus on plant vigor. For flower bud formation, a balanced fertilizer emphasizing phosphorus and potassium over nitrogen is ideal. With Cymbidiums, flower buds develop during summer and emerge from the base of new bulbs around September (Nara Prefecture "Key Points in Cymbidium Cultivation"). Young plants with few roots should not be forced to flower; manage them according to plant condition.
If bulbs show yellowing or shriveling, consider disease, root rot, or insufficient light. Investigating and addressing the cause while symptoms are limited to one bulb prevents widespread plant damage. Establishing a monthly habit of checking the entire plant helps with early problem detection.
GrowerDirect features flowering plants and vigorous parent plants carefully grown by growers. The ability to check plant condition before purchasing is a unique advantage of the marketplace. Try balancing the joy of growing from scratch with the convenience of obtaining quality plants to suit your situation.