Complete Guide to Orchid Division and Propagation | Pseudobulb Cutting, Keiki, and Root Division Methods
Detailed explanation of orchid propagation methods (division, keiki, pseudobulb cutting) by type. Practical guidance on propagation techniques for Cymbidium, Dendrobium, Phalaenopsis, and Cattleya, including optimal timing, tools, and post-division care.
Key Takeaways
Detailed explanation of orchid propagation methods (division, keiki, pseudobulb cutting) by type. Practical guidance on propagation techniques for Cymbidium, Dendrobium, Phalaenopsis, and Cattleya, including optimal timing, tools, and post-division care.
Related Species
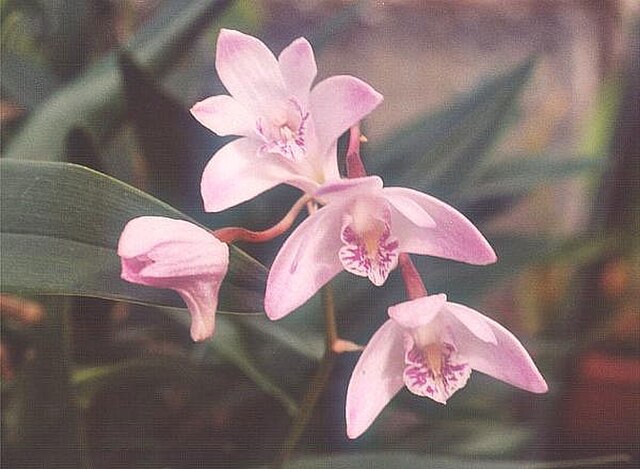
Essential Knowledge Before Propagating Orchids
The most important first step in orchid propagation is "understanding the ecology of each type and choosing the appropriate method." The three main methods are "division (pseudobulb division)," "keiki (plantlet) removal," and "back pseudobulb cultivation," each suited to different varieties and timing. Start by identifying the type of orchid you are growing. If you are new to growing orchids, reading A Beginner's Guide to Orchid Care first will help you master the basic management needed before attempting propagation.
Preparing the right tools is also essential. Have ready clean shears, a sharp knife (sterilized with alcohol or flame), charcoal powder for sealing cut surfaces, and fresh potting media (sphagnum moss, bark, or orchid mix). Neglecting tool hygiene risks viral and fungal entry through cut surfaces, potentially killing the plant. This single precaution makes the difference between success and failure.
Division (Pseudobulb Division) — For Cymbidium and Cattleya
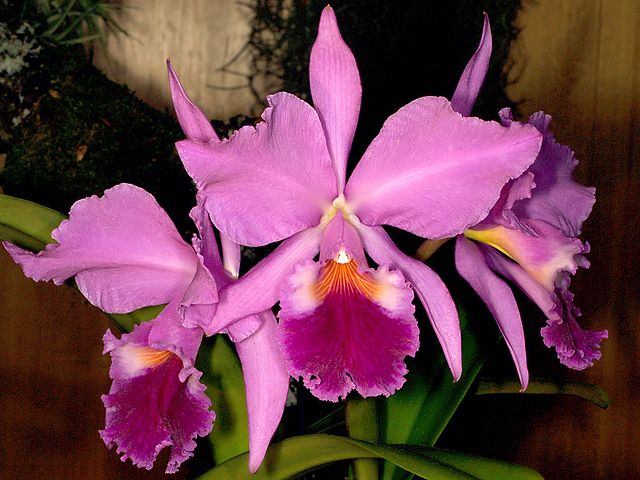
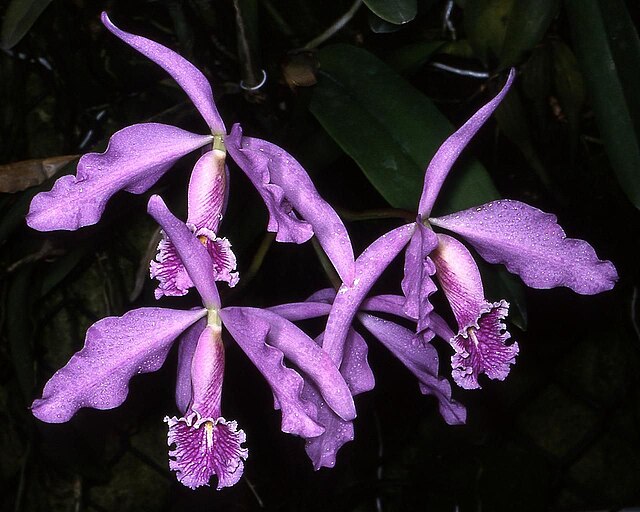
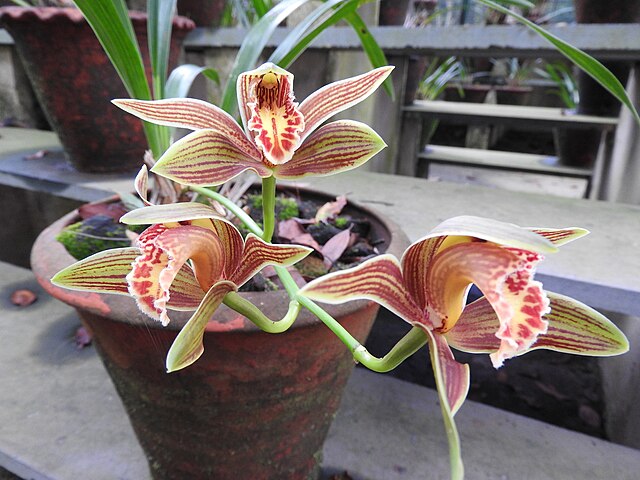
For pseudobulb-bearing varieties such as Cymbidium and Cattleya and Cattleya maxima, "division" is the most reliable propagation method.
Optimal timing: Just after flowering ends and before new growth begins. Autumn to winter for Cymbidium, spring for Cattleya. Missing this window can hinder new growth, so careful timing is critical.
Steps:
- Remove the plant from the pot and gently clear away old soil without damaging roots. If roots are tangled, rinsing with lukewarm water often avoids cutting them
- Cut into clusters of 3–5 or more pseudobulbs using sterilized shears. Each division must include at least 3 pseudobulbs, with the "lead pseudobulb" at the front
- Dust cut surfaces with charcoal powder or allow them to dry for 30 minutes to 1 hour before potting (Daconil 1000 is registered for use on orchids and flowers/ornamental foliage plants for 1000× dilution spray against leaf spot disease and similar issues, but direct application to cut surfaces is not specified on the label)
- Plant in fresh media in new pots and keep in bright, indirect light for 1–2 weeks
Common mistakes: Including old, blackened pseudobulbs with severe shriveling. Selecting only healthy pseudobulbs accelerates recovery. Avoid fertilizing immediately after division, as this can damage new roots. For timing and rates of fertilization, see The Complete Orchid Fertilizer Guide | Fertilization Schedules by Type and Liquid Fertilizer Selection.
Source: MAFF Pesticide Registration Database (ST Daconil 1000)
Keiki (Plantlet) Removal — For Dendrobium and Phalaenopsis
Keiki are small plantlets that arise naturally at the nodes of stems or pseudobulbs, and represent a cloning method that passes on the parent plant's genetics unchanged. This method is ideal when you want to reliably propagate individuals with superior flower color or form. For more detailed information on how keiki develop and how to establish them as independent plants, see Orchid Keiki Management and Practical Guide.
Dendrobium keiki: Develop from nodes on old pseudobulbs. The right time to remove them is when 2–3 roots (approximately 2–3 cm long) have formed. Removing them earlier results in poor rooting and plants that die easily. Pot the separated keiki in sphagnum moss and maintain it in a setting that is not too dry. Keiki tend to form under stress conditions such as excess fertilizer or low temperature, and they can also be induced intentionally.
Phalaenopsis keiki: May arise naturally from nodes on the flower spike. To encourage formation, after flowering ends, apply a cytokinin-based hormone product (such as "Keiki powder") to the spike nodes. Once roots have grown to 2–3 cm or more, cut them off at the node and pot in sphagnum moss.
Back Pseudobulb Cultivation — Preserving and Propagating Rare Varieties
A method of cultivating old pseudobulbs (back pseudobulbs) left over during division rather than discarding them. Particularly effective with Cattleya and Dendrobium, this technique is valuable for propagating rare varieties and spreading the risk of failure.
Steps:
- From the back pseudobulbs separated during division, select those with remaining green that have not completely dried out
- Lightly wrap in sphagnum moss and place in a clay pot or small clear container
- Position in a location with bright indirect light, keeping the sphagnum moss from drying out completely
- After several weeks to months, new growth emerging from the base node indicates success
Success rates are lower than with division or keiki removal, but this technique is invaluable for preserving and propagating difficult-to-obtain species or hybrid varieties. Once new growth appears, transition to standard seedling care (watering, fertilization, light management).
Post-Division Care and Recovery Management
Divided orchids have reduced root systems and are sensitive to environmental changes. Proper aftercare is crucial to establishment success.
Management during the first 2–4 weeks:
- Location: Place in bright, indirect light (50–70% shade if outdoors), avoiding direct sun
- Watering: Water lightly when potting media dries. Overwatering causes root rot and plant death, so restraint is critical
- Fertilization: Do not fertilize at all until new roots have grown 5–10 cm
- Temperature and humidity: Avoid sudden temperature fluctuations and maintain humidity around 60–70% if possible
Signs of recovery: The start of new shoot and root development is a good sign. Once new roots reach about 10 cm, you can transition to normal care (sunlight and fertilization). Conversely, if pseudobulbs shrivel and no new shoots or roots appear, root rot or overdrying is likely. Check the potting media and replace if necessary.
Summary — Enjoying Orchid Propagation
Orchid propagation succeeds when you master three points: "timing, hygiene, and aftercare." Start with division, and as you gain experience, try keiki removal and back pseudobulb cultivation.
Orchids you have propagated yourself bring special attachment. Beyond expanding your collection, they can be used for sales as a grower or for plant exchanges with fellow enthusiasts. The joy of seeing new life grow from a plant you have carefully tended is one of the true rewards of orchid cultivation. Why not start planning your propagation strategy now, in preparation for the 2026 flowering season?