Repotting Timing for Orchids and Potting Medium Selection: Characteristics and Best Uses of Bark, Sphagnum Moss, and Mixed Media
Learn how to determine the right time to repot orchids for long-term healthy growth, and understand the characteristics of each type of potting medium.
Key Takeaways
Learn how to determine the right time to repot orchids for long-term healthy growth, and understand the characteristics of each type of potting medium.
Related Species
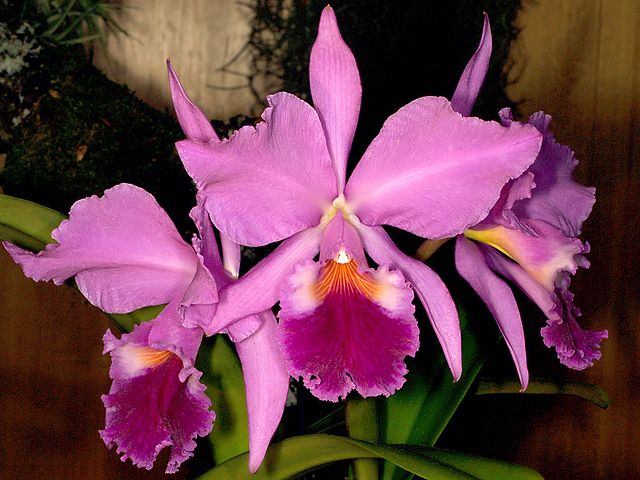
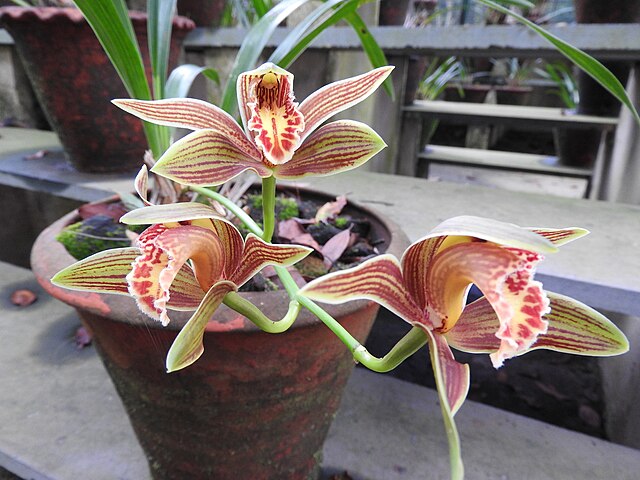
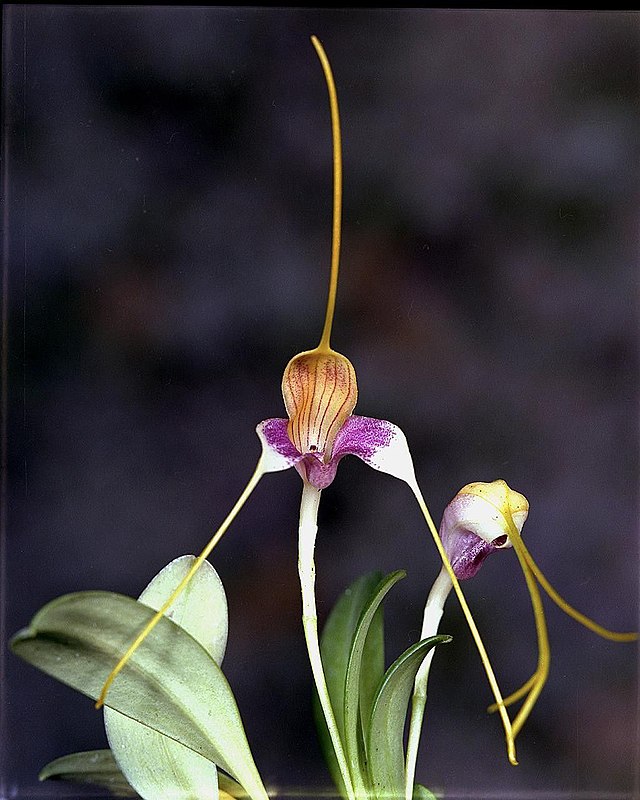
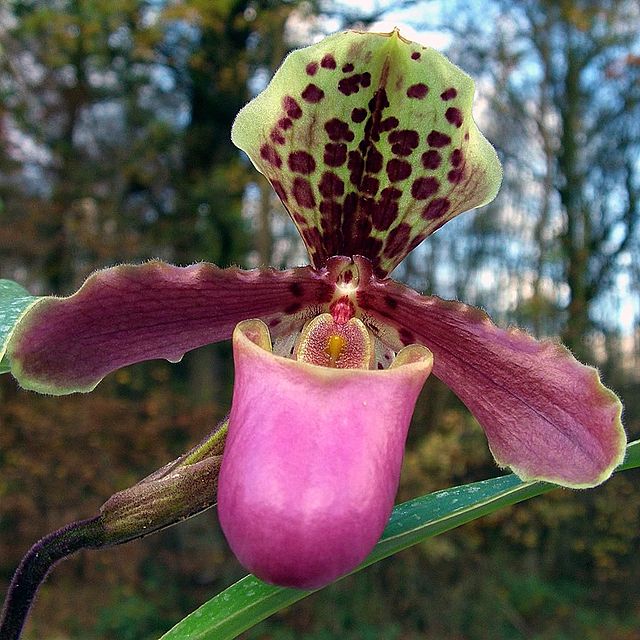
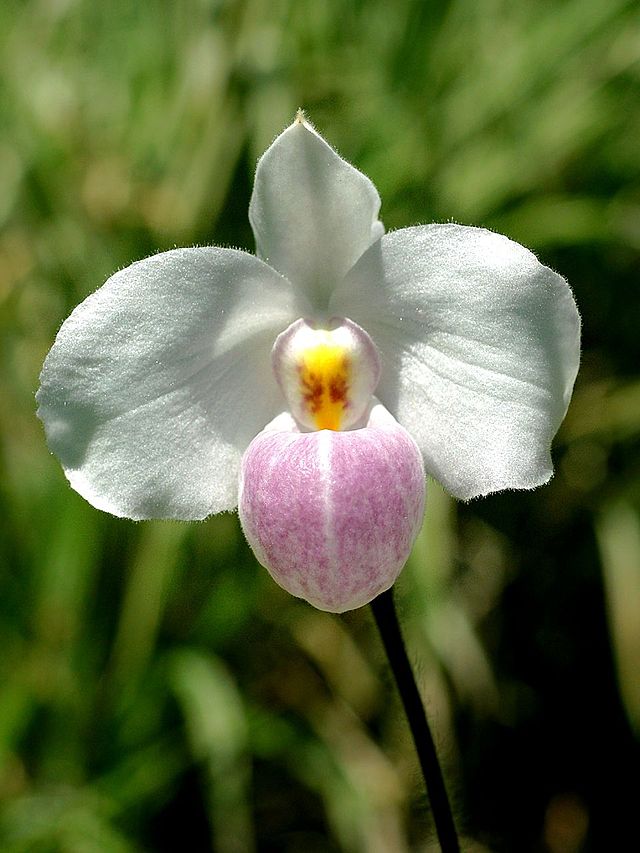

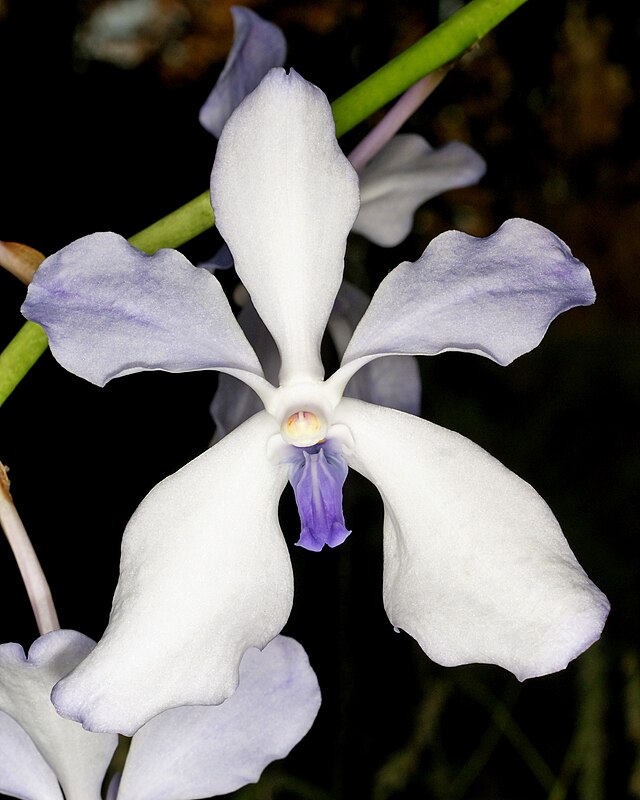
For orchids to grow vigorously and continue producing beautiful flowers, regular repotting is essential. However, if you misjudge the timing or choose the wrong medium, you risk damaging the plant and in the worst case, causing it to die. This article provides a thorough explanation of recognizing the signs that repotting is needed, the types and characteristics of potting media, and the actual repotting procedure.
Signs That Repotting Is Needed
Roots are protruding from the pot
If roots are emerging from the pot rim or drainage holes, it's a sign that the pot has become too small. This is especially true if you notice many aerial roots (roots extending outside the soil). Since epiphytic orchid roots prefer exposure to air, don't force these exposed roots back into the pot—instead, recognize it as a clear signal that it's time to repot. Consider moving to a larger container.
The potting medium has deteriorated
Over time, bark and sphagnum moss break down and become finer, reducing drainage and aeration. Generally, bark requires replacement every 2–3 years, while sphagnum moss should be replaced every 1–2 years. If the medium becomes muddy when pressed with your finger or develops an unpleasant odor, these are signs of deterioration. Deteriorated media creates a constantly wet environment, which is a primary cause of root rot. Rather than waiting for the recommended timeframe, it's important to judge by the medium's condition.
Roots are rotting
If you overturn the pot and examine the roots, and many of them are brown and soft, root rot is already progressing. Healthy roots are white to green and firm; when watered, the tips turn a vibrant green. If rot is detected, repotting should be done as soon as possible.
New growth is appearing
For most orchids, spring when new growth begins is the ideal time for repotting. If you repot before new roots start to emerge, you minimize damage. New roots are delicate and easily broken, so it's best to complete the work before they fully develop.
The Right Time for Repotting
In general, spring when new growth shoots are 2–5 cm is the optimal time to repot orchids. During this period, temperatures stabilize and the plant prepares for active growth.
Recommended timing by type:
- Cattleya: When new growth appears in spring (March–May), or after flowering
- Dendrobium: After flowering, when new growth begins (May–June)
- Cymbidium: Immediately after flowering (March–April)
- Paphiopedilum: After flowering (year-round depending on type)
- Phalaenopsis (Moth orchids): After flowering (April–June)
Avoid repotting during extreme heat (35°C and above) or extreme cold (10°C and below), as the stress on the plant is significant. In particular, during hot summers, bacteria can easily enter through cut surfaces, and combined stress from repotting and high temperatures can rapidly weaken the plant. If emergency repotting is absolutely necessary, do it in the cool morning or evening hours, avoiding midday heat. After repotting, provide shade and ensure good air circulation.
Types and Characteristics of Potting Media: Using Bark, Sphagnum Moss, and Mixed Media
Bark (Tree bark chips)
Made from coarsely chipped bark of cedar, cypress, or New Zealand pine. Bark offers excellent drainage and aeration, creating conditions close to the natural growing environment of epiphytic orchids.
- Advantages: Resists becoming waterlogged, excellent aeration, relatively slow to decompose (usable for 2–3 years)
- Disadvantages: Low water retention can lead to drying out too quickly; fertilizer supplementation is necessary
- Best for: Cattleyas, dendrobiums, vandas, and other drought-tolerant species
Choosing the right size (S/M/L) is also important. For small plants or seedlings, use S size (3–5 mm); for medium to large plants, M size (5–10 mm) is appropriate. If the particles are too fine, aeration is compromised, so select a size matched to your plant. Even with fresh bark, soak it in water for several hours before use to dampen it; this improves root contact after planting.
Sphagnum Moss
Dried sphagnum moss offers high water retention. You can easily observe the root development, and it's particularly useful for managing seedlings after deflasking.
- Advantages: High water retention, roots are easy to observe, provides protective wrapping for roots
- Disadvantages: Easily becomes waterlogged with risk of root rot; requires replacement every 1–2 years
- Best for: Paphiopedilums (especially those with strong epiphytic tendencies like Paphiopedilum delenatii), masdevallias, deflasked seedlings, and alpine species sensitive to drying
Quality varies by origin; New Zealand and Chilean moss have longer fibers and are higher quality. When wrapping, avoid tying too tightly—the ideal density allows you to slip a finger in with just slight resistance. Excessive tightness reduces aeration and promotes root rot.
Mixed Potting Media (Orchid compost)
Commercial orchid compost blends bark, charcoal, pumice, perlite, and other components. These are balanced formulations that are easy for beginners to use and work well for most orchids. Charcoal absorbs excess acidity and harmful substances, helping maintain a clean root environment. If blending your own, use bark 6 : pumice 2 : charcoal 2 as a baseline, then adjust according to your growing environment (indoor humidity and watering frequency).
Repotting Procedure
- Water thoroughly the day before repotting to soften the roots
- Remove the plant from its old pot and gently remove old media from the roots
- Cut away rotted roots (brown or soft) with scissors that have been sterilized with alcohol
- Allow the cut surfaces about 30 minutes to dry
- Plant the specimen in a pot of appropriate size filled with fresh medium, ensuring it's stable
- Hold off watering for 1–2 days after repotting to allow cut surfaces to dry
- Return to normal care; resume fertilizing once new roots are visible
Choose a pot size that just accommodates the roots. Too-large pots dry slowly and cause root rot. The ideal pot is one size larger than the minimum needed to contain the roots. Clear plastic pots are convenient as they allow you to observe root condition from outside.
Care After Repotting
For 2–4 weeks after repotting, avoid direct sunlight and keep the plant in partial shade. Once new roots appear and the plant stabilizes, return to normal growing conditions. Resume fertilizing only after new roots are visible, starting with half the recommended concentration or less. For detailed information on fertilizing schedules by type, see The Complete Orchid Fertilizer Guide: Fertilizing Schedules by Type and Choosing Liquid Fertilizers. Applying strong fertilizer immediately after repotting can damage weakened roots.
Follow a watering cycle of watering only after the medium's surface has dried, and always water thoroughly until water drains from the bottom of the pot to prevent salt buildup.
Repotting stresses the plant, but with proper timing and medium selection, orchids will develop stronger, more vigorous roots and store energy for the next growing season. For information on potting media selection for deflasked seedlings, also refer to The Complete Orchid Deflasking Guide. Making annual repotting a routine habit ensures you maintain healthy plants over the long term. As of 2026, new products tailored to orchid cultivation have become abundant—clear plastic pots and highly breathable slotted pots—making pot selection just as important as medium choice.