Complete Guide to Propagating Agave | Offsets, Seeds, and Beheading
A breakdown of agave propagation methods: offset separation, seed propagation, and beheading. We also cover rooting management tips and planting and care after propagation.
Key Takeaways
A breakdown of agave propagation methods: offset separation, seed propagation, and beheading. We also cover rooting management tips and planting and care after propagation.
What to Know Before Propagating Agave
Agave is one of many cacti and succulents, but stands out for the special joy of propagation. While growth is slow, choosing the right method allows you to reliably propagate even rare varieties. There are three main propagation methods: offset separation, seed propagation (sowing), and beheading, each with different purposes, difficulty levels, and timeframes.
As a premise, what's important across all methods is cleanliness of tools. Any knife or scissors you use must be sterilized with alcohol or flame before use. If bacteria enter through the cut surface, it becomes a source of rot and all that effort goes to waste. Also, work should be done from spring through early summer (April to June). By completing propagation work before agave's growing season, you can ensure roots develop well during summer.
Offset Separation | The Most Popular and Reliable Method
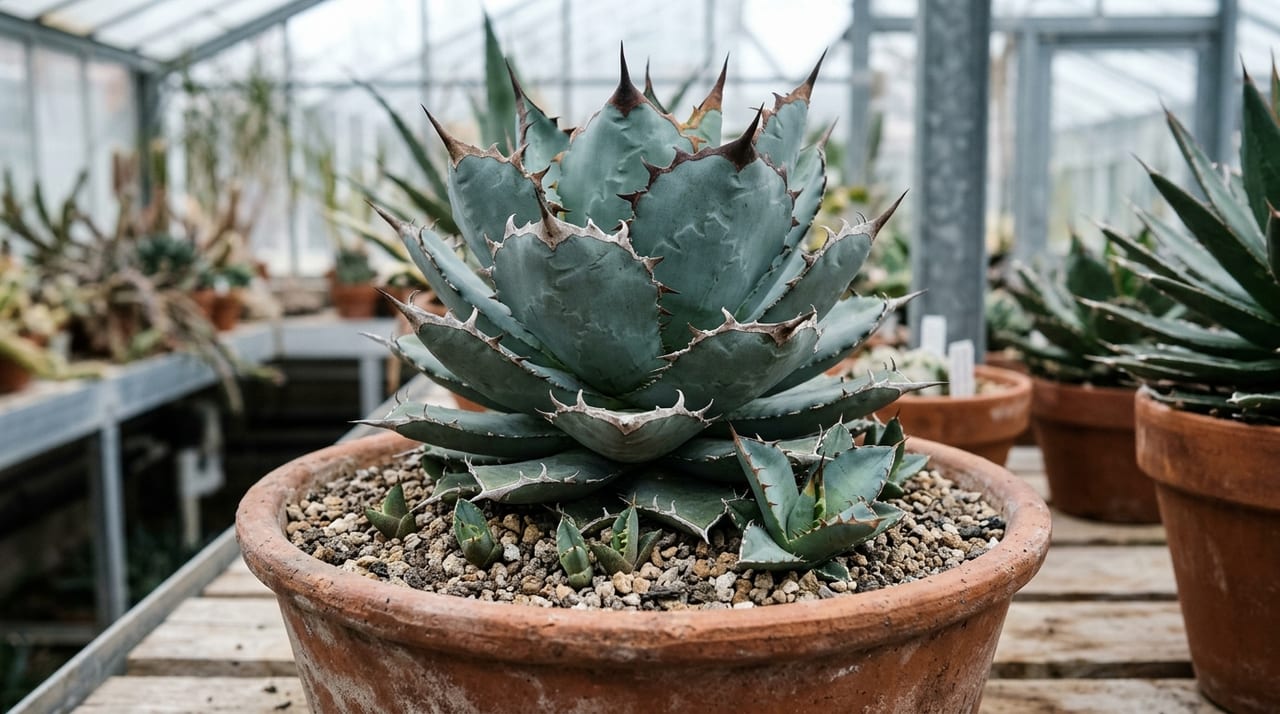
The first propagation method to attempt with agave is separating offsets (pups) that naturally develop at the base of the parent plant. This has a high success rate and produces clones with the same genetics as the parent, making it ideal when you want to reliably propagate rare varieties or favorite individuals.
Proper Timing and How to Tell
Offsets are ready to separate when they reach about 1/3 the size of the parent plant. If you detach them when they're too small, the rooting success rate drops, so be patient and let them grow before working with them. If roots are already emerging, managing after separation becomes easier.
Separation Steps
- Flip over or dig up the parent plant and locate where the offset connects
- Cleanly cut the offset away from the base with a sterilized knife
- Allow the cut surface to dry in shade for 1–3 days
- Plant in well-draining soil (a blend of akadama, pumice, light-colored volcanic ash, etc.)
- Hold back on watering immediately after planting and observe for about a week before the first watering
Immediately after separation, keep the offset out of direct sunlight and condition it in bright shade for about two weeks, then gradually move it to a sunny location. Exposing it suddenly to strong light will cause leaf burn.
Seed Propagation | Time-Consuming but the Greatest Joy
For large-scale propagation or creating original varieties through cross-breeding, seed propagation is ideal. While it takes time and effort, each plant grown from seed has its own unique character, making it an unmatched pleasure for collectors.
Seed Sowing Preparation
Agave seeds are covered in a hard shell, so to improve germination rates, perform scarification (scratching the seed coat). Lightly scratch the surface with fine sandpaper or soak overnight in water before sowing.
Management Points
- Use fine seed-sowing medium (perlite or seed-starting soil)
- Maintain 25–30°C and seeds will germinate in 1–2 weeks
- Use bottom watering (soaking the container in water) to prevent drying
- Fungi easily develop in sealed environments, so ventilate daily to ensure air circulation
Seedlings immediately after germination are extremely small and show almost no growth in year one. Continue managing without rushing, paying attention to avoid drying out. Growth accelerates from year two onward, reaching offset-size in 3–4 years.
Beheading | Emergency Rescue and Propagation Combined
"Beheading" is a method where you cut the stem midway and obtain new plants from both the upper and lower portions. It's most often used as a rescue method for plants suffering from root rot, but it's also effective for propagating varieties that don't readily produce offsets.
Work Steps
- Identify any rotted areas and cut above the line where healthy tissue is visible
- Apply a thin layer of disinfectant (sulfur powder or activated charcoal) to the cut surface
- Dry in shade until the cut is completely dry (3–7 days)
- Place on dry soil and don't water until roots appear
- Multiple offsets often emerge from the base of the original plant
Cautions
Beheading doesn't need to be done on healthy plants. It's high-risk and can destroy the whole plant if it fails. Use it only for rescuing plants with root rot or for specific propagation goals. The key to success is always sterilizing the blade and using a sharp tool that makes a clean cut.
Root Development Management and Post-Planting Care
Regardless of propagation method, the rooting management step is most critical. Do this carefully and success rates improve significantly. For more reliable rooting, see Agave Hydroponic Rooting Technique | How to Reliably Root Bare-Root Agave as well.
Management During Rooting
- Minimize watering (excess moisture before rooting is a direct cause of rot)
- Place in bright shade (avoid direct sunlight)
- Maintain 20–30°C (low temperatures delay rooting)
- Applying rooting hormone (like Rootone) to the cut surface is effective
You can confirm rooting by gently pinching the plant to see if there's any resistance. Using clear pots or slitted pots makes it easier to visually check root development from the pot sides and bottom.
Initial Care After Planting
Once rooting is confirmed, move to standard care. A soil mix of small-grain akadama : pumice : light-colored volcanic ash = 4 : 3 : 3 offers excellent balance between drainage and water retention, ideal for agave. To learn more about soil selection, see Agave Soil & Soil Selection Guide | Drainage-First Potting Mix as well. Two to four weeks after planting, once new leaf growth appears, apply diluted liquid fertilizer to support growth. In the first year, prioritize root development, then enjoy increased foliage from the following year onward.
Get Agave Safely and Consult with GrowerDirect
Agave propagation runs deep—the speed of rooting and emergence of offsets vary widely by variety. For beginners, even the choice of "which plant should I start with?" can be difficult.
GrowerDirect offers agave from specialist growers, from popular varieties like titanota, holida, and parry to rare crosses—all carefully rooted and ready to purchase directly. The plants listed are grown by the growers themselves, so you can ask questions directly about the plant's condition and care methods. This is where GrowerDirect shines: getting concrete advice from experienced growers on propagation tips and soil mixes.
The marketplace offers a secure transaction environment that can handle post-purchase issues, making it ideal whether you're growing agave for the first time or are an advanced collector looking to expand your collection. Try GrowerDirect today.