DIY CO2 Supplementation for Aquatic Plant Tanks | Comparing Fermentation and Chemical Reaction Methods
Learn cost-effective DIY methods for CO2 supplementation in aquatic plant tanks. We introduce how to make fermentation and chemical reaction systems, plus safe operation methods.
Key Takeaways
Learn cost-effective DIY methods for CO2 supplementation in aquatic plant tanks. We introduce how to make fermentation and chemical reaction systems, plus safe operation methods.
Related Species
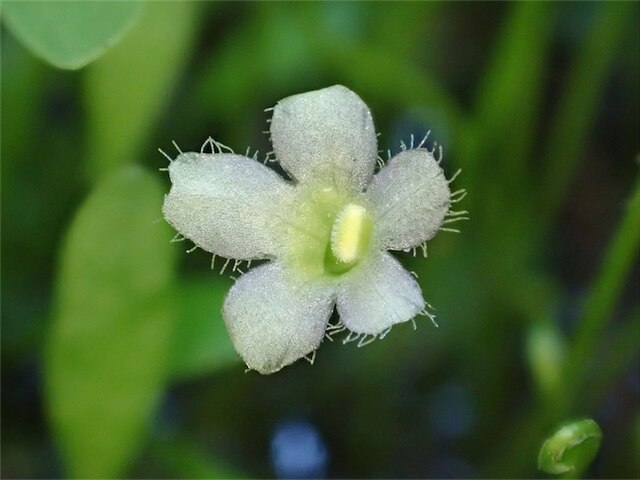
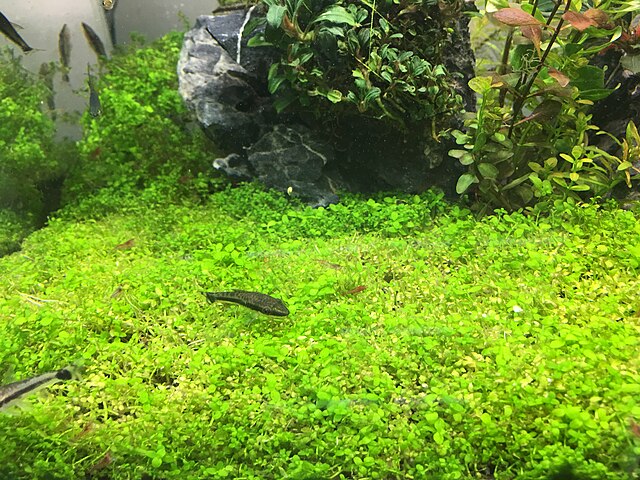
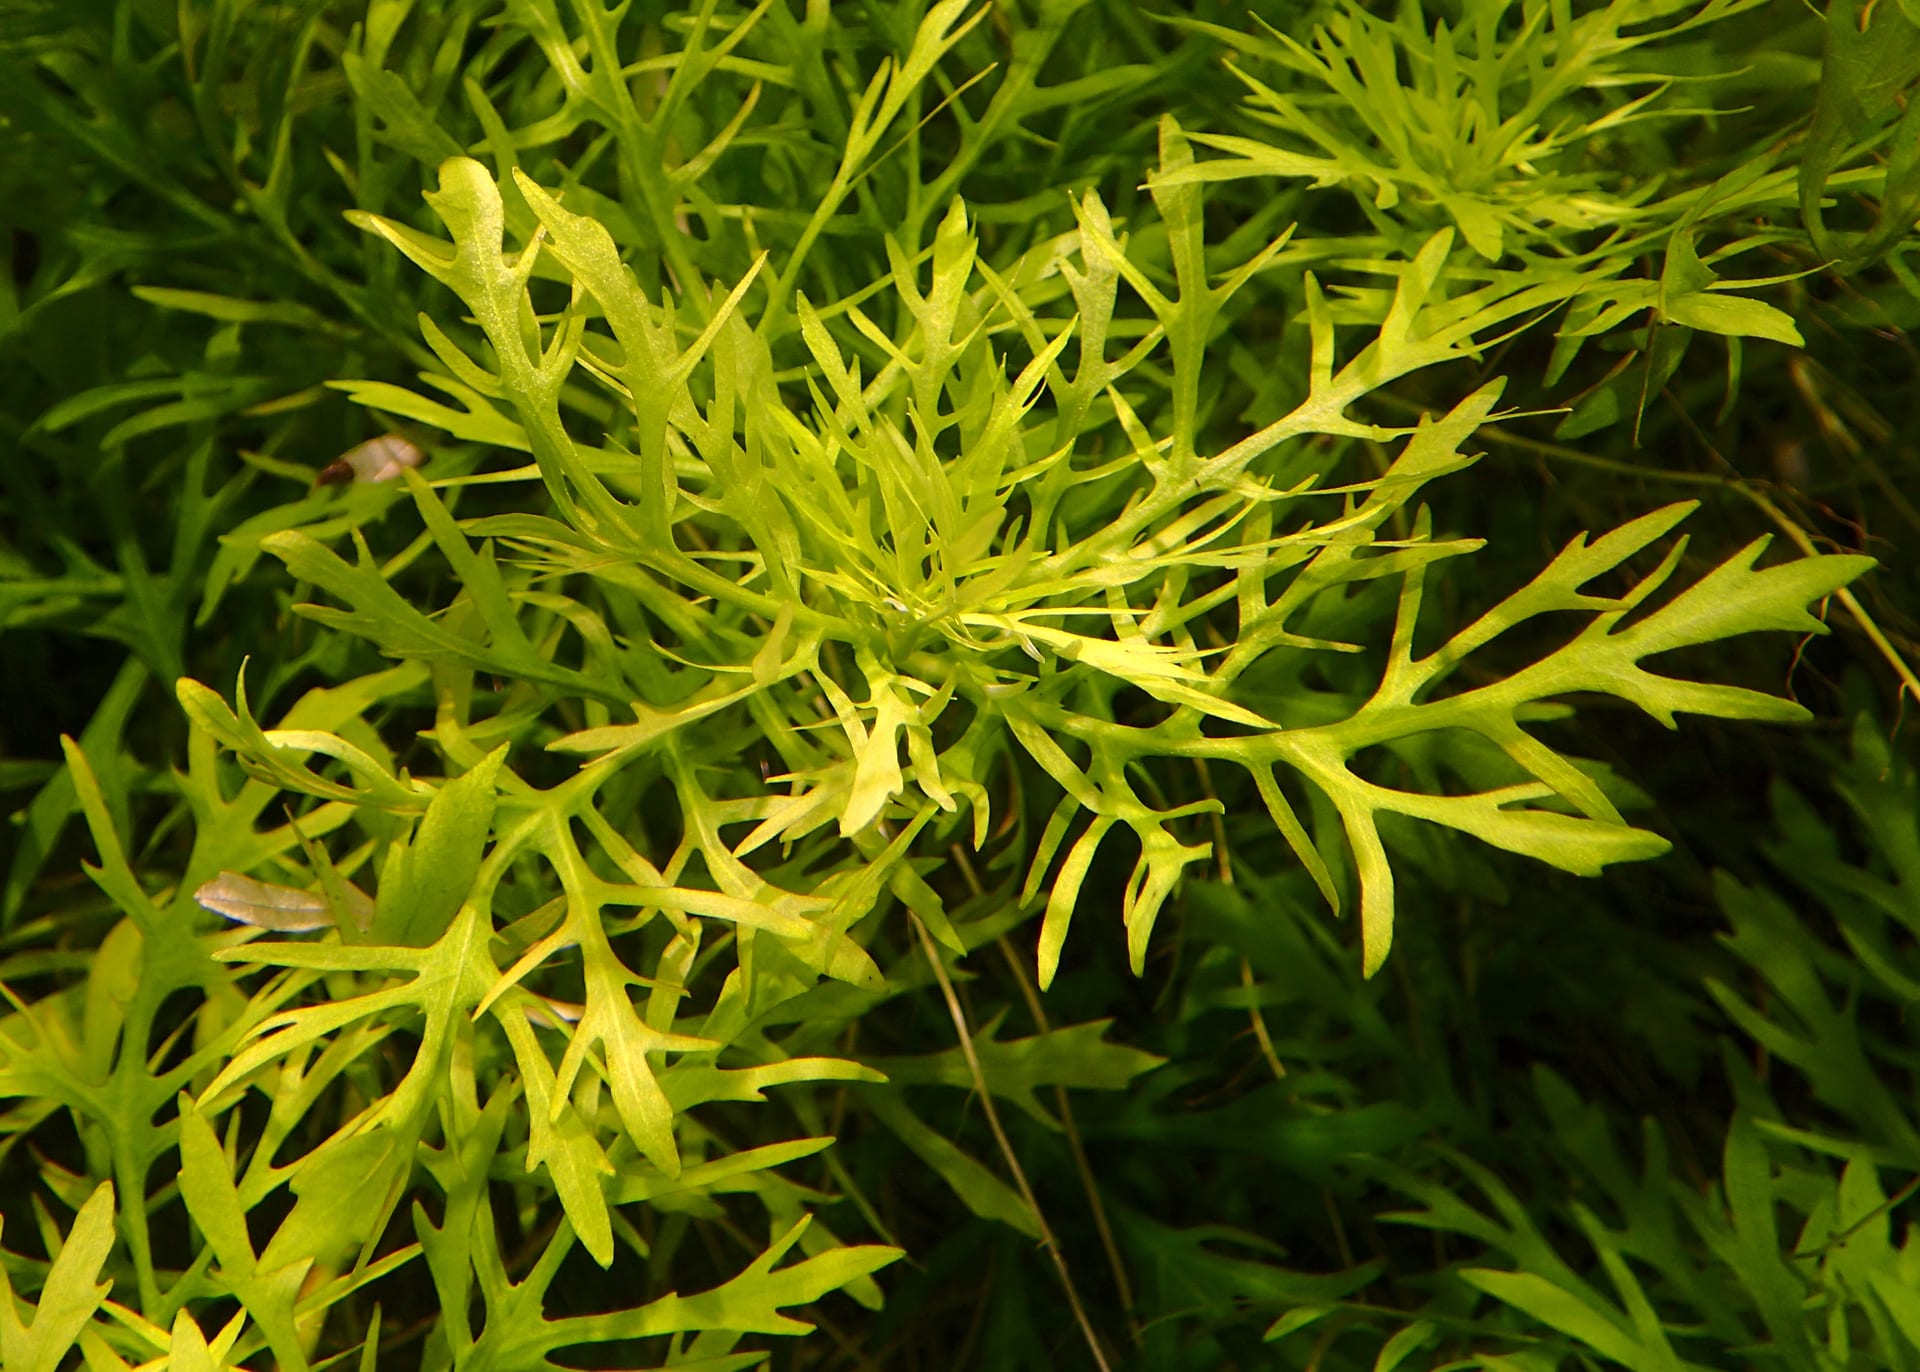
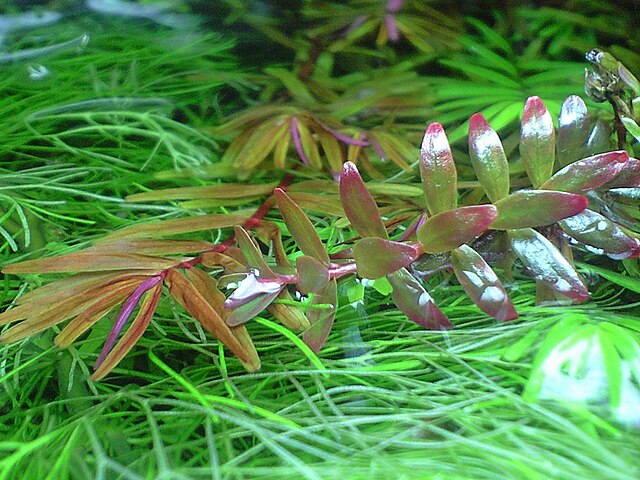
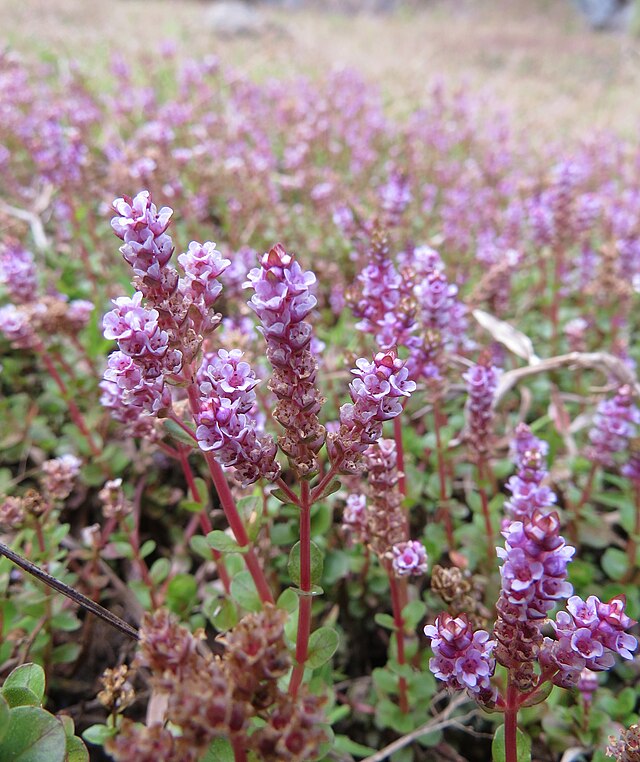
CO2 supplementation promotes photosynthesis in aquatic plants and is the most effective means of dramatically improving their growth. However, assembling proper equipment like cylinders and regulators can be expensive. This is where DIY CO2 supplementation using readily available materials comes into focus. Here, we'll explain in detail two representative DIY methods.
Fermentation (Yeast) CO2: How It Works and How to Make It
The fermentation method is the most accessible DIY CO2 supplementation approach.
Basic Principle When yeast is added to sugar water, fermentation produces alcohol and CO2. This CO2 is directed into the tank through tubing. Like the principle used in bread making, this method is safe.
Materials Needed
- Plastic bottle (500ml–1L)
- Air tubing
- Check valve
- Diffuser
- Sugar 100g
- Dry yeast 1g
- Water 400ml
- Gelatin (optional)
Total cost is around ¥1,000 to get started.
Instructions The gelatin method is recommended.
- Soak 5g gelatin in 100ml water
- Warm 100g sugar and 200ml water and dissolve
- Add gelatin and mix, pour into a plastic bottle, and set in the refrigerator
- Once set, add 100ml lukewarm water and 1g dry yeast, connect tubing to the cap, and seal
By solidifying the sugar with gelatin, fermentation speed stabilizes and CO2 continues to be produced over an extended period.
Duration Depending on temperature, CO2 is produced for approximately 2–4 weeks. Fermentation is faster in summer, shortening the duration, while it slows in winter.
Chemical Reaction CO2: How It Works and How to Make It
If you want more stable output than the fermentation method, the chemical reaction method is recommended.
Basic Principle Citric acid and baking soda react to produce CO2. Two plastic bottles are connected by tubing, one containing a citric acid solution and the other containing baking soda. By gradually introducing the citric acid solution into the baking soda bottle, stable CO2 production is achieved.
Materials Needed
- 2 pressure-rated plastic bottles (carbonated beverage type)
- Connecting tubing
- Check valve
- Speed controller
- Diffuser
- Citric acid 200g
- Baking soda 200g
Total cost is approximately ¥2,000–¥3,000.
Advantages Output is more stable than the fermentation method, and the amount added can be fine-tuned with a speed controller. It's also less affected by temperature changes.
Cautions Because pressure builds up inside the bottle, always use pressure-rated carbonated beverage bottles. Regular plastic bottles risk rupturing.
Advantages and Disadvantages of DIY CO2
Here's a breakdown of characteristics compared to the cylinder method.
Advantages The biggest appeal is the overwhelmingly low upfront cost.
- Materials are available at supermarkets and convenience stores
- For small tanks, adequate CO2 supply can be ensured
Disadvantages
- CO2 cannot be stopped at night
- Precise control of the amount added is difficult
- Output is insufficient for large tanks
- Regular material replacement requires effort
If you aim for a serious aquatic plant tank, consider eventually upgrading to a cylinder method system.
Safety Setup and Operation Tips
Here are important tips for safely operating DIY CO2.
Check Valve is Essential If water from the tank flows back into the CO2 generator, its contents will flow into the tank, causing serious problems. Always install a check valve.
Be Careful About Placement Fermentation progresses faster at higher temperatures, so avoid placing it where heat from the tank lighting reaches it. Ideally, place it in a location with stable room temperature.
Use Together with Aeration Because DIY CO2 continues to be added at night, it's recommended to set a timer to turn on aeration at night at the same time the lights turn off. This prevents oxygen depletion from excess CO2 at night.
Aquatic Plants That Are Easy to Grow with DIY CO2
There are many aquatic plants that can be adequately grown with DIY methods that don't require high CO2 dosing.
Recommended Species
- Rotala rotundifolia
- Pearl grass
- Green rotala
- Water wisteria
And others. These show clear growth promotion with even small amounts of CO2.
More Demanding Species
- Cuba pearl grass
- Glossostigma
These foreground plants require high CO2 levels and may be insufficient with DIY methods. If attempting them, ensure all other conditions are optimal.
DIY CO2 is an ideal first step in aquatic plant cultivation. At GrowerDirect, some growers carefully select and sell aquatic plants that are easy to grow even for CO2 supplementation beginners. When purchasing, asking about CO2 supplementation will get you specific advice tailored to your environment.
Upgrading from DIY CO2 to Professional Equipment
Once you've experienced the effects of aquatic plant cultivation with DIY CO2, consider upgrading to a professional CO2 supplementation system. The most common upgrade is to a cylinder method (large CO2 cylinder). The initial cost is approximately ¥15,000–¥30,000, but the running cost is very economical at around ¥1,000–¥2,000 per 1kg refill. For a 60cm tank, 1kg of CO2 lasts 3–6 months. The five necessary pieces of equipment are:
- Regulator (pressure reducer)
- Solenoid valve
- Timer
- Bubble counter
- Diffuser
By combining a solenoid valve and timer, automatic ON/OFF synchronized with lighting is achieved, eliminating nighttime oxygen depletion risk. While small cylinder methods have lower upfront costs, they require frequent cylinder changes, making large cylinders more cost-effective in the long run. The sense you develop with DIY CO2 of gauging the relationship between supplementation amount and plant response is a skill you can apply directly to professional equipment.
DIY CO2 Troubleshooting
Here's a summary of common problems with DIY CO2 and how to address them.
| Problem | Solution |
|---|---|
| "CO2 has stopped coming out" | If using fermentation method, the sugar has been consumed. Replace with a fresh solution. If using the chemical reaction method, the citric acid or baking soda may have run out |
| "CO2 is coming out too fast" | In the fermentation method, it's due to high temperature. Move it to a cooler location or dilute the solution with water |
| "Bubbles are leaking from the tubing connection" | Improve the seal with silicone-based adhesive or Teflon tape |
| "The check valve is clogged" | Calcium or other deposits may be adhered to it. Regular cleaning by soaking in a citric acid solution usually restores it |
| "Bubbles from the diffuser are too large" | The diffuser may be clogged. Soaking it overnight in bleach and rinsing thoroughly with water usually revives it |
DIY CO2 Cost Analysis
Let's calculate the actual cost of DIY CO2.
| Method | Materials and Cost | Duration | Monthly Cost |
|---|---|---|---|
| Fermentation | Sugar 500g (approx. ¥200), dry yeast 3g (approx. ¥30) | Approx. 2 weeks | Approx. ¥460 |
| Chemical reaction | Citric acid 200g (approx. ¥300), baking soda 200g (approx. ¥200) | Approx. 1 month | Approx. ¥500 |