Caudex Plant Photography Guide — Conveying Caudex Impact
Caudex photography: lighting for form emphasis, backgrounds, Instagram-worthy compositions, and listing photo tips.
Key Takeaways
Caudex photography: lighting for form emphasis, backgrounds, Instagram-worthy compositions, and listing photo tips.
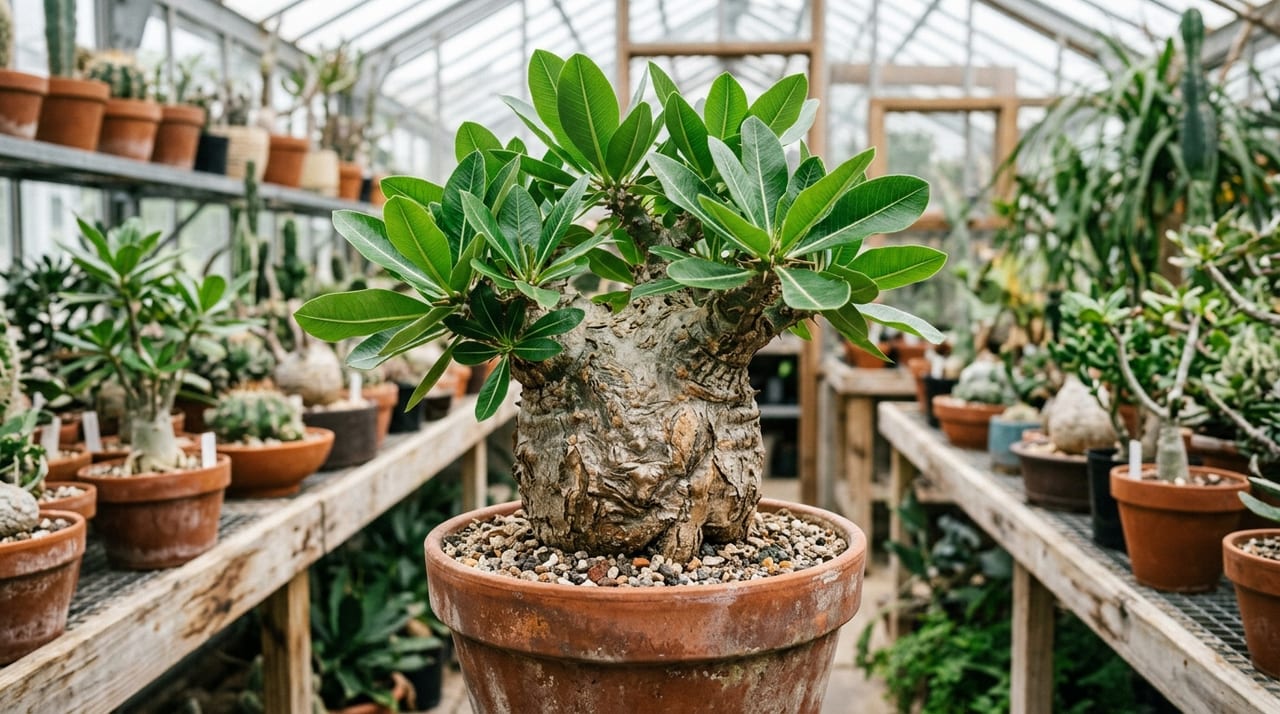
Caudex plants captivate through their sculptural forms — swollen bases storing water through drought, deeply furrowed bark telling decades of survival, and gnarled branches reaching outward with quiet determination. Capturing these qualities in photographs requires more than pointing a camera; it demands deliberate control of light, composition, and perspective. Whether you're sharing on social media or creating compelling sales listings, mastering caudex photography will set your plants apart.
Lighting Determines 80% of Photography Quality
No single factor shapes a caudex photograph more than light quality and direction.
Natural diffused light is your strongest ally. Shoot during the soft hours of early morning or on overcast days when light scatters evenly across the surface. Harsh midday sun casts deep, unflattering shadows that obscure the very textures you want to highlight — avoid it entirely for close-up caudex work.
Sidelighting is the technique that separates good caudex photos from great ones. Position your light source at a 45–90 degree angle to the plant. This raking light catches every ridge and furrow of the bark, creating micro-shadows that reveal incredible surface texture. The dimensionality it adds to a wrinkled Pachypodium or a thick-skinned Adenium is immediately apparent.
Toplighting works well for plants with rounded, dome-shaped caudexes like Dioscorea elephantipes, illuminating the segmented surface evenly. However, pure overhead light can flatten the image — add a slight side component to restore depth.
Backlighting creates dramatic silhouettes, particularly effective for plants with intricate branching structures. Position a window or lamp behind and slightly above the plant. The caudex outline glows while the branches and leaves become graphic, dark shapes — a striking compositional choice for artistic shots.
Reflectors are simple but essential. A sheet of white cardboard or crumpled aluminum foil placed opposite your light source bounces fill light into shadow areas, preventing the dark side from losing all detail. This small addition dramatically improves the overall balance of your image.
Composition and Framing for Maximum Impact
The most powerful caudex photographs treat the plant as sculpture rather than documentation.
Get low. Shooting from slightly below the caudex level — or even at ground level — gives the plant a sense of mass and presence that top-down shots never achieve. This angle exaggerates the width of the base relative to the upper growth, emphasizing the very quality that makes caudexes so compelling.
Fill the frame. Resist the urge to show the entire pot. Move close enough that the caudex occupies at least two-thirds of the frame. Every detail — the surface texture, the root flare, the transition from caudex to stem — becomes visible and engaging.
Use negative space intentionally. A single Euphorbia obesa against a clean white or neutral grey background feels sculptural and minimal, drawing all attention to the plant's geometry. Avoid busy backgrounds that compete with the subject.
Show the root system. For show-grade plants with exposed aerial roots or nebari, position the camera to emphasize this feature. A slightly elevated planting with visible root spread instantly signals quality to knowledgeable buyers.
Macro Photography for Texture Detail
The bark and surface of a mature caudex contains extraordinary visual detail that standard photography rarely captures.
Use a macro lens or your smartphone's portrait/close-up mode to isolate specific areas — the deeply fissured bark of a large Pachypodium lamerei, the geometric tubercles of a Euphorbia, or the papery peeling surface of an Operculicarya. These intimate details tell a story about age and character that wide shots cannot convey.
When shooting macro, depth of field becomes critically shallow. Focus on the area of peak visual interest — usually the widest point of the caudex or its most textured surface — and let the background and surrounding elements fall softly out of focus. This bokeh effect isolates the subject and adds a professional quality to the image.
A tripod or stable surface is essential for macro work; even slight movement causes blur at these magnifications.
Background and Styling Choices
Your background choice communicates the plant's positioning — as a rare collector's specimen, a rustic natural subject, or a clean commercial product.
White or light grey seamless backgrounds work best for sales listings. They eliminate distraction, allow accurate color representation, and look professional across all platforms. A simple sheet of white poster board behind and beneath the plant achieves this instantly.
Natural textures — weathered wood, terracotta, stone — complement caudex plants beautifully for lifestyle photography. The natural materials echo the plant's own organic character.
Avoid synthetic or brightly colored backgrounds that pull attention away from the plant. Patterned fabrics or cluttered shelves diminish the impact of even exceptional specimens.
The pot itself matters. A caudex displayed in an appropriate bonsai pot or handmade ceramic reads as curated and valuable; the same plant in a generic black nursery container looks like stock. If you're photographing for sales, pot presentation is worth the investment.
Post-Processing Essentials
Even technically excellent photographs benefit from minimal editing. Adjust white balance to render the caudex's true color — cool light from windows often adds unwanted blue tones. Increase contrast slightly to deepen the shadows in bark texture, making wrinkles and ridges more defined. Lift the highlights gently if surface detail is getting lost.
Avoid heavy filters or saturation boosts that misrepresent the plant's actual color. Buyers purchasing based on photographs expect accuracy — overly processed images erode trust and lead to disappointment upon arrival.
Shoot in your phone's highest resolution setting, and if available, use RAW format for maximum editing flexibility.