Air Layering Guide for Houseplants — Propagating Monstera & Ficus
Air layering propagation for houseplants: when to use it over cuttings, suitable species including Monstera and Ficus, sphagnum moss technique, and post-separation care.
Key Takeaways
Air layering propagation for houseplants: when to use it over cuttings, suitable species including Monstera and Ficus, sphagnum moss technique, and post-separation care.
Related Species
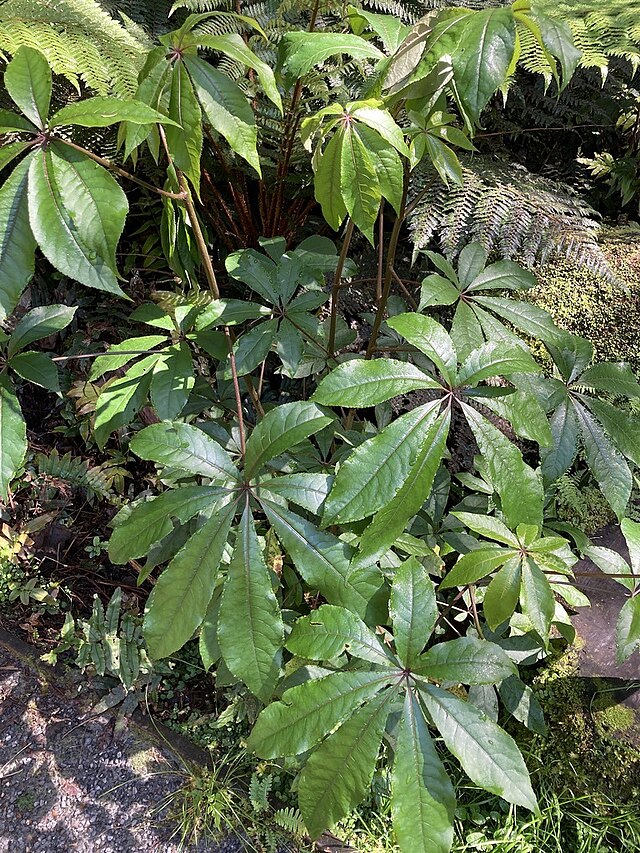
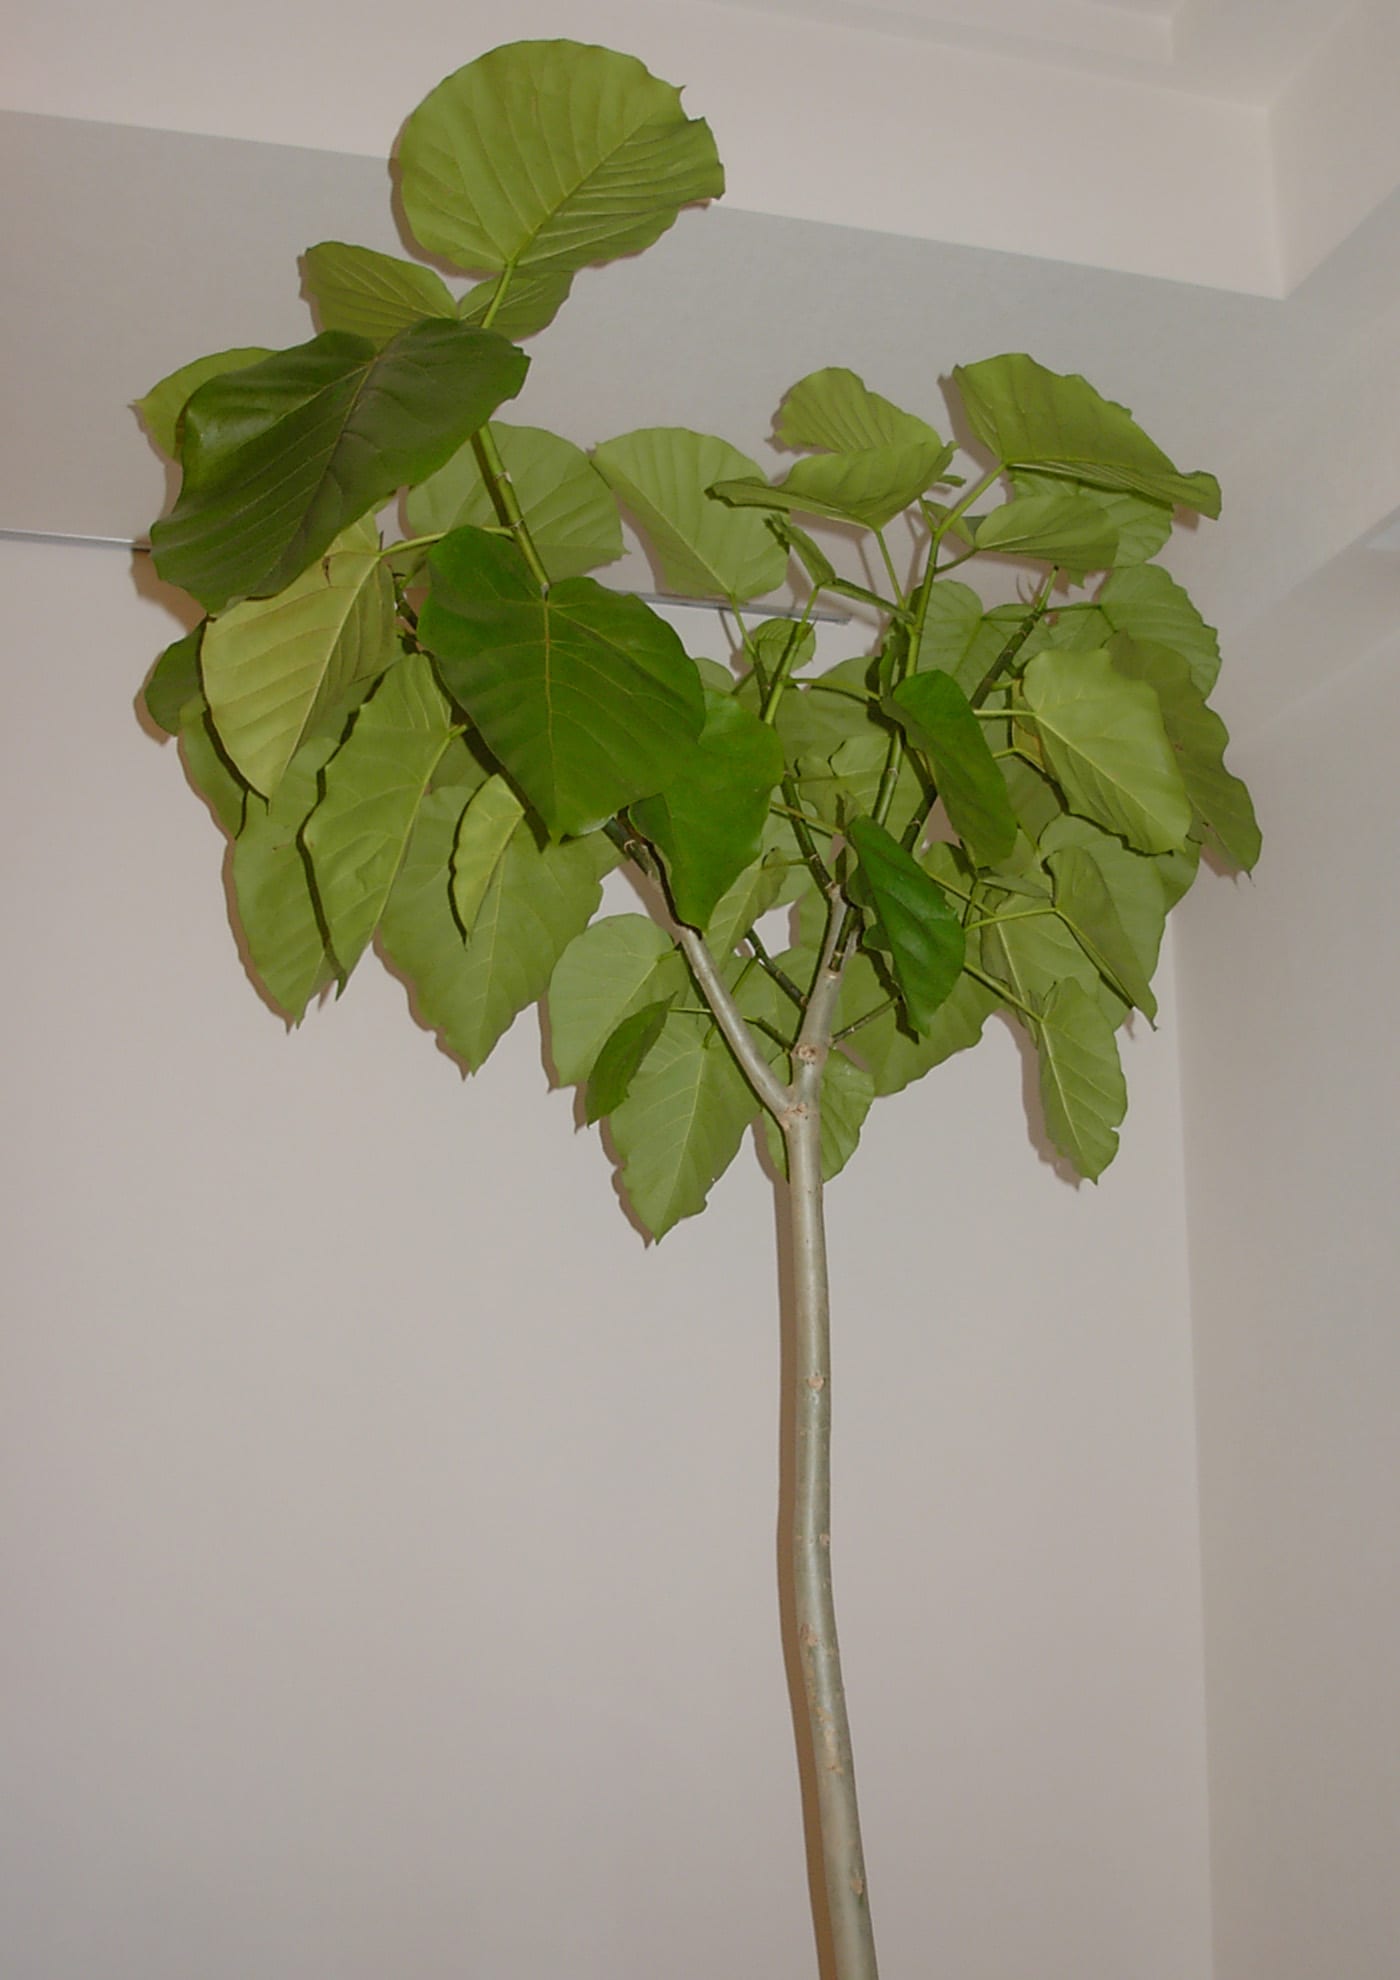
Air Layering Guide for Houseplants: Propagating Monstera, Ficus, and More
When you want to propagate a large houseplant with a thick, woody stem that's difficult to root from cuttings, air layering (also called high-pressure layering or marcotting) is the most effective technique available. Air layering causes roots to develop on the parent plant before you ever make a cut — producing a large, already-rooted specimen in a single step, with success rates far higher than stem cuttings alone.
This guide covers the mechanics of air layering, tools and materials, step-by-step procedure, post-separation care, and troubleshooting.
How Air Layering Works
Air layering exploits a fundamental aspect of plant physiology. Sugars produced by photosynthesis in the leaves travel downward through the phloem (the inner bark layer). When a ring of bark is removed (a technique called girdling or ring-barking), this downward flow is interrupted. Sugars and the rooting hormone auxin accumulate just above the wound — and this hormonal buildup triggers root initiation at the wound site.
When to Use Air Layering
Air layering is the right choice when:
- The plant has a thick, rigid stem that cannot easily be taken as a cutting (Ficus benjamina, rubber tree, etc.)
- A large plant has become leggy — all the leaves are at the top and the lower trunk is bare — and you want to start a fresh, compact plant
- You want a higher success rate than standard cuttings provide
- You need a large-sized plant quickly
Best Candidates for Air Layering
Ficus species (F. benjamina, F. lyrata, F. elastica / rubber tree): Thick stems make cuttings challenging; air layering works very reliably. Wear gloves — the milky sap (latex) can irritate skin.
Monstera deliciosa and large Monsteras: Ideal when a plant has grown too large and you want to divide it, or when you want to root a section bearing aerial roots.
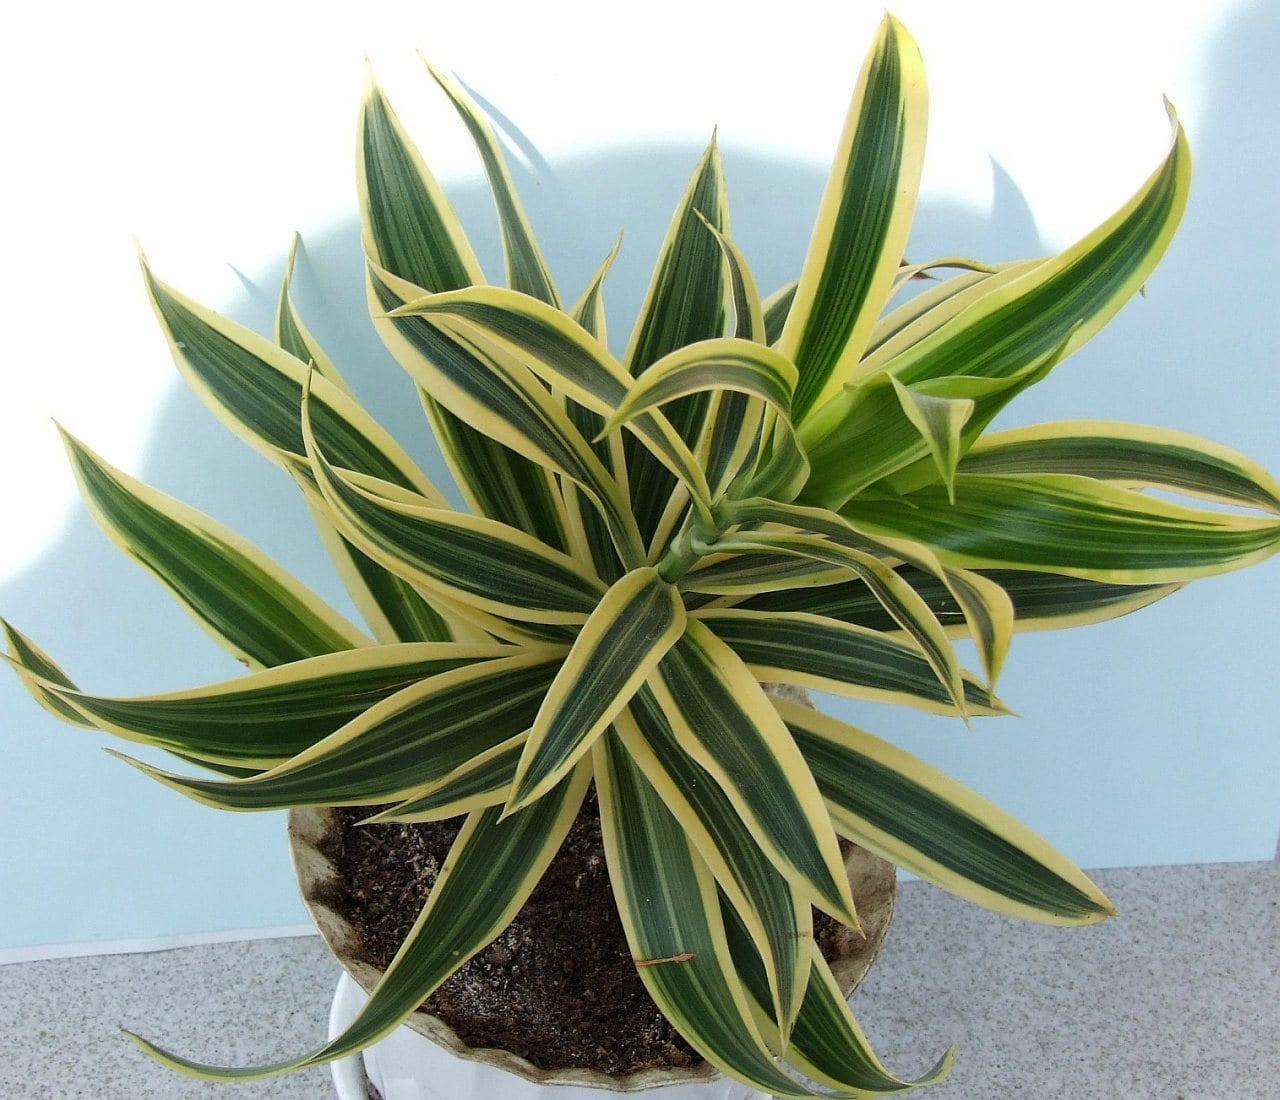
Dracaena species: Even aged, bare-stemmed Dracaena can be air-layered to produce new plants.
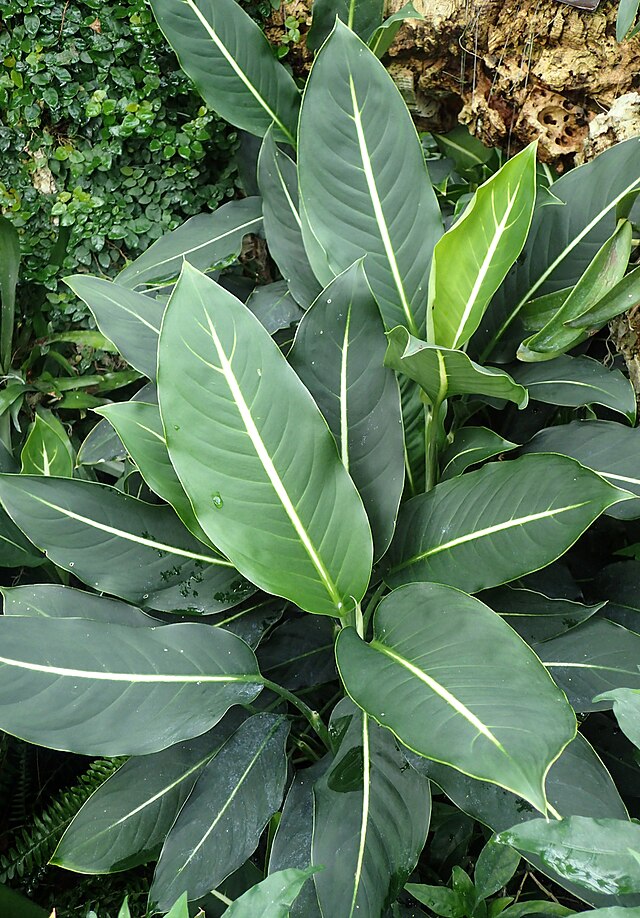
Dieffenbachia: Useful for renewing long, stretched stems.
Croton (Codiaeum): Difficult to root from cuttings; air layering offers much better odds.
Schefflera (umbrella plant) and Polyscias: Suitable for renewal of leggy stems.
Tools and Materials
- Sphagnum moss: The ideal medium — retains enough moisture to keep roots alive while still allowing aeration.
- Clear plastic wrap or a clear plastic bag: To retain moisture around the moss.
- Grafting tape or clear plastic tape: To seal the wrap above and below.
- Clean sharp knife or razor blade
- Rooting hormone powder or gel: Optional, but typically accelerates rooting by 2–3 weeks.
- Gloves: Especially important for Ficus and other latex-producing species.
Step-by-Step Procedure
Step 1: Select the Location
Choose a healthy section of stem with a few leaves above it. The ideal position is 2–5 cm below a node (the point where a leaf attaches or a root is likely to emerge). Working near a node improves rooting success.
Step 2: Ring-Bark the Stem (Girdling)
This is the most critical step. Remove a ring of bark 1–2 cm wide all the way around the stem.
Procedure:
- Make two parallel cuts with a knife, spacing them 1–2 cm apart, cutting all the way around the stem through the outer bark.
- Carefully peel away the bark strip between the two cuts, exposing the hard white wood (xylem) underneath.
- Scrape away any remaining inner bark (phloem/cambium) to prevent the phloem from re-healing and restoring the interrupted flow.
Important: Do not cut into the hard central xylem — that would structurally weaken or kill the stem above the cut.
Step 3: Apply Rooting Hormone (Optional)
Dust or paint rooting hormone onto the exposed wound. This step is optional but accelerates root emergence.
Step 4: Apply Moist Sphagnum Moss
Soak sphagnum moss in water, then wring it out until it is moist but not dripping — you want it to feel like a damp sponge. Form a generous ball of moss (roughly 5–10 cm diameter) centered over the wound.
Step 5: Seal with Plastic Wrap
Wrap the sphagnum moss tightly in clear plastic wrap or enclose it in a clear plastic bag, extending the wrap 10–15 cm above and below the moss ball. Seal the top and bottom edges with grafting tape or plastic tape to prevent moisture loss.
The goal is an airtight, moisture-retaining chamber around the moss.
Step 6: Wait for Roots
Continue caring for the parent plant normally. Rooting timelines vary:
| Species | Typical rooting time |
|---|---|
| Ficus species | 4–8 weeks |
| Monstera | 4–6 weeks |
| Dracaena species | 6–10 weeks |
| Croton | 6–10 weeks |
Watch through the clear plastic. When white roots become visible, and they have grown to 2–5 cm in length, the layer is ready to separate.
Separating and Potting
Separation
- Carefully open the plastic wrap and inspect the roots.
- When you have at least five to ten roots, each 2–5 cm long, cut the stem cleanly below the root ball.
- Leave the sphagnum moss attached to the roots — removing it risks tearing the newly formed roots. Plant the entire root-and-moss unit.
Potting
- Use a well-draining but moisture-retentive potting mix (standard tropical houseplant mix with some added perlite).
- Choose a pot only slightly larger than the root ball.
- Set the moss-root ball in the center of the pot and fill in around it with fresh mix.
- Water thoroughly.
Post-Separation Care
The new plant's root system is still young and fragile. For the first two to four weeks:
- Keep in bright indirect light — no direct sun
- Mist leaves once or twice daily to maintain high humidity
- Water only when the top of the mix has dried (do not overwater)
- Hold off on fertilizing for the first four weeks
Troubleshooting
No roots forming:
- The phloem was not completely removed — re-girdle and scrape more thoroughly
- The moss has dried out — open the plastic, remoisten the moss, and re-seal
- Temperature is too low — air layering is most successful between 20–30°C; the best season is May through September
Mold in the moss: Caused by excessive moisture or air infiltration. Replace the sphagnum with fresh moss and re-seal the wrap more tightly.
Leaves wilting after separation: Usually means the roots were insufficient at time of separation. For future attempts, wait until you see a denser root mass before cutting.
Looking for large, established foliage plants propagated through proven techniques? On GrowerDirect, experienced plant growers offer quality specimens directly — find your next Monstera, Ficus, or statement foliage plant at botachoku.com.