Fixing Stretched Succulents: A Practical Recovery Guide for Correcting Light-Deficiency Etiolation
This guide explains leaf propagation, stem cuttings, and beheading techniques to restore light-starved succulents to healthy form, plus how to create proper light conditions to prevent recurrence.
Key Takeaways
This guide explains leaf propagation, stem cuttings, and beheading techniques to restore light-starved succulents to healthy form, plus how to create proper light conditions to prevent recurrence.
Related Species
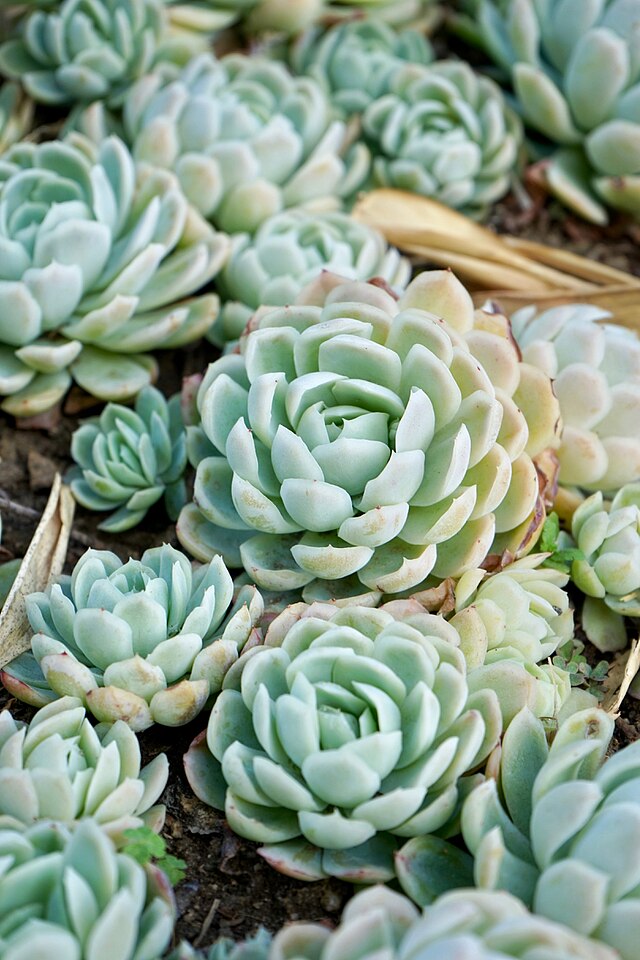
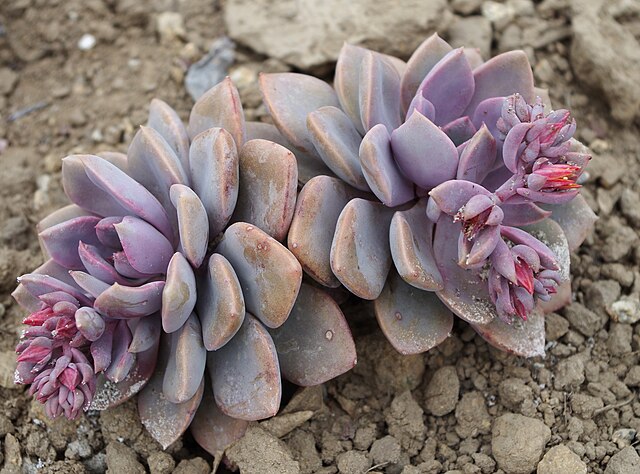
Succulent etiolation is a phenomenon where plants stretch their stems excessively in search of light due to insufficient light. Etiolated plants lose ornamental value compared to their naturally compact, densely-formed appearance, but can be restored to their original beauty with proper techniques. This guide covers the causes of etiolation, specific steps for correction, and how to create a light environment to prevent recurrence. If you'd like to start with healthy plants from the beginning, we recommend purchasing directly from trusted growers on GrowerDirect's succulent page.
Causes and Signs of Etiolation
Main causes
- Insufficient sunlight (even indoors on windowsills, light is often insufficient)
- Insufficient hours of sunlight (extended overcast days during rainy seasons and winter with weak light)
- Pots crowded too closely together, creating shade for one another
- Plants placed with their backs to the light source
Signs of etiolation
- Internodes on stems become elongated and stretched
- Leaves become abnormally large with increased spacing between them
- Leaf color becomes pale (yellowish-green or whitish) with a washed-out appearance
- Overall appearance becomes thin and weak-looking
Etiolated plants have thinner cell walls and higher water content than healthy plants, making them prone to leaf burn when suddenly exposed to strong light. Rushing correction work can damage the plant, so it's important to first assess the degree of etiolation and choose an appropriate treatment. Mild etiolation (slight internode elongation) can be halted simply by improving light conditions, but cases with significant stem stretching require physical correction.
What to Check Before Correction
Before starting etiolation correction work, check the following points.
Choosing the right timing
Correction work on succulents is best done during active growth periods in spring (March–May) or autumn (September–November). As with typical years, summer heat and winter cold slow rooting and increase the risk of cuts becoming waterlogged or damaged. Avoid the rainy season through peak summer in particular; if correction must be done during this period, ensure rigorous drying management of cut surfaces.
Tool preparation
- Utility knife or pruning shears (sterilize with alcohol before use)
- Fresh soil (well-draining mix for succulents and cacti)
- Clean pot
- Fungicide (sulfur powder or similar, optional)
Applying fungicide to cut surfaces is not essential, but using it during high-humidity periods from rainy season through summer provides reassurance against rot.
Three Methods for Correcting Etiolation
1. Beheading (Stem Cutting)
The most effective method, allowing you to reset the entire etiolated plant.
Steps
- Use a clean knife to cut the stem of the etiolated plant. Cut approximately 2–3 cm above the base.
- Separate the upper cutting from the lower rooted portion.
- Allow the cut surfaces to dry in shade for 2–5 days until white callus forms.
- Insert the dried cutting into fresh soil. Alternatively, it can be placed on top of the soil and still root.
- Hold off watering until roots appear, then confirm rooting before returning to normal care.
The remaining base often produces new shoots (offsets), allowing you to propagate multiple plants from one. A major advantage is that newly grown plants, starting in proper light conditions from the start, are unlikely to revert to etiolation.
2. Leaf Propagation
This method involves removing individual leaves to produce roots and shoots. It works best with thick-leaved varieties such as Echeveria, Graptopetalum, and Sedum.
Steps
- Gently rock a healthy leaf side-to-side while pulling it from the base (be careful not to break it partway, or it won't sprout).
- Allow the cut surface to dry, then place the leaves flat on the soil surface.
- Keep in a bright location away from direct sunlight, misting lightly to maintain humidity.
- Roots appear within 1–2 weeks, followed by small rosettes.
- Once they've grown somewhat, transplant into regular pots.
While leaf propagation takes time, it's effective when you want to propagate many plants at once or make full use of lower leaves removed during beheading.
3. Stem Cuttings
This method involves cutting off the apical or lateral shoots of etiolated plants to establish them as separate plants. Since the original plant also produces new shoots, you can increase to 2–3 plants at once.
Steps
- Cut a 5–10 cm section of stem from the densely-leaved portion.
- Remove 2–3 lower leaves to expose the stem.
- Allow the cut surface to dry for 2–5 days.
- Insert into dry soil, holding off watering for the first 1–2 weeks.
- Once rooting is confirmed, resume normal watering.
Gradual Light Acclimation for Etiolated Plants
Etiolated plants or newly corrected plants will suffer sunburn if suddenly exposed to intense light, as their leaf cells lack protective mechanisms against strong light. Gradual acclimation is essential.
Stage-by-stage guidance
- Weeks 1–2: Bright shade (windowsill without direct sun, approximately 70% shade cloth)
- Weeks 3–4: Direct morning sun only (2–3 hours)
- Weeks 5–6: 4–6 hours of direct morning sun
- Week 7 onward: Move to conditions matching the species' optimal light requirements
This gradual transition allows time for anthocyanins (red pigments) and UV-defense mechanisms in leaves to adapt. Depending on the species, moving to appropriate light levels causes leaves to tighten, with red coloration or white bloom (epicuticular wax) appearing for a much more compact appearance.
Creating Light Conditions to Prevent Recurrence
Outdoor cultivation
Most succulents thrive in direct outdoor sunlight. During spring and autumn, provide abundant direct sun. In summer, use 30–50% shade cloth to avoid afternoon sun and intense midday light. In winter, an ideal location is a frost-free, sunny spot; eaves or a simple cold frame provide good protection.
Indoor cultivation
Even south-facing windowsills often lack sufficient light, so indoor growers can prevent etiolation by using full-spectrum, high-PAR plant LEDs as supplemental lighting. Position LEDs about 10–20 cm from the plant and manage with a timer for 12–14 hours daily for best results.
Daily care tips
- Rotate pots 1–2 times weekly to ensure even light from all directions.
- Avoid crowding pots; maintain proper spacing to allow light to reach each plant's leaves.
- Develop a habit of reviewing placement as seasons change.
Correcting etiolation is labor-intensive, but addressing it properly can restore plants to health. The key is fundamentally reviewing light conditions—placing the corrected plant in the same location will restart etiolation. Combine correction with environmental improvements to cultivate naturally compact, beautiful succulents. If you'd like to start with better growing conditions, we recommend choosing healthy plants from experienced growers at GrowerDirect while getting their advice.