Complete Bonsai Tree Selection & Development Roadmap for Beginners | Phase-by-Phase Management Strategy from Year 1 to Year 5
Bonsai success for beginners depends on choosing the right tree species. This guide details the process of selecting beginner-friendly species like five-needle pine and common juniper, and developing them into refined bonsai through phased management over five years. We provide a five-year roadmap that advances through tree form foundation building, adjustment, and completion.
Key Takeaways
Bonsai success for beginners depends on choosing the right tree species. This guide details the process of selecting beginner-friendly species like five-needle pine and common juniper, and developing them into refined bonsai through phased management over five years. We provide a five-year roadmap that advances through tree form foundation building, adjustment, and completion.
Related Species
Five Beginner-Friendly Species: Trees Unlikely to Fail
When starting bonsai, the choice of tree species directly affects how quickly you learn and how much you enjoy the craft. Beginning with species that demand strict care often leads to repeated failures, causing discouragement before you experience the true appeal of bonsai. Beginners are wise to choose from the following species.
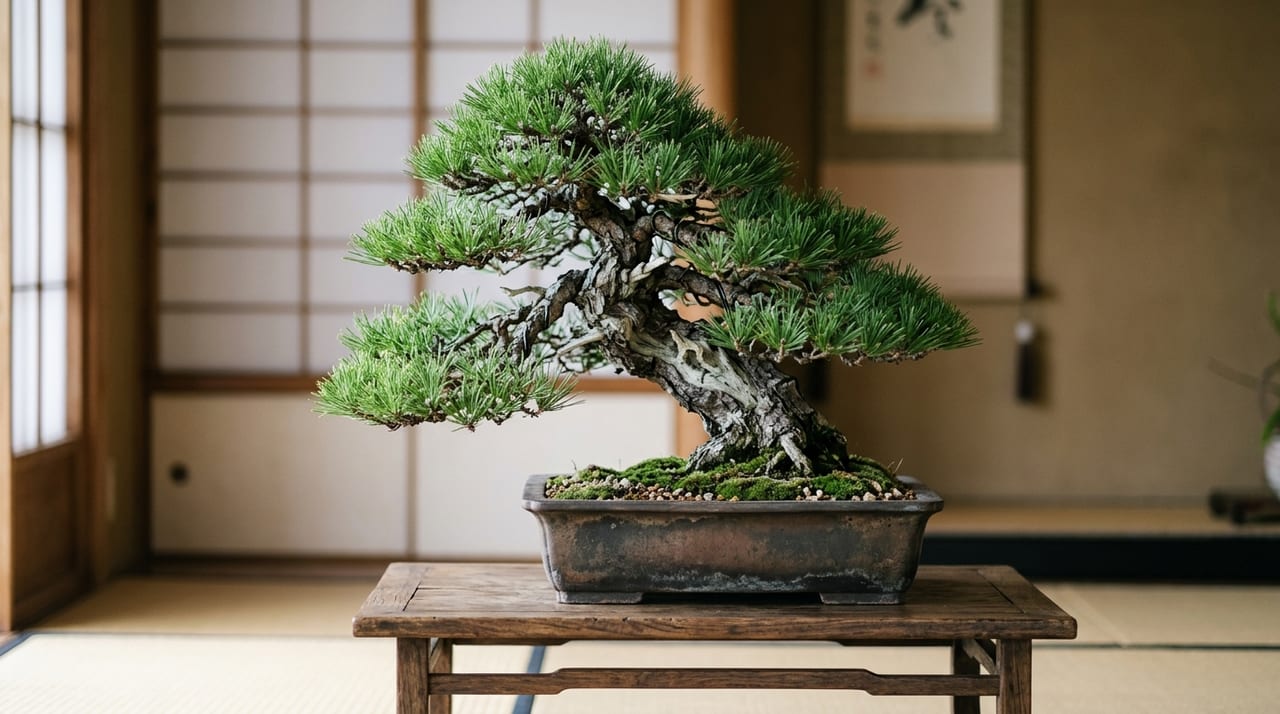
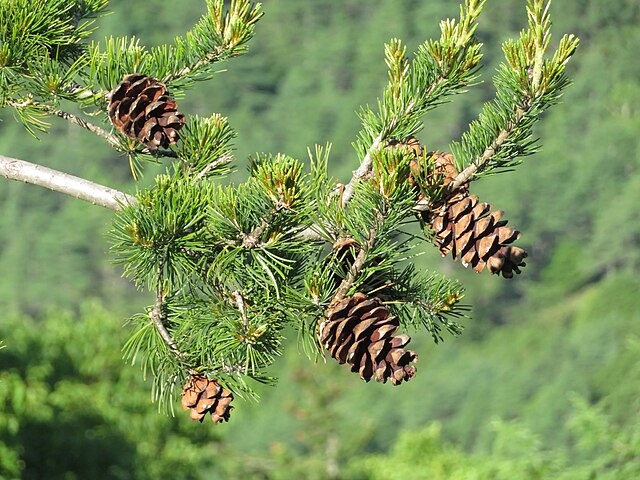
- Five-needle pine: Growth is slow, and it has the strength to endure minor watering mistakes. The dense needle foliage and the pine's characteristic sturdy bark create a tree that easily conveys the essence of bonsai.
- Common juniper: Vigorous and healthy, it allows you to enjoy the beauty of deadwood (jin and shari) from an early stage. It tolerates dryness reasonably well and recovers even if watering frequency is somewhat off.
- Japanese maple: Rich with seasonal changes—spring budbreak, summer foliage, autumn color. Its relatively fast growth makes pruning and wiring practice straightforward, and skill development is easy to feel.
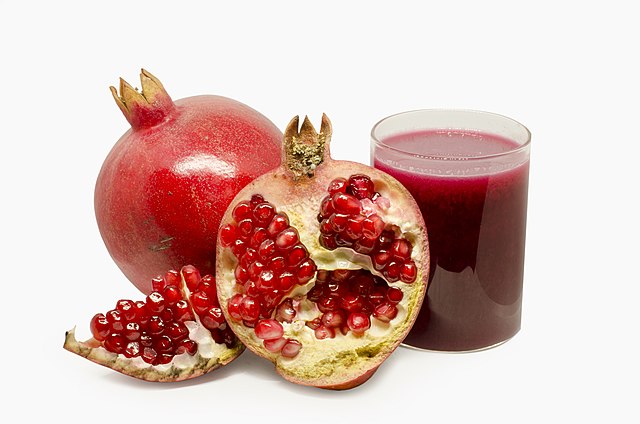
- Pomegranate: Popular as a deciduous species where you can enjoy both flowers and fruit. Its roots establish quickly and vigor is strong, making it relatively easy to handle.
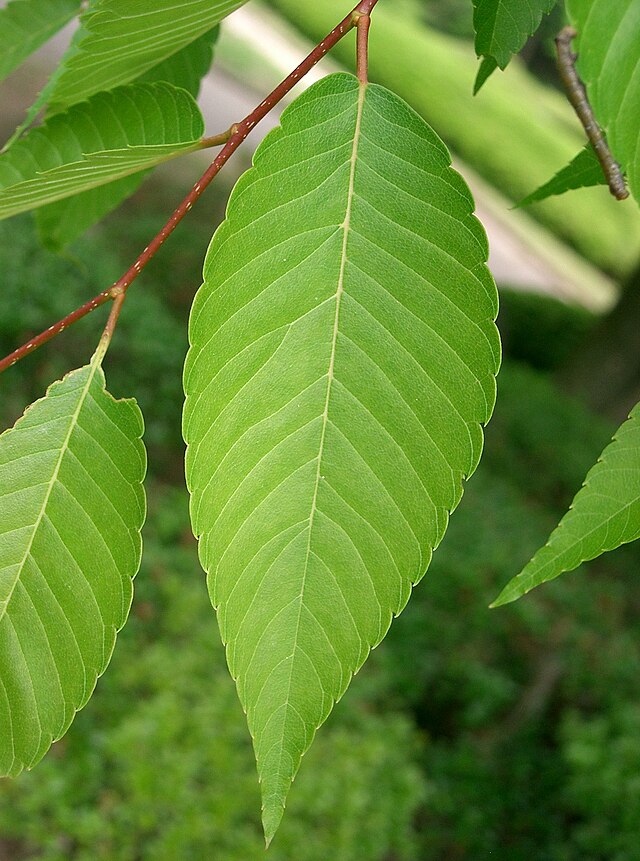
- Japanese zelkova: Easy to develop into the beautiful "broom-style" form, and you can systematically learn the fundamentals of deciduous tree care.
Conversely, satsuki azalea has a narrow pruning window after flowering, and plum demands strict water management and pruning timing. It is better to tackle these species after gaining at least two years of experience, as success will come more easily.
Year 1: Keeping the Tree Alive Is the Only Goal
The honest goal of year one is "keeping the tree alive." Before trying to shape the tree, you must first learn what is "normal" for that species.
Watering is your first hurdle. The rule is "water thoroughly when the soil is dry," but it takes a few weeks to get used to recognizing when soil is truly dry. Water generously until it drains from the pot's bottom, and be strict about never letting water sit in the saucer. In summer, you may need to water twice—morning and evening.
The basic location is a bright outdoor spot. I understand the urge to display indoors, but most species weaken in insufficient light indoors. Ideally, keep the tree outdoors in a bright place and bring it inside only when you want to enjoy it.
During the growing season from spring to autumn, apply solid slow-release fertilizer roughly once or twice a month. In year one, building vigor in the tree takes priority, so it is fine to feed a bit generously. Over this year, mastering the three essentials—watering, location, and fertilizer—as habits will become the foundation for all future care.
Year 2: Deciding the Direction of the Tree Form
By year two, the tree has become accustomed to its environment and you will see vigorous new growth. This is when you begin thinking about the shape you want to develop.
First, decide the front of the tree. Observe the trunk's angle, the spread of the root collar (nebari), and the branch flow from multiple angles, then designate the most natural and attractive side as the "front." Since changing the front changes all future management, decide carefully.
Next, remove unwanted branches. Cut branches that disrupt the shape from below, inward-facing branches, and over-extended shoots at their base. Applying wound dressing to the cut prevents infection.
From the latter half of year two, wrap aluminum wire 2–3 mm in diameter around thick branches and begin adjusting the angles of the primary trunk and main branches. Wrap the wire at about a 45-degree angle to the branch, and remove it before it bites in. Wire marks that do bite in are hard to erase, so make it a habit to check every 2–3 months.
Year 3: Solidifying the Skeleton and Refining Details
By year three, the framework of the tree form (primary trunk and primary and secondary branches) becomes obvious at a glance, and the tree takes on true bonsai character. This is when you begin focusing on "finishing work" and enjoyment of care deepens.
Arrange branches so that viewed from above, each spreads radially without overlap. To keep adjacent branches at different heights, keep upper branches shorter and lower ones longer for balance.
Use finer wire, 1–1.5 mm in diameter, on smaller branches (secondary and tertiary). By refining the details, you create a sense of density where "there appear to be many more branches," enhancing the overall fullness of the tree.
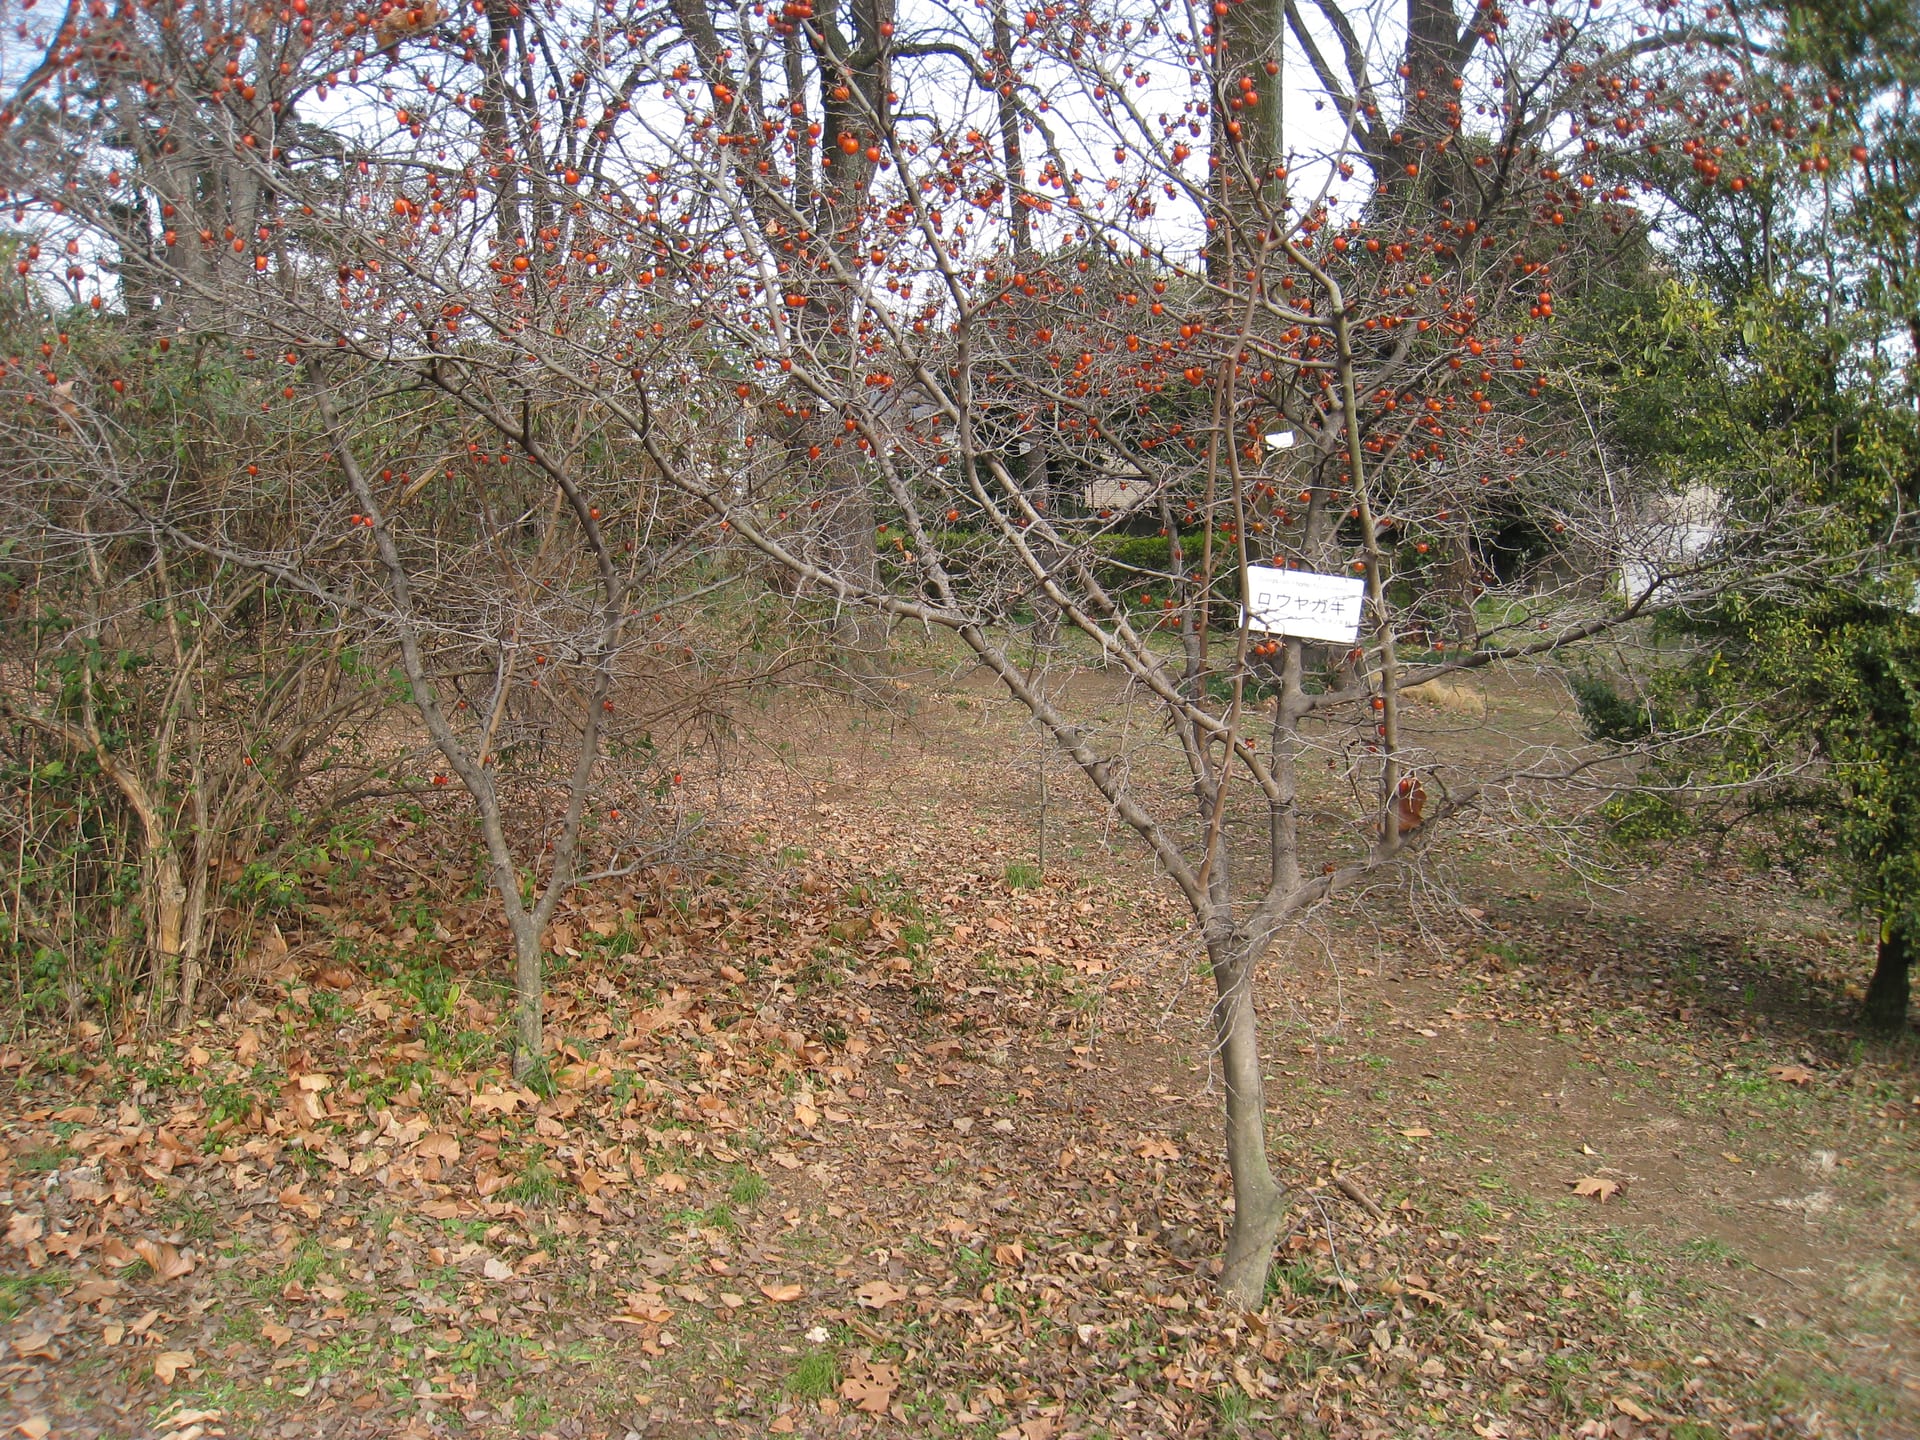
Fruit-bearing species (pomegranate, old-man persimmon, etc.) may begin flowering this year. Even if flowers appear, still prioritize building vigor in the tree. Allowing full fruit set can reduce vigor the following year, so consider thinning fruit to conserve the tree's energy.
From year two onward, gradually reduce pot size. Smaller pots restrict root extension, increasing fine roots and improving root-soil contact. At each repotting, loosen the roots and transition to progressively smaller pots while preventing root binding.
Years 4–5: The Finishing Stage—Drawing Out Beauty
By year four, your care routines are ingrained. The rhythm of watering, pruning, and wiring flows naturally, and your dialogue with the tree deepens. From this stage onward, you can focus on "bringing out beauty."
Pot selection becomes crucial. Choosing a pot in a shape and color that suits the tree-form style (formal upright, slant trunk, cascade, etc.) greatly enhances the tree's appeal. Generally, a formal upright suits a rectangular pot with straight rims, while slant trunks and cascades suit oval pots. The material—unglazed, clay-fired, or glazed—also affects drainage and temperature control, so ideally match these to the species' characteristics.
Moss placement also matters at this stage. Adding moss to the soil surface brings the world inside the pot closer to a natural landscape. Since moss is sensitive to dryness, make sure to water it thoroughly along with the soil.
By year five, you will see a silhouette approaching the completed form. The major branch placement is nearly set, and annual pruning focuses on maintaining the form and enriching fine branches. Exhibiting at shows or sourcing new material stock from plant-focused marketplaces like GrowerDirect while expanding into your second and third bonsai is a natural progression.
Bonsai has no "completion." The observation, judgment, and patience you develop over five years are your greatest assets for cultivating the next tree. Growing one tree deeply allows you and the tree to develop together—this is bonsai's essential charm.