Complete Houseplant Repotting Guide — Timing, Soil & Steps
Complete repotting guide for houseplants: when to repot, choosing pots and soil, step-by-step instructions, and post-repotting care.
Key Takeaways
Complete repotting guide for houseplants: when to repot, choosing pots and soil, step-by-step instructions, and post-repotting care.
Related Species
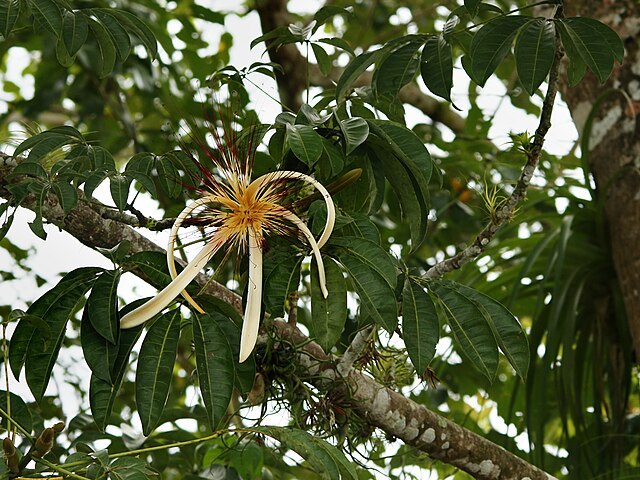
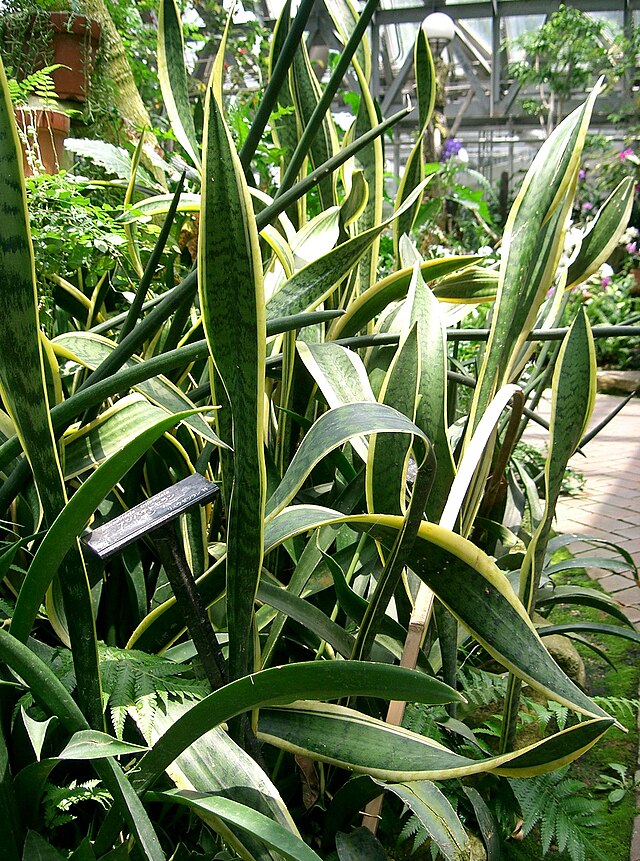
Foliage plants require regular repotting to thrive long-term. When roots fill the entire pot, water and nutrient absorption decline, causing stunted growth or wilting. This article explains the right timing for repotting, step-by-step procedures, and aftercare.
Signs That Repotting Is Needed
Consider repotting if you notice any of these symptoms:
- Roots growing out of the drainage hole: Roots have nowhere to go in the pot and are pushing through the drainage hole—the most obvious sign.
- Water drains too quickly: Roots have filled the soil spaces, preventing water retention.
- Water penetrates extremely slowly: Old soil has degraded and compacted, becoming water-repellent.
- Noticeably slower growth: The plant used to produce new leaves actively, but growth has nearly stopped.
- The plant wobbles or tips easily: The pot has become too small for the plant's size.
- No repotting for 2+ years: Even without visible symptoms, soil degrades, becomes more acidic, and loses drainage capacity.
Best Timing for Repotting
The ideal time to repot foliage plants is May to June. As temperatures rise and plants enter active growth, roots recover fastest from repotting stress.
Repotting is still possible through early September, but avoid it afterward. As temperatures cool in fall and winter, plants lose vigor, risking root damage before recovery. Repotting in winter should only be done in emergencies (like discovering root rot).
Summer repotting (July–August) is possible, but exercise caution if the plant is already exhausted from extreme heat.
Choosing a Pot
Size Select a pot one size up (2–3 cm larger in diameter). Jumping to a much larger pot causes soil beyond the root zone to stay wet, leading to root rot.
Material Terracotta pots offer excellent breathability and drainage but dry quickly, requiring more frequent watering. Plastic pots are lightweight, affordable, and retain moisture well. Ceramic pots look attractive, but glazed ones lack breathability—check for drainage holes carefully.
Drainage hole A drainage hole is essential. Without one, water accumulates and causes root rot. For decorative covers, use a plastic insert pot inside to create a double-pot system.
Choosing Potting Soil
For foliage plants, balance between water retention and drainage is critical.
Commercial foliage plant soil For beginners, commercial "foliage plant soil" is most convenient. It contains a balanced mix of red soil, leaf mold, and perlite, ready to use.
Custom mixing The basic ratio is small red soil pellets (6) : leaf mold (3) : perlite (1). This works for most foliage plants. Increase perlite for better drainage; add vermiculite for better water retention.
Fine-tune by species needs. For drought-tolerant plants like Sansevieria and Pachira, prioritize drainage: red soil (5) : akadama (3) : perlite (2). For moisture-loving plants like Monstera and Anthurium, increase water retention: red soil (5) : leaf mold (3) : vermiculite (2).
Repotting Steps
What you'll need New pot, potting soil, pot screen, pot shards or gravel, scissors or pruning shears, newspaper or plastic sheet (to protect your workspace)
Procedure
- Water the day before: Lightly moist soil protects roots from damage
- Prepare the new pot: Place a screen over the drainage hole and add 2–3 cm of pot shards
- Remove the plant from the pot: Lay the pot on its side, gently tap the rim, and slide the plant out. If stuck, push from the drainage hole with a chopstick
- Remove old soil: Use your fingers or a fork to remove about 1/3 of the outer soil. Avoid overworking the roots
- Prune the roots: Trim blackened or mushy roots with clean scissors. Healthy roots are white or cream-colored
- Plant in the new pot: Add a thin layer of soil over the shards, position the plant, and check the height. The base should sit 2–3 cm below the pot's rim
- Fill with soil: Add soil around the plant and gently pack it with a stick or chopstick, eliminating air pockets
- Water thoroughly: Water until it drains from the bottom, settling the soil
Aftercare Following Repotting
Repotting stresses plants. Take these precautions during recovery:
- Avoid direct sunlight for 1–2 weeks: Place in bright, indirect light
- Hold off fertilizing for 2–3 weeks: Begin fertilizing once new roots emerge
- Water normally: Water thoroughly when the soil surface dries. Avoid both under- and over-watering
- Mist the leaves: During the early recovery phase, roots can't keep up with leaf transpiration
- Avoid temperature fluctuations: Keep away from air conditioning vents and cold window drafts
Expert Advice on Botachoku
On Botachoku, you can buy foliage plants from growers who specialize in them and ask directly about repotting specifics—ideal soil mixes and pot sizes for your species. Even if repotting makes you nervous, grower support makes the process worry-free.