Complete Repotting Guide for Foliage Plants | Timing, Soil, Pot Selection, and Step-by-Step Process
A comprehensive guide to determining the right time to repot foliage plants, formulating growing media, selecting pots, and the step-by-step process. We've compiled everything from signs of root-bound conditions and post-repotting care to common mistakes, all explained in beginner-friendly language.
Key Takeaways
A comprehensive guide to determining the right time to repot foliage plants, formulating growing media, selecting pots, and the step-by-step process. We've compiled everything from signs of root-bound conditions and post-repotting care to common mistakes, all explained in beginner-friendly language.
Related Species
Why Foliage Plants Need Repotting
Foliage plants are living organisms and cannot remain indefinitely in their purchase pot. As roots grow and fill the container, "root-bound" conditions develop, significantly reducing the plant's ability to absorb water and nutrients. When roots become overcrowded, the air pockets in the soil disappear, creating an anaerobic environment where root rot fungi thrive, greatly increasing the risk of plant death.
The potting soil itself degrades over time. Granular media such as akadama and leaf mold gradually break down from repeated watering, losing their aggregate structure, drainage, and aeration properties. When this structure collapses and the soil becomes compacted, roots struggle to access oxygen, stunting healthy growth.
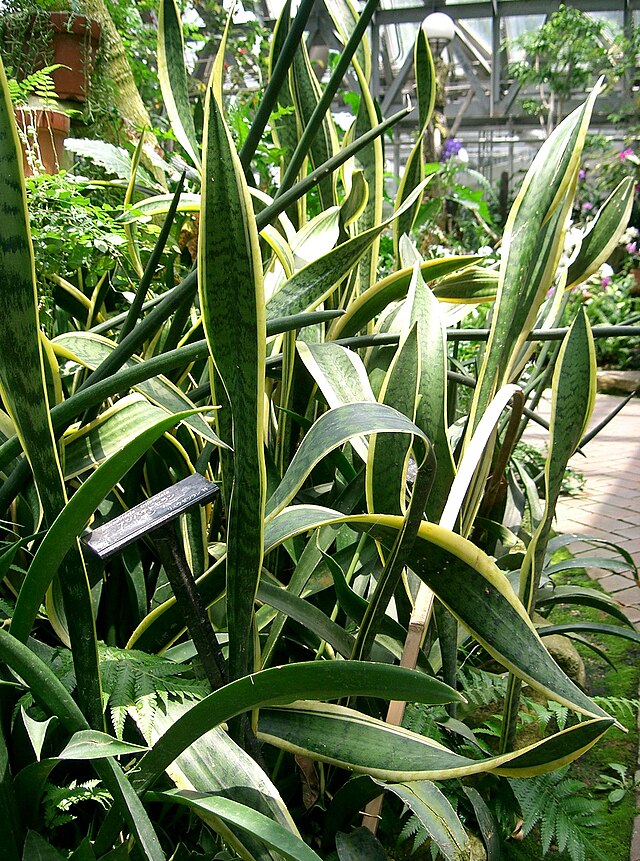
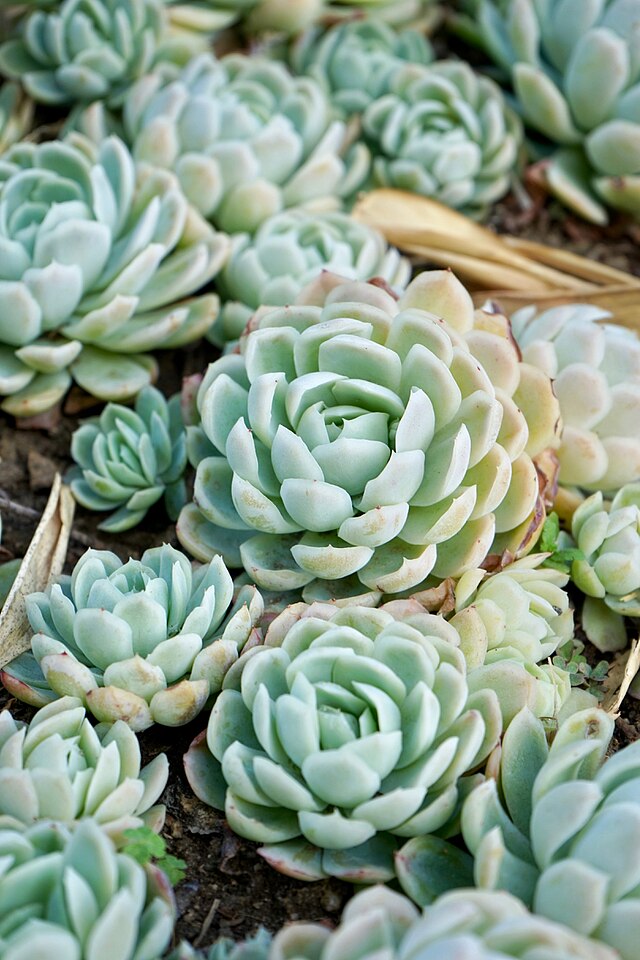
Most foliage plants should be repotted every 1–2 years. Fast-growing varieties like Monstera and Pothos benefit from annual repotting, while slow-growing succulents like Sansevieria and Echeveria need repotting only every 2–3 years. Think of repotting not as mere maintenance, but as a critical care practice that directly impacts your plant's lifespan.
Signs of Root-Bound Conditions
Watch for these indicators—early detection through daily observation is key to maintaining plant health.
- Roots protruding from drainage holes in the pot bottom
- Water running straight through without absorbing into the soil
- Growth has slowed or leaves are noticeably smaller than in previous years
- Yellowing leaves or premature leaf drop
- Roots have formed a tight mass conforming to the pot shape
- Soil surface has risen and the plant is lifting away from the pot
Pay particular attention to "circling" (root circling), where roots coil around the inside of the pot. If this persists, roots can strangle one another and die. When you remove the plant, if you see roots forming a circular pattern on the pot bottom, gently tease them apart and redirect them during repotting.
Best Timing for Repotting and Important Considerations
The ideal time to repot is spring before the growing season begins (March–May). While repotting does cause some root stress, doing it just before the active growth phase allows roots to adjust to fresh soil more easily and recover faster from any damage.
Repotting in summer (June–September) is possible, but avoid the heat of July–August, when intense heat and strong light increase transpiration, forcing roots to expend extra energy on recovery. If there's no urgency, it's wiser to wait until September.
Winter (December–February) is when most foliage plants enter dormancy or slow growth, making roots more vulnerable to repotting damage. This is the least favorable season. However, if root rot is actively progressing, address it immediately regardless of season.
Also resist the urge to repot newly purchased plants right away. Allow 1–2 weeks for the plant to acclimate to its new environment before making a move based on careful observation.
Choosing and Mixing Potting Soil
The ideal potting soil for foliage plants has two key properties: "good drainage with moderate water retention" and "sufficient aeration."
Commercial foliage plant soil is the easiest option for beginners and works well for most foliage plants. Quality does vary by brand, so open a bag first and check the smell—avoid any with a musty odor.
If mixing your own soil, use this basic formula:
- Akadama (small to medium grain): 30–40% (base soil, balances water retention and drainage)
- Leaf mold: 20–30% (water retention, nutrient holding, and microbial source)
- Perlite: 10–20% (improves drainage and aeration)
- Vermiculite: 10% (supplements water retention and nutrient holding)
Adjust proportions based on plant type. Aroids like Monstera, Pothos, and Philodendron are prone to root rot, so increase perlite to around 30% of the mix. Drought-tolerant plants like Sansevieria, Agave, and caudex types need higher akadama ratios with added coarse sand or pumice for better drainage. Ferns and Calathea species prefer moist conditions, so increase leaf mold content for better water retention. For more on soil and a yearly fertilization plan, see our Complete Fertilizer Guide for Foliage Plants.
Line the pot bottom with 2–3 cm of pumice or large-grain Kanuma soil to create a drainage layer and prevent root rot.
Selecting the Right Pot
Unglazed terracotta pots offer excellent aeration and drainage with good stability due to their weight, making them ideal for preventing root rot. The trade-off is that water evaporates through the pot walls, so these pots dry out faster and require more frequent watering than plastic pots. They're especially suited to succulents and drought-loving species.
Plastic pots are lightweight, affordable, retain moisture well, and reduce watering frequency. For interior aesthetics, use a decorative cover pot to combine function with design. Be aware that reduced evaporation increases the risk of overwatering.
Ceramic and decorative pots are popular for gifts and decor, but they're heavy, breakable, and often lack drainage holes. If your pot has no drainage hole, create a pseudo-drainage layer by placing a thick base of pumice. Remember that water management becomes critical without proper drainage.
Choose a pot one size larger than the current one (2–3 cm wider in diameter). Oversized pots hold soil that roots cannot absorb, which stays wet too long and causes root rot.
Repotting Steps
Gather your tools beforehand: clean scissors or pruning shears (ideally alcohol-sterilized), fresh potting soil, drainage material, and a new pot.
- Skip watering the day before. Slightly dry soil comes away from the pot more easily.
- Gently remove the plant. Press the pot sides with your fingers, tilt it, and carefully pull out the root ball without breaking it. If it's stuck, push from the drainage holes using a stick.
- Loosen the old soil. Remove about 1/3 to 1/2 of the old soil by hand and inspect the roots. You don't need to remove all old soil; keeping some of the root ball reduces transplant stress.
- Prune damaged roots. Using clean scissors, cut away black or soft brown rotted roots. Gently untangle and spread out any circling roots. Dust cut surfaces with activated charcoal powder or fungicide for protection.
- Prepare the new pot. Add 2–3 cm of drainage material to the bottom, then add fresh soil to a height where the plant sits at the correct level.
- Position the plant. Center the plant and spread roots naturally outward. Fill soil around the roots, gently pressing as you go to eliminate air pockets.
- Finish and water. Level the soil surface and anchor the plant firmly. Fill the pot to 1–2 cm below the rim, then water thoroughly until water runs clear from the bottom.
Post-Repotting Care
For 2–4 days after repotting, keep the plant in bright, indirect light away from direct sun. Damaged roots cannot handle intense heat and light, and excess transpiration can cause leaf damage before recovery begins.
Do not fertilize for the first 2 weeks. Fertilizer can burn tender new roots and impede recovery. Once new leaves begin to unfold, roots have established themselves. Return to normal feeding (liquid fertilizer every two weeks during the growing season). For watering guidance, consult our Complete Watering Guide for Foliage Plants.
Some leaf drop immediately after repotting is normal and reflects root stress. If new growth is appearing, there's no need to worry. However, if no new leaves emerge after two weeks and yellowing persists, root rot may be advancing—remove the plant again to check root condition.
Proper repotting at the right time and with correct technique is fundamental to keeping foliage plants healthy for years to come. Make annual repotting a habit and enjoy a long, thriving relationship with your plants.