Rooting and Initial Care of Pachypodium Gracilius
Rooting and Initial Care of Pachypodium Gracilius。What is Pachypodium Gracilius——The King of Caudex Plants Pachypodium gracilius ( Pachypodium rosulatum var.
Key Takeaways
Rooting and Initial Care of Pachypodium Gracilius。What is Pachypodium Gracilius——The King of Caudex Plants Pachypodium gracilius ( Pachypodium rosulatum var.
Related Species
What is Pachypodium Gracilius——The King of Caudex Plants
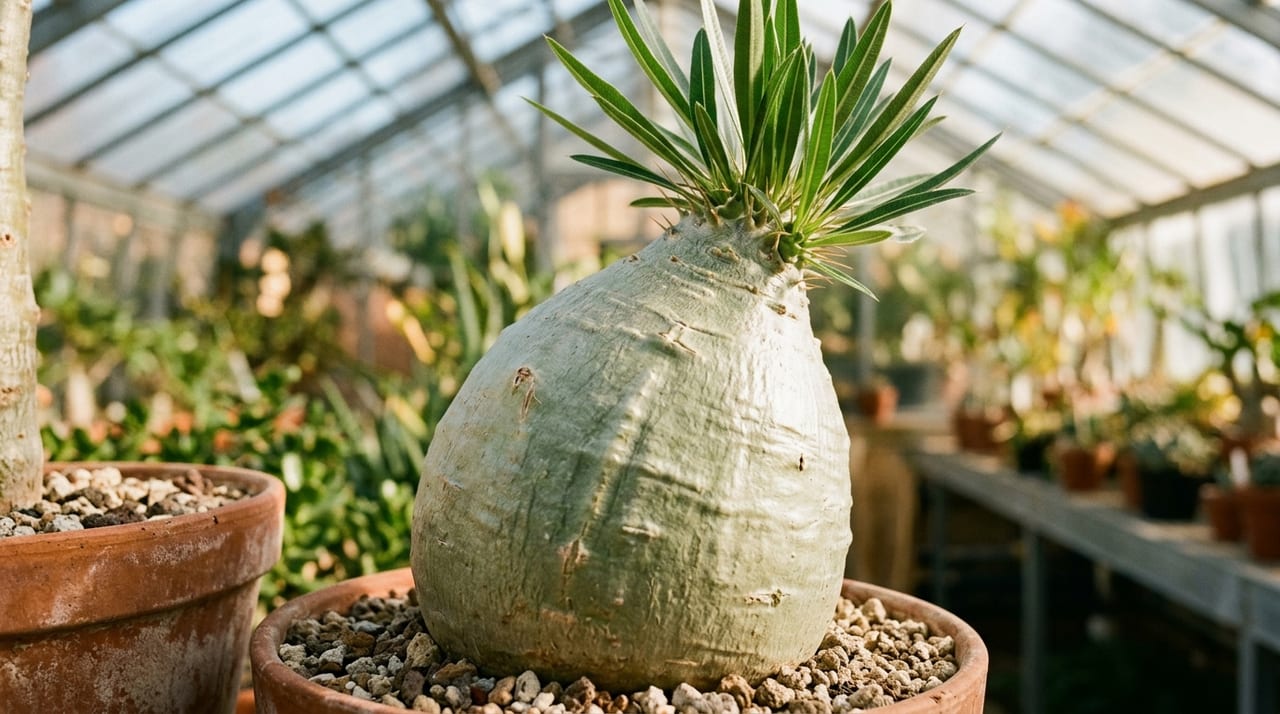
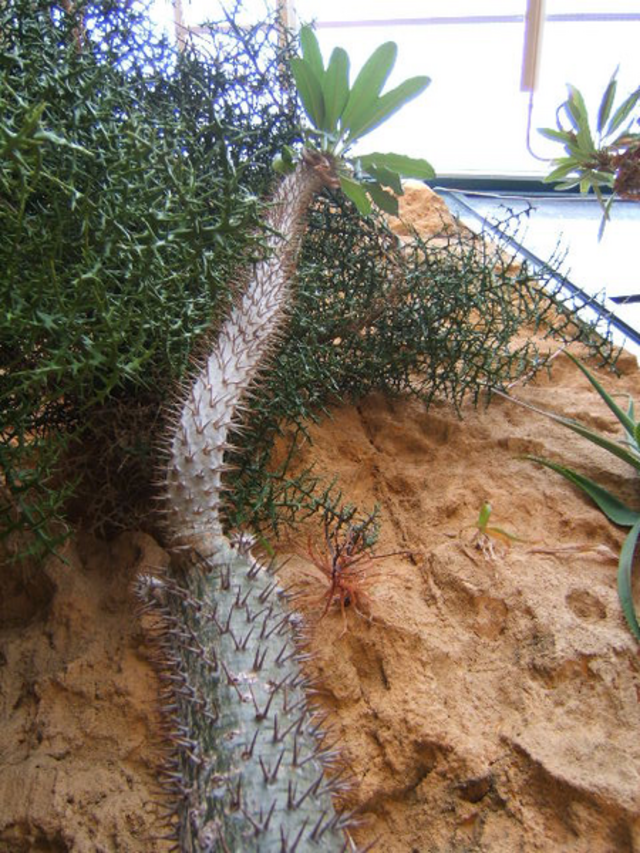
Pachypodium gracilius (Pachypodium rosulatum var. gracilius) is a caudex plant native to the arid rocky areas of southwestern Madagascar. It stores water and nutrients in its thick, rounded trunk (caudex) and produces vibrant yellow flowers during the rainy season, earning it special popularity among caudex plants. In the Japanese market, bare-root specimens (plants imported with roots removed) are commonly available, making post-purchase rooting management the crucial first checkpoint for successful cultivation. Once you overcome the rooting phase, these are relatively hardy plants; however, failure at this stage makes recovery difficult, so it is important to master the correct knowledge and procedures.
Preparing for Root Development——Selecting the Right Pot, Soil, and Environment
The environmental conditions during the rooting phase will significantly influence later growth. Before planting your specimen, be sure to prepare all of the following points.
- Pot size: Choose an unglazed terracotta pot one size smaller than the plant itself (approximately 3–4 pot sizes). Terracotta allows excess moisture to dry quickly, making it ideal for reducing the risk of rot from overwatering.
- Soil mix: The standard recipe is 40% small red lava rock, 30% pumice, 20% vermiculite, and 10% charcoal. Alternatively, you can mix commercial cactus and succulent soil with 20–30% perlite for equally good results. The key is ensuring good drainage and air circulation.
- Temperature range: The ideal soil temperature for rooting is 25–30°C. At this temperature range, root cell division is vigorous. Use a heat mat or small greenhouse to keep temperature fluctuations between day and night minimal. Below 15°C, rooting activity drops significantly.
- Light: Avoid direct sunlight and manage under bright indirect light. Without roots, exposure to intense light promotes transpiration and exhausts the plant.
Before planting, allow the cut root surfaces to dry in a well-ventilated, shaded area for several days. As callus forms on the surface, the wound seals and the risk of rot decreases, improving rooting success.
Watering During Root Development——Keeping It "Relatively Dry" as the Basic Rule
Watering management around the rooting phase is where many beginners struggle. The basic principle is to "maintain relatively dry conditions while preventing complete desiccation."
For the first 3–5 days after planting, withhold water to allow the plant to settle into the soil. After that, insert your finger 2–3 cm deep into the soil to check for dryness, then give a small amount of water with a spray bottle or fine-nozzled watering can until the surface is just moist. Do not water generously until roots are clearly established and visible.
If using tap water, it is safer to let it sit overnight to allow chlorine to evaporate. Making it a habit to observe the plant with each watering will help you detect problems early.
Confirming Rooting and Key Judgment Points
To assess rooting without removing the plant from the pot, use the following steps.
- Pull test: Gently grasp the plant and pull upward. If you feel resistance, roots are beginning to wrap around the soil. However, limit checks to once every 2–3 weeks—frequent testing damages the delicate new roots.
- Leaf emergence: When new shoots appear and leaves begin to unfold, it often signals that water absorption from the roots has begun. Keep in mind that the plant may temporarily produce leaves using only nutrients stored in the caudex, so combine this observation with the pull test to make a comprehensive judgment.
- Firmness of the caudex: As rooting progresses well, the entire caudex should feel firm. Conversely, if it becomes wrinkled, suspect poor rooting or rot.
If you discover signs of rot (soft caudex, foul odor, spreading discoloration), promptly remove the affected area with a sterile blade and re-dry the cut surface before replanting in fresh soil. Applying a sealant such as sulfur powder or callus-promoting compound after removal helps prevent infection spread.
Initial Management After Confirming Rooting and Transitioning to Normal Care
Once rooting is confirmed as stable, gradually transition to normal management. Sudden environmental changes can stress the plant, so proceed in stages.
Adjusting light: Over 1–2 weeks, acclimate the plant from indirect light to gentle morning sunlight. Then gradually extend the time in direct sunlight. Ample light is essential for forming a compact caudex and promoting flowering the following year.
Starting fertilization: Immediately after rooting, roots are still delicate and should not be stressed with fertilizer. Begin once new leaves have fully expanded and the plant shows vigorous growth, starting with diluted liquid fertilizer (half the recommended concentration or less). Use a balanced formula designed for succulents.
Timing for repotting: Repot from rooting soil to standard potting mix once roots have spread throughout the pot. This typically occurs 6 months to 1 year after rooting begins. Repotting too early damages roots, while repotting too late causes growth problems from root congestion. Monitor root condition and adjust timing accordingly.
Seasonal Management Points
Gracilius requires significantly different care depending on the season. Understanding the year-round management flow will enable more stable cultivation.
- Spring (March–May): This is the growing season—increase watering and fertilization as temperatures rise. Provide abundant light once new shoots appear.
- Summer (June–August): Be mindful of heat and humidity. Continue providing direct sunlight but ensure good air circulation to prevent rot from moisture buildup. Water in the cool morning hours and avoid the high-temperature evening period.
- Autumn (September–November): Move the plant indoors before temperatures drop below 15°C. Gradually reduce watering to prepare for leaf drop.
- Winter (December–February): Limit watering to near-dormancy or minimal watering once monthly. Maintain a minimum temperature of 10°C or above, and continue to regularly check caudex firmness even after leaf drop.
By carefully adjusting management at each seasonal transition, you can maintain caudex thickening and overall plant health over the long term. With continued proper care, gracilius growers will develop ever-more robust caudexes and distinctive forms year after year. Take the rooting process one careful step at a time, and cultivate a specimen you can enjoy for years to come.