Complete Guide to Aquatic Plant Tank Photography Techniques | For Contest Submissions Too
Master photography techniques for capturing beautiful aquatic plant tanks. Learn camera and lens selection, camera settings fundamentals, dealing with reflections from glass and lighting, eliminating water surface ripples for crystal-clear photographs, composition basics, and post-processing tips—all explained with contest submissions in mind.
Key Takeaways
Master photography techniques for capturing beautiful aquatic plant tanks. Learn camera and lens selection, camera settings fundamentals, dealing with reflections from glass and lighting, eliminating water surface ripples for crystal-clear photographs, composition basics, and post-processing tips—all explained with contest submissions in mind.
Related Species
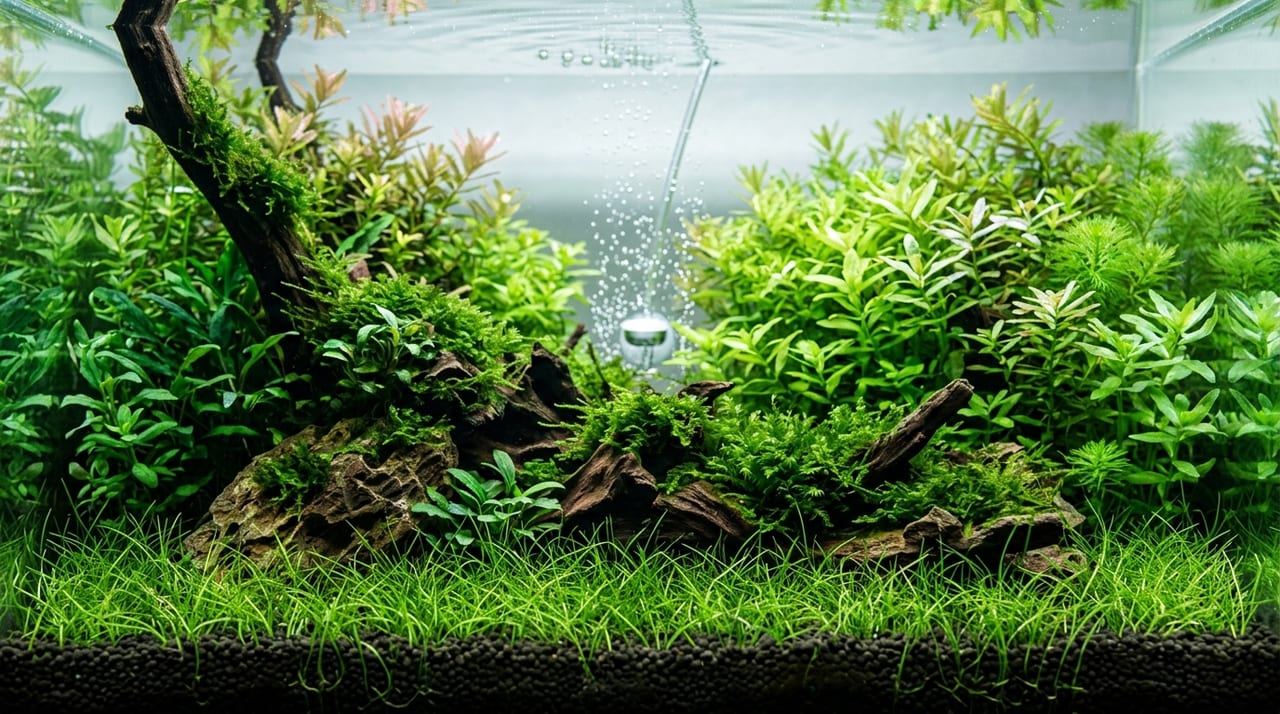
Even if you create a beautiful aquatic plant tank, it's wasteful if you can't convey its appeal in photographs. The importance of tank photographs is increasing year by year, from social media posts to contest submissions. This article comprehensively explains techniques for photographing aquatic plant tanks in their best condition, from camera basics to post-processing.
Camera and Lens Selection
While it's possible to shoot with a smartphone, camera selection is important if you want higher-quality photos.
- SLR or Mirrorless Cameras: If you're considering contest submissions, an SLR or mirrorless camera is ideal. Because the sensor size is larger, you can shoot photos with less noise even in dark environments
- Lens Selection: A standard 35–50 mm lens is suitable for tank photography. Wide-angle lenses (24 mm or less) tend to distort the edges of the tank, and telephoto lenses (85 mm or more) require distance and are difficult to use indoors
- Smartphone Photography: The camera performance of the latest smartphones is sufficiently high, and there's no problem for social media posting level. However, use an app with a manual shooting mode so you can manually set white balance and ISO sensitivity
- A Tripod is Essential: Tank photography often requires long exposures, and hand-holding can cause camera shake. Use a stable tripod and shoot with a remote shutter or self-timer
- Other Equipment: A cable release (remote shutter), level (to prevent camera tilt), and black cloth or board (to prevent reflections) are useful
Camera Settings Basics
Here we explain the camera settings optimal for tank photography.
- Shooting Mode: Use manual mode (M). Since tank lighting differs from typical shooting environments, relying on the camera's automatic exposure often fails to achieve proper exposure
- ISO Sensitivity: Set it as low as possible (ISO 100–400 is ideal). Increasing ISO sensitivity adds noise and loses fine details of the aquatic plants
- Aperture (F-value): F5.6–F8 is the appropriate range for tank photography. Setting the F-value too small narrows the depth of field, causing focus to shift between the front and back of the tank. Conversely, stopping down to F11 or higher causes image degradation due to diffraction
- Shutter Speed: Assuming tripod use, 1/15–1/60 second is the guideline. If shooting with fish, you need 1/60 second or faster to avoid blur. If you want to freeze fish movement, increase ISO sensitivity and ensure shutter speed of 1/125 second or faster
- White Balance: Set manually to match the color temperature of your tank LED. Most aquatic plant LEDs are around 6500–8000 K. Auto white balance sometimes overcorrects with excessive blue
- Shoot in RAW Format: Shooting in RAW format rather than JPEG allows greater flexibility in post-processing. In particular, fine adjustments to white balance and shadow lifting can be done in RAW without degradation
- Focus: When using autofocus, use single-point AF to focus on the center or slightly back of the tank. Using live view magnification with manual focus is more precise
Dealing with Lighting Reflections
Reflections on glass are the biggest enemy of tank photography.
- Turn Off Room Lights: When shooting, turn off all light sources except the tank lighting. Ceiling lights, TVs, and natural light from windows all cause reflections
- Use Black Cloth: Place black cloth or black cardboard behind the camera to prevent the photographer's reflection. Hanging a large black cloth from the ceiling is also effective
- Adjust Shooting Angle: The basic approach is to shoot perpendicular to the glass surface. Angling increases reflections. Align the camera lens center with the tank center
- Polarizing Filter (PL Filter): Attaching a polarizing filter to the lens significantly reduces reflections on glass. Rotate the filter while looking through the viewfinder and lock it at the angle where reflections are minimized
- Tunnel Method Using Black Drapes: Cover the space between the camera and tank with black cloth to create a light-blocking tunnel. While labor-intensive, this nearly eliminates reflections
- Clothing: Wear black clothing to avoid reflections, as white or bright-colored clothing reflects easily
Stabilizing the Water Surface and Achieving Clear Water
Water surface ripples and turbidity greatly affect photo quality.
- Stop the Flow Pump: Stop the filter and circulation pump 30 minutes to 1 hour before shooting. Wait until the water surface is completely still. However, prolonged stoppage harms fish and plants, so restart promptly after shooting
- Pause CO₂ Injection: CO₂ bubbles floating in the water appear in photos. Stop CO₂ one hour before shooting so bubbles dissipate and the water becomes clear
- Water Change Timing: Perform a water change the day before shooting so the water is clear the next day. Changing water on the day of shooting leaves fine particles that appear as white haze in photos
- Clean Glass Surfaces: Clean the inside with melamine sponge or scraper, and the outside with glass cleaner. Finish with a microfiber cloth to remove fingerprints and water spots
- Add Activated Carbon: Adding activated carbon 3–4 days before shooting removes yellowing and turbidity, increasing water clarity
- Stop Aeration: Aeration bubbles also appear in photos. Stop aeration during shooting
Composition Basics
Being mindful of composition maximizes the appeal of the aquascape.
- Full Tank Composition: This is the basic composition for contest submissions. Ensure the tank edges fit within the frame with precise horizontal and vertical alignment. Even slight tilt feels wrong, so use a level to verify camera alignment
- Rule of Thirds: Divide the photo into thirds vertically and horizontally, placing focal points at intersections creates stable composition. Align the aquascape's focal point (open spaces or distinctive elements) with the intersections
- Cropping Margins: It's more efficient to leave some margin around the tank when shooting and crop precisely in post-processing than to pursue perfect framing on-site
- Close-up Photography: In addition to full-tank shots, photographing particularly beautiful areas or plant details macro-style provides content for social media and portfolios
- Capture Fish Movement: The most beautiful photos occur when fish schools swim near the aquascape's focal point. Shoot dozens of frames in burst mode and select the best timing
Improving the aquascape itself first is also a shortcut to better composition. Refer to layout examples like How to Create Biotope-Style Aquascapes and be mindful of creating aquascapes that are easy to photograph.
Post-Processing (Retouching) Basics
Post-processing to finish your photos is an important step that affects quality.
- Software: Use RAW development software such as Adobe Lightroom, Capture One, or free darktable. For smartphones, Snapseed or Lightroom Mobile are excellent
- White Balance Adjustment: With RAW data, you can freely adjust white balance. Find the color temperature where plant greens look natural and water appears transparent
- Exposure Fine-Tuning: Brighten dark areas and suppress blown-out highlights. Using shadow and highlight sliders produces natural results
- Saturation and Contrast: Slightly increasing saturation makes plant colors more vivid, but overdoing it looks unnatural. Keep contrast adjustments subtle
- Cropping and Horizon Correction: Correct slight tilts from shooting and crop to align with the tank frame
- Contest Submission Notes: Most contests like IAPLC permit basic exposure and white balance adjustments but prohibit adding or removing elements (compositing). Check contest rules for allowed retouching
- Export Settings: For social media, use JPEG at approximately 2048 px on the long side; for contest submissions, follow contest specifications. Export at maximum quality settings
Showcase Your Aquascape with GrowerDirect Aquatic Plants
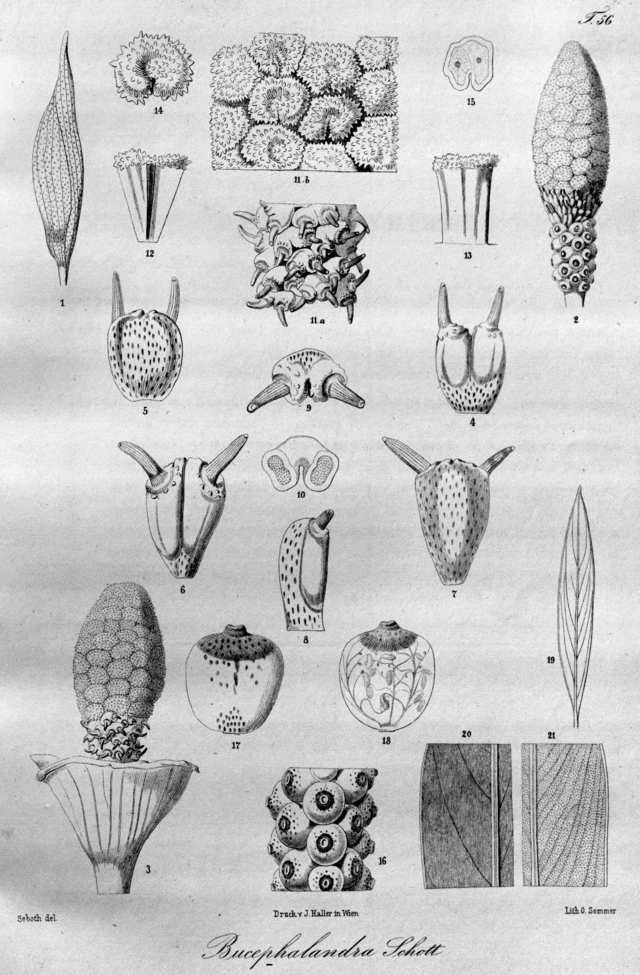
At GrowerDirect, you can purchase vibrant, healthy aquatic plants directly from growers. If you're looking for photogenic red-stem plants or rare Bucephalandra for your photography, find your ideal plant at GrowerDirect's grower-direct marketplace. Capture beautiful aquascapes in photos and share that wonder with others.