Air Layering for Bonsai: Complete Guide | Steps and Tips to Increase Success Rate
Detailed explanation of air layering method for bonsai. Covers suitable tree species and optimal timing, ring barking steps, sphagnum moss wrapping, root confirmation signs, and post-separation care methods.
Key Takeaways
Detailed explanation of air layering method for bonsai. Covers suitable tree species and optimal timing, ring barking steps, sphagnum moss wrapping, root confirmation signs, and post-separation care methods.
Related Species
What is Air Layering? Its Role in Bonsai
Air layering is a propagation and shaping technique that involves wounding a branch or portion of a trunk to encourage root formation, then cutting it away to obtain a new individual plant. In the bonsai world, this is called "air layering," distinguishing it from "ground layering," where a branch is brought into contact with soil.
Air layering holds special importance in bonsai for two reasons. The first is form correction. You can refine sections where the trunk has become too thick or reduce unwanted height, while utilizing that material as a new bonsai stock. The second is replicating superior specimens. From a parent tree with excellent form, trunk quality, and branch structure, you can produce offspring with identical genetic traits. A major appeal is that material taking years to develop through seed or cuttings can reach near-finished form in just a few months with air layering. For a complete overview of propagation methods beyond air layering, see Complete Guide to Bonsai Propagation.
Optimal Timing and Suitable Species
The optimal period for air layering is mid-May through early July. As new growth hardens and sap flow becomes active, root development proceeds most smoothly during this season. Autumn air layering risks the rooted material failing to overwinter due to insufficient root development, so it should generally be avoided.
Difficulty by species is as follows.
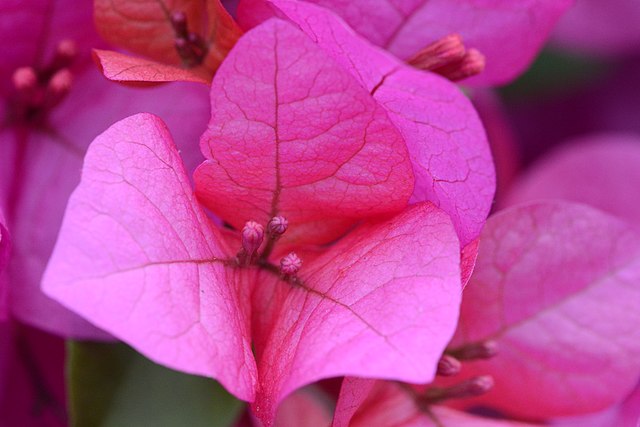
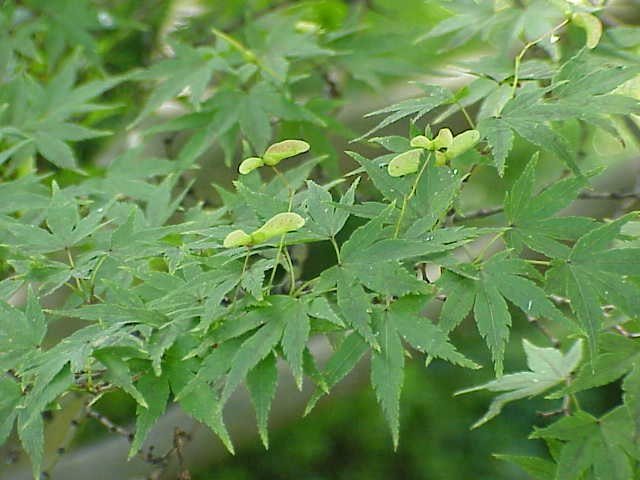
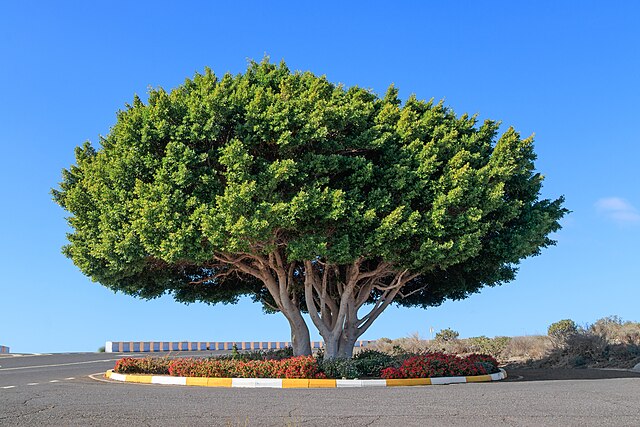
Species with high success rates Maples (mountain maple, Japanese maple (Acer palmatum)), zelkova, plum, cherry, bougainvillea, ficus species (fig tree, Benjamin fig), etc. These have strong rooting vigor and yield high success rates even for beginners.
Species with moderate difficulty Conifers (black pine, red pine, Shimpaku juniper), Chinese juniper, Hinoki cypress and related species. Needle-leaf trees require extended time to root, demanding high precision in care. Widen the ring barking area and actively use rooting promoters. Those interested in the distinctive form-making techniques specific to conifers should also consult Guide to Caring for Shimpaku and Chinese Juniper Bonsai.
Species requiring caution Plants like Japanese nostoc fern or aucuba that exude latex should have the cut surface rinsed free of latex before processing begins.
Required Tools and Materials
Gathering the following before work makes the process flow smoothly.
- Craft knife or grafting knife: Use a well-sharpened blade. A dull edge damages the cambium.
- Sphagnum moss: Use after thoroughly saturating with water and gently squeezing out excess. Ideal as a rooting medium.
- Plastic bag or specialized air layering tape: Sealing material to prevent drying. Clear material is convenient for checking roots.
- Rooting promoter (Rooton, Oxyberon, etc.): Powder types are applied directly to the cut surface.
- Aluminum wire or vinyl tape: Binding material to hold the sphagnum moss in place.
- Alcohol disinfectant: Keep blades and hands clean.
Detailed guidance on selecting all tools for the work is also covered in Complete Guide to Choosing Bonsai Tools.
Work Procedure: Correct Ring Barking Method
The core of air layering lies in "ring barking." Performing it accurately greatly affects success rate.
1. Determine the barking position Select a spot 3–5 cm away from the base of the branch you wish to layer. Thicker branches provide a more stable rooting environment; ideally work with branches 1 cm or greater in diameter.
2. Ring bark the branch Remove the entire bark in a band 2–4 cm wide (aim for 1.5–2 times the branch diameter) around the branch. Completely remove the epidermis and phloem (the green layer just below the outer bark), leaving only the white xylem exposed. If phloem remains, it will form a callus bridge preventing rooting; scrape it away thoroughly with the knife back to completely remove it.
3. Apply rooting promoter Apply rooting promoter thinly to the exposed xylem at the upper end (the portion near the bark side). Excessive application to the lower end is unnecessary.
4. Wrap with sphagnum moss Take a handful of thoroughly moistened sphagnum moss (forming a ball about 7–10 cm in diameter) and wrap the barked area. Allow 1–2 cm of clearance above and below—this is key.
5. Seal with plastic Wrap the sphagnum moss securely with a plastic bag or air layering tape, then fix the top and bottom with aluminum wire or vinyl tape. Achieving a tight seal without air gaps is essential for preventing drying.
Root Confirmation and Separation Timing
After 2–8 weeks have passed since layering, regularly check through the plastic to see if white roots are visible. When roots extend to the outer layer and appear to fill the entire sphagnum moss ball, it is time to separate. Separating too early results in insufficient root volume and failed establishment.
How to separate Cut the trunk below the barked section with a saw or knife. Preserve the sphagnum moss and roots without disturbing them, and pot into a container one size larger. To avoid damaging roots, remove only the plastic and pot the material together with the sphagnum moss—this is the safest approach. After potting, consult Guide to Selecting and Mixing Bonsai Soil for soil choice, selecting a well-draining mix.
Post-Separation Care and Tips to Avoid Failure
For 1–2 months after potting, roots are sparse and cannot tolerate high transpiration, so managing in partial shade and avoiding direct sunlight is most critical. Water thoroughly when soil dries, but avoid overwatering to prevent root rot. Fertilizing during this period stresses the roots and should be withheld.
Common failure points and solutions
- Incomplete barking: If phloem remains, callus will seal the area and prevent rooting. After barking, feel with your finger to confirm smooth xylem is exposed.
- Sphagnum moss drying: If plastic sealing is loose, moisture evaporates. Check every two weeks by feeling the outside to ensure it is not dry. If needed, supply small amounts of water with a syringe.
- Separating too early: Cutting with minimal roots reduces establishment success. The safe approach is to separate after "more than enough" root development.
Air layering becomes easier with practice. Begin by practicing on maples or zelkova, which succeed easily; once you gain confidence, challenging conifers will come faster. If unsure how to shape a tree grown from layered material, review the basics of branch work in Complete Guide to Bonsai Wiring Technique. The joy of creating material in your own hands that inherits superior traits from the parent tree is one of bonsai's greatest pleasures.