Pachypodium gracilius Seed-Grown Plant Guide | From Seed Sowing to Cultivation
A detailed guide to cultivating Pachypodium gracilius from seed, covering seed sourcing, germination, and care management. Key points for managing temperature, light, and watering are included.
Key Takeaways
A detailed guide to cultivating Pachypodium gracilius from seed, covering seed sourcing, germination, and care management. Key points for managing temperature, light, and watering are included.
Related Species
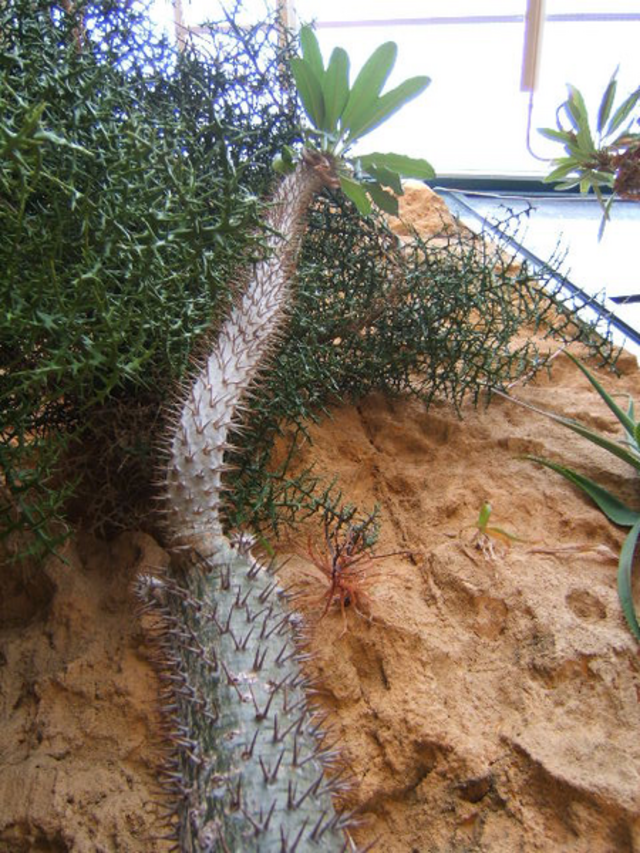
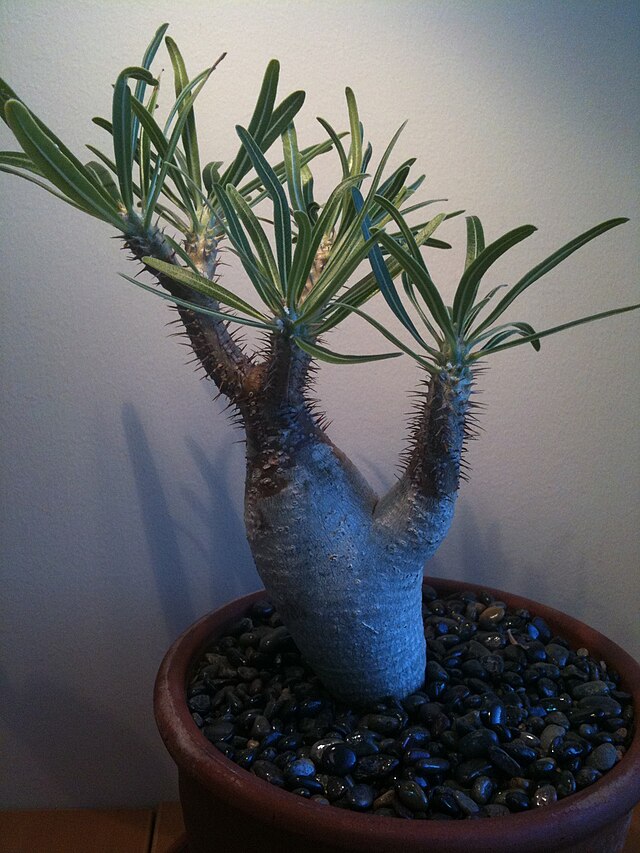
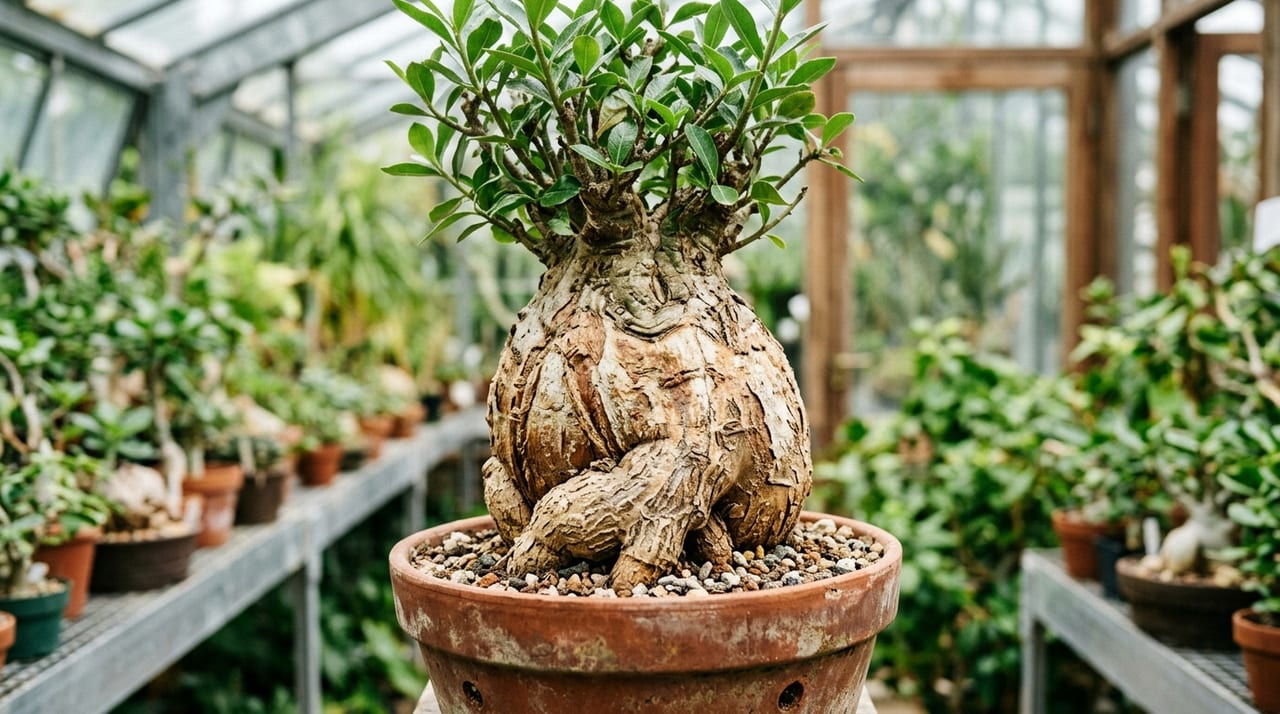
Pachypodium gracilius is a caudiciform plant native to Madagascar, prized for its round, plump stem and silvery-white bark. While imported plants are expensive, growing from seed makes them relatively affordable to enjoy. This guide explains the complete process of growing plants from seed.
Obtaining Seeds
Freshness is crucial for Pachypodium gracilius seeds. Germination rates decline the longer seeds are stored after harvest, so it is best to obtain seeds that are as fresh as possible.
Sources for Purchase
- Specialized caudex plant shops and online retailers in Japan
- Direct purchase from overseas nurseries (those in Germany, South Africa, and similar countries are well-known)
- Seeds collected by domestic enthusiasts
Checking Seed Freshness
Fresh seeds are black to dark brown with a tuft of hair at the tip. Old seeds are lighter in color and feel light when held. Ideally, you should be able to confirm the collection date when purchasing. Seeds less than 6 months old are preferable, and seeds older than 1 year have significantly reduced germination rates.
Precautions When Purchasing
Since germination rates vary between individual seeds, it is wise to prepare more seeds than the number of plants you need. Purchasing from sellers who clearly indicate the collection date and origin makes it easier to assess seed quality. When seeds arrive, open them promptly and check for mold or damage before storing them in a cool, dry place.
Timing and Preparation for Sowing
Optimal Timing
May to July is ideal. Sowing when temperatures are stable and consistently above 25°C (77°F) ensures good germination and early growth. If you have heating equipment, year-round sowing is possible, but be careful about insufficient light during winter.
Growing Medium
Pure fine-grained akadama soil or a mix of akadama soil and vermiculite in a 7:3 ratio is suitable. Sterilize the medium beforehand by boiling water or microwave heating. This prevents "damping-off disease," in which pathogenic bacteria harm seedlings immediately after germination.
Containers
Plastic pots or cell trays are easy to handle. Make sure the containers have drainage holes.
Location
Choose a location with stable temperatures until germination occurs. Windowsills tend to have large temperature fluctuations between day and night, so a place indoors with relatively stable temperatures or a simple propagation chamber or seedling heater will make care easier. Avoid locations where air conditioning currents blow directly, as the soil will dry out too quickly.
Seed Sowing Steps
1. Seed Pretreatment
Soak seeds in lukewarm water (25–30°C / 77–86°F) for 12–24 hours to hydrate them. If seed disinfection is desired, apply Orthocide 80 WP (registered for flowers and ornamental foliage plants) at 0.2–0.4% by weight of seeds (seed coating). (The method of diluting Benlate to 1,000× concentration and soaking seeds does not appear on the label.) This treatment improves germination rates.
2. Sowing
Place one seed at a time on moistened soil in each pot and cover with soil to a depth equal to the seed's thickness (2–3 mm). If covered too deeply, the seed will not germinate; if too shallow, it will dry out and die.
3. Capillary Watering (Watering from Below)
Arrange the seeded pots on a tray and maintain them in capillary watering (watering from below) by keeping 1–2 cm of water in the tray. Seeds will not germinate if they dry out, so maintain this watering method for 2–3 months after germination.
4. Maintaining Temperature and Moisture
Cover with plastic wrap or a lid to maintain humidity and keep temperatures at 25–30°C (77–86°F). During summer, place in a warm spot indoors; in other seasons, use a heating mat for warming.
5. Mold Prevention During Management
High humidity during capillary watering can lead to white mold forming on seeds or soil surfaces. If you notice it, gently remove it with a cotton swab and slightly open the lid to improve air circulation. If the mold spreads, consider using a fungicide.
Source: MAFF Pesticide Registration Database (Orthocide 80 WP)
Germination and Initial Care
Time to Germination
Under optimal temperature conditions, seeds germinate in 3–10 days. Seeds that have not germinated after 2 weeks are likely not viable.
Care After Germination
After germination, gradually increase ventilation by opening the lid slowly, acclimating the seedlings to ambient air over about a week. Move to a bright location, but start in bright shade and avoid direct sunlight.
Preventing Etiolation
Insufficient light causes seedlings to become long and spindly. After germination, ensure adequate light as quickly as possible. Using a plant growth LED light is effective.
Disease and Pest Prevention
Pachypodium gracilius seedlings can be infested with pests such as scale insects and spider mites. Maintaining good air circulation and regularly checking leaves bases and stem surfaces helps prevent problems. If you notice any issues, remove them promptly and take action before damage spreads. When using commercial pesticides, be sure to follow the instructions carefully.
Cultivation and Care of Seed-Grown Seedlings
Watering
Discontinue capillary watering 2–3 months after germination and switch to normal watering, applying water only when the soil surface is dry. Young seedlings are sensitive to drying, so do not let them dry out as much as mature plants.
Fertilization
Once 3–4 true leaves have emerged, apply dilute liquid fertilizer (at 1/4 normal strength) about twice per month. Excess nitrogen fertilizer causes spindly growth, so use a balanced liquid fertilizer.
Repotting
When 5–6 true leaves are present, repot into individual containers. Carefully remove seedlings without damaging roots and plant them in well-draining soil.
Light
Gradually increase light exposure as plants grow. Provide 50% shade during the first summer, 30% shade from the second year onward, and gradually acclimate to direct sunlight from the third year.
Location and Air Circulation
If managing outdoors, an eave or balcony protected from rain is appropriate. Good air circulation also helps prevent disease and pests. If managing indoors, choose a location such as a window behind a sheer curtain where direct sunlight and sudden temperature changes are avoided.
Overwintering
Growth slows as temperatures drop. Plants are easily damaged by cold, so if growing outdoors, move them indoors to a warm location early. During winter, reduce watering frequency and keep the soil slightly on the dry side for safety.
Common Mistakes and Solutions
Seeds Won't Germinate
Possible causes include old seeds, insufficient hydration, or low temperature. Review whether germination temperature is being maintained and whether capillary watering is sufficient.
Seedlings Rot
Excessive moisture and poor air circulation are the main causes. Effective measures include not raising the water level too high and opening the lid periodically for ventilation.
Seedlings Become Etiolated
This is a sign of insufficient light. Move seedlings to a brighter location as soon as possible, or use a plant growth LED light if necessary.
Growth Stops
Possible causes include low temperature or root-bound conditions. Review location and pot size according to the season and plant size.
Benefits and Enjoyment of Seed-Grown Plants
Cost
Mature imported plants cost tens of thousands to hundreds of thousands of yen, while 10 seeds cost only a few hundred to a few thousand yen. Enjoying growth from germination onward is unique to growing from seed.
Adaptation to Japanese Climate
Plants grown from seed in Japan are adapted to the Japanese climate from the start, making them generally easier to manage than imported plants.
Enjoying Individual Variation
Since all seed-grown plants are genetically distinct, even seeds from the same parent have unique forms. Enjoying variation in stem thickness and branch development is a privilege of seed propagation.
Find Seed-Grown Seedlings and Pachypodium gracilius on GrowerDirect
On GrowerDirect, you can directly purchase Pachypodium gracilius seedlings carefully cultivated by domestic growers. Before attempting to grow from seed yourself, it is also recommended to gain practical experience with grower-produced seedlings.