Complete Guide to Seed Propagation of Caudex Plants | Pachypodium and Adenium
Seed propagation of caudex plants explained in stages from sowing through first overwintering. Comparison of sowing conditions for Pachypodium and Adenium, soil sterilization methods, failure solutions for mold, low germination rates, stretching, and damping-off disease, plus first-year winter management.
Key Takeaways
Seed propagation of caudex plants explained in stages from sowing through first overwintering. Comparison of sowing conditions for Pachypodium and Adenium, soil sterilization methods, failure solutions for mold, low germination rates, stretching, and damping-off disease, plus first-year winter management.
Related Species
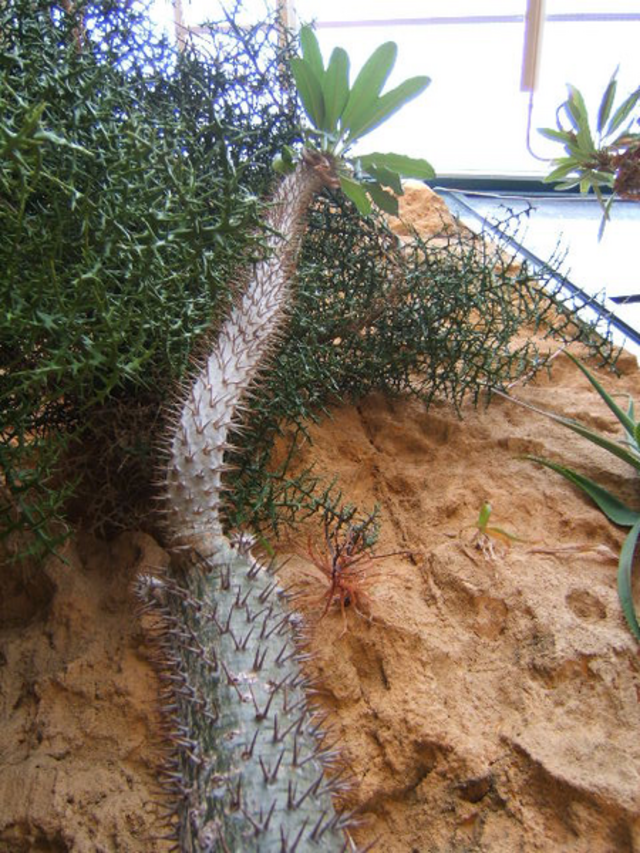
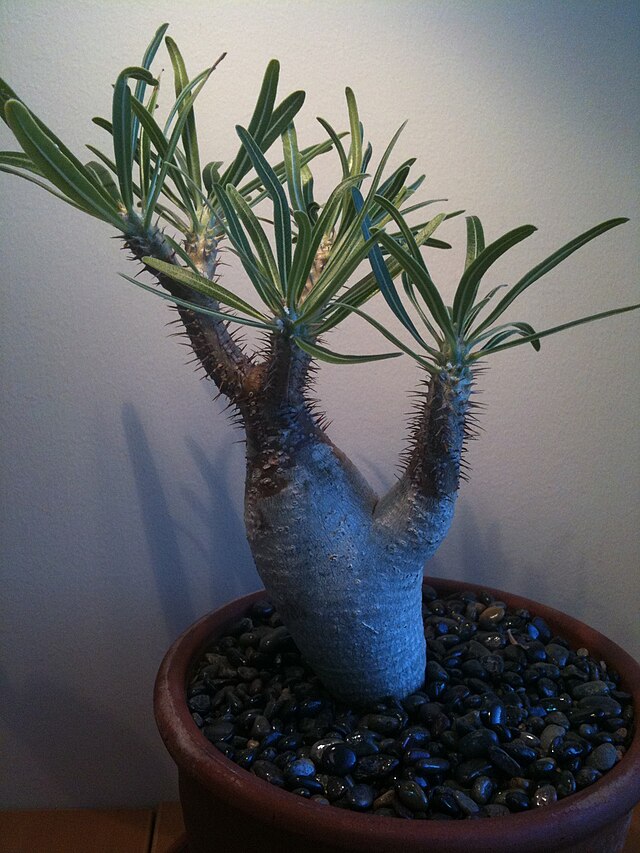
Growing caudex plants from seed—known as "seed propagation"—is one of the deepest pleasures for plant enthusiasts. The process of germination from tiny seeds and gradual development into unique forms over years offers an emotional experience that purchasing mature plants cannot provide. This article details seed propagation cultivation of caudex plants, focusing on Pachypodium gracilis and Adenium obesum, from sowing through first-year overwintering.
Differences in Sowing Conditions Between Pachypodium and Adenium
A comparison of sowing conditions for two representative genera is provided below. Use this as reference for variety selection and condition setting.
| Condition | Pachypodium gracilis and related species | Adenium obesum and related species |
|---|---|---|
| Optimal sowing period | May–July (when temperatures consistently exceed 25°C) | May–August (preferably 28°C or higher) |
| Germination temperature range | 25–30°C | 28–32°C |
| Days to germination (approximate) | 3 days–2 weeks | 3–7 days |
| Soil covering depth | 2–3 mm (seeds half-buried) | Thin layer of ~1 mm (prefers light) |
| Seed orientation | Horizontal position | Pointed end downward |
| Seed freshness impact | Highly sensitive (within 6 months recommended) | Relatively tolerant (within 1 year) |
| Mold risk | Somewhat high | Relatively low |
Pachypodium seed freshness directly determines germination rates. Obtaining fresh seeds within 6 months of collection is one of the most critical factors for successful seed propagation.
Comparison of Soil Sterilization Methods for Seed Propagation
Seed propagation soil must always be sterilized before use. Understand the characteristics of each method and choose accordingly.
| Method | Procedure | Effectiveness | Precautions |
|---|---|---|---|
| Microwave heating | Place moistened soil in a heat-safe container and heat at 600W for 2–3 minutes | High (kills mold spores and insect eggs) | Partial breakdown of organic matter occurs. Cool completely before use |
| Boiling (hot water sterilization) | Pour hot water over soil and let sit for 30+ minutes | Medium–High (surface sterilization) | Suitable for large-scale processing. Allow extended drying time after draining |
| Fungicide (Orthocide 80 WP) | Apply 600× dilution to prevent damping-off disease (registered for flowers and ornamental foliage plants) | Medium (preventative) | For disease prevention, not soil sterilization. Daconil registration for flowers and ornamental foliage plants is a 1000× spray for leaf spot disease; soil saturation applications are not recommended |
| Combined approach (recommended) | Sterilize soil using microwave heating, then apply Orthocide 80 WP at 600× dilution to prevent damping-off disease after germination | High | Labor-intensive but effective prevention of damping-off |
To reduce mold risk during the most vulnerable post-germination stage, soil sterilization should not be skipped. We strongly recommend performing it.
Source: MAFF Pesticide Registration Database (Orthocide 80 WP) / MAFF Pesticide Registration Database (ST Daconil 1000)
Stage-by-Stage Management from Sowing to Month Three
Sowing–Germination Period (0–2 weeks)
Sowing Procedure (Basic Version):
- Fill a container to 80% capacity with sterilized seed propagation soil (clean mixture of fine red lava soil, fine Hyuga soil, perlite, etc.)
- Moisten the entire soil uniformly using bottom watering
- Use tweezers to place seeds 1–2 cm apart, then cover with soil at the depth appropriate for each species
- Cover with plastic wrap or a transparent lid, and maintain at 25–30°C (use a seedling heat mat)
Critical management during this period: Maintaining temperature and humidity. Keep the lid sealed while providing fresh air exchange once daily by opening the lid briefly.
Germination–Hypocotyl Period (2 weeks–1 month)
Once germination is confirmed, gradually widen the opening of the lid over 3–5 days until it is completely removed—this is called "hardening." Removing the lid suddenly causes rapid humidity drops that will cause seedlings to wilt.
After germination, gradually increase light exposure. When using LED lights, reduce the distance to the source or increase output, shifting to management focused on preventing stretching.
True Leaf Emergence Period (1–2 months)
Once the cotyledons open and true leaves begin to unfold at 1–2 leaves, transition from bottom watering to misting from above. Begin by misting when the soil surface dries, then gradually transition to full bottom watering once roots become established.
Once true leaves number 2–3, begin applying dilute liquid fertilizer (1/4 strength) once every two weeks.
Checkpoint at Month Three
By three months post-sowing, individual differences become pronounced. Overfertilizing slow-growing seedlings in an attempt to catch up is counterproductive; recognize that "slow-growing seedlings are simply slow-growing individuals" and avoid forcing growth.
When seedlings sown in small containers like Prestera 90 begin to root out of drainage holes, transplant them into individual pots (which also serves as thinning). Transplanting is safest when done by scooping up the seedling with its soil intact using a spoon to avoid damaging roots.
Failure Patterns: Causes and Solutions
Mold (White fuzzy growth on soil surface)
Cause: Insufficient soil sterilization, excessive moisture, poor air exchange
Solution: Upon discovery, remove the affected soil and mold, then slightly open the lid to increase ventilation frequency. In severe cases, transplant the seedling to fresh sterilized soil. Seedlings with attached mold are easily killed if the root collar is scratched with a stick, so exercise caution when removing them.
Low germination rate (below 10%)
Cause: Seed freshness insufficient, temperature too low, soil too dry
Solution: Next time, source seeds collected within the past 6 months. Soak seeds in diluted Menedael solution for 12–24 hours before sowing to trigger germination. Use a seedling heat mat to reliably maintain 25–30°C.
Stretching (excessively tall and thin growth)
Cause: Insufficient light; temperature too high causes continued growth even at night
Solution: Introduce LED lights to ensure adequate light. Move the light source closer (taking care to avoid leaf burn). One option is to plant stretched seedlings deeper to make them look compact, but this carries risk of root rot and requires caution. See the LED Light Growing Guide for details.
Damping-off (sudden wilting and collapse of the stem)
Cause: Fungal infection at the root collar (damping-off disease), root rot from overwatering, cold damage
Solution: To prevent infection of nearby seedlings, immediately remove any affected seedling. For disease prevention in surrounding seedlings, apply Orthocide 80 WP at 600× dilution, registered for damping-off and damping-off disease in flowers and ornamental foliage plants. If overwatering was the cause, reduce watering frequency. If remaining seedlings are healthy, continue with improved environmental conditions.
Seed coat does not detach ("hat clinging")
Cause: Soil covering too shallow, or seed coat dried out during germination and became attached to cotyledons due to insufficient moisture
Solution: Mist the seed coat thoroughly to soften it, wait several hours, then gently remove with tweezers. Pulling forcefully while dry will snap off the cotyledons causing fatal damage; if it does not come off in one attempt, re-moisten and wait—this is the golden rule. When hat clinging occurs frequently, adjusting soil covering slightly thicker in the next sowing will reduce occurrence.
Seedlings dissolve/rot shortly after germination
Cause: Prolonged sealed conditions causing condensation stress; sustained high temperature and high humidity including nighttime
Solution: Once germination is confirmed, proceed with hardening (lid removal) as scheduled to avoid prolonged sealing—this is the greatest preventative. Remove dissolved seedlings immediately, as leaving them allows rot to spread to surrounding seedlings; check daily for spread to nearby plants. During rainy season sowings, air stagnation becomes likely, so creating a gentle air current with a small fan is also effective.
Source: MAFF Pesticide Registration Database (Orthocide 80 WP)
Transition from First Year to Second Year: Overwintering Management
First Overwintering (Year One Autumn–Winter)
First-year overwintering is the greatest challenge. Unlike mature plants, first-year seedlings lack sufficient stored water and nutrients, making them vulnerable to the double stress of cold and dryness.
Overwintering Management Key Points:
- Maintain a minimum temperature of 15°C or above indoors (mature plants tolerate 10°C, but 15°C is the safe threshold for seedlings)
- Supplement light with plant growth LED lights to prevent stretching
- Reduce watering to once or twice monthly in small amounts; avoid complete drying like mature plants, but maintain conditions where soil does not dry completely
- Group multiple seedlings in a planter and cover with insulation material for an effective alternative method
Transition to Year Two (Following Spring)
Seedlings that successfully overwinter enter their growth period in April–May of the following spring. From this point, return watering and fertilizing to normal rhythms and perform pot upsizing. From year two onward, the characteristic caudex form gradually emerges, allowing you to truly experience the joy of seed propagation.
Taking regular photos of growth records provides the pleasure of reviewing the growth progression years later. Even from the same seed batch, each individual develops its own unique character—this is the true essence of seed propagation.
Monthly Sowing Calendar (Seasonal Guidelines)
"When to sow" is a critical factor determining germination rates and first-year survival. Below is an organized annual schedule.
| Period | Work and Conditions |
|---|---|
| January–March | Sowing is possible with heating equipment (seedling heat mat + LED lights). Without heat, germination temperature cannot be reached; wait until the following spring |
| April | Time to source seeds and prepare supplies and soil. A good opportunity to secure fresh seeds |
| May–July | Optimal sowing period for Pachypodium. Night temperatures stabilize and management is manageable without heating |
| May–August | Ideal sowing period for Adenium. High summer temperatures actually favor germination |
| September–October | Defer sowing to next year. Sowing in this period leaves insufficient time for seedlings to develop before winter, greatly increasing first-overwintering risk |
| November–December | Store already-acquired seeds in sealed containers with desiccant in a cool dark place (vegetable drawer of refrigerator, etc.). Seed freshness gradually declines even during storage, so sow in early spring |
With well-equipped heating, a winter-sowing strategy to "advance seedlings before spring" is possible, but this increases management difficulty and equipment requirements. For first-time seed propagation, starting with the optimal May–July sowing period is most reliable. For temperature maintenance after sowing, also refer to the Heat Mat Application Guide.
Seed Sourcing and Quality Assessment
- Domestic online shops and individual sellers: Domestic shipping preserves freshness and germination rates remain relatively high
- International seed shops: Abundant variety, but extended transport times reduce freshness. Choose officially imported products
- Self-collected seeds: Cross-pollinate flowers from your own plant and collect seeds. Ensures guaranteed freshness and retains parental genetic information
- Freshness check: Confirm that seeds are plump and firm. Seeds that are shriveled and wilted show drastically reduced viability
Expand Seed Propagation at GrowerDirect
Seed propagation is the deepest way to experience the charm of caudex plants. Plants raised from tiny seeds develop a special attachment that purchased plants cannot match. At GrowerDirect, you can purchase quality caudex plants and seeds directly from specialized growers. The advantage unique to GrowerDirect is the ability to ask experienced growers directly about germination techniques and management methods.