Echeveria subsessilis Offset Propagation — Separation from Parent Plants, Root Promotion, and Parent Plant Recovery Management
Detailed guide on safely separating Echeveria subsessilis offsets from parent plants, promoting root development, and managing parent plant recovery after offset removal.
Key Takeaways
Detailed guide on safely separating Echeveria subsessilis offsets from parent plants, promoting root development, and managing parent plant recovery after offset removal.
Related Species
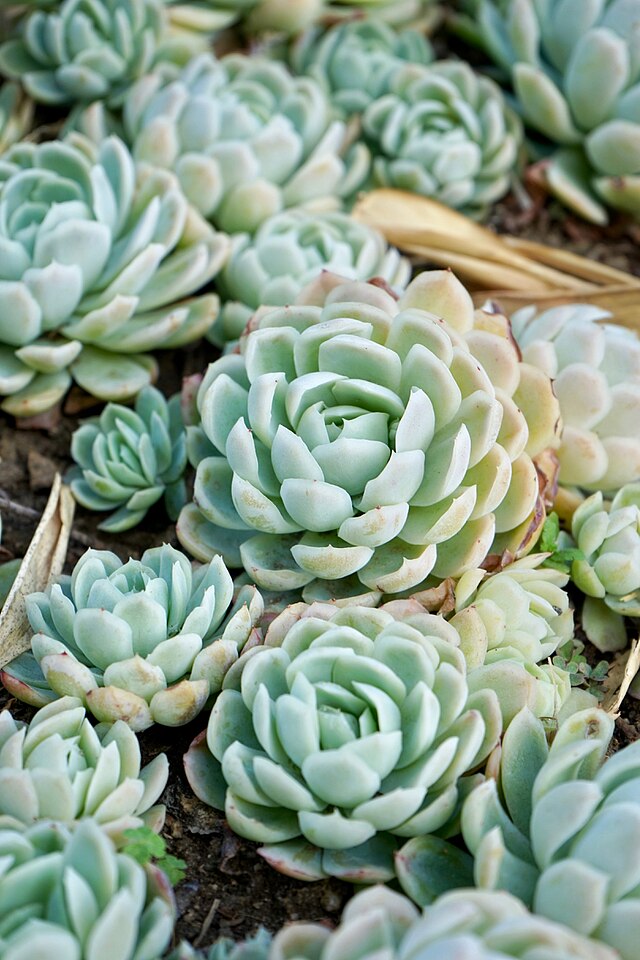
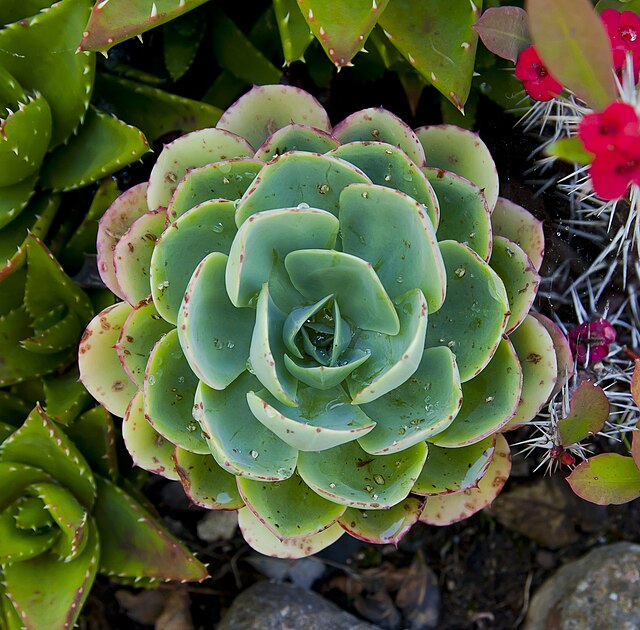
Echeveria subsessilis is a Mexico-native succulent with soft gray-blue, rounded leaves that overlap densely. Within the Echeveria genus, related species like Echeveria elegans and Echeveria 'Black Prince' have different leaf colorations and are equally popular; the basic propagation methods are shared across varieties. As the plant matures, offsets develop around the parent plant, and once they reach a certain size, they can be separated and grown independently. Offset removal and rooting is the most reliable method for increasing plant numbers and also improves the parent plant's form. This article provides detailed guidance on identifying when Echeveria subsessilis offsets are ready for separation, safe removal procedures, root promotion techniques, and caring for the parent plant after offset removal.
Identifying When Offsets Are Ready for Separation
Not all offsets are ready for separation. Removing offsets too early results in poor photosynthetic ability and weak root development, leading to high failure rates.
- Target size: The minimum standard is for the offset's diameter to be at least one-third the parent plant's leaf width. Mature Echeveria subsessilis parent plants reach 10–15 cm in diameter, so offsets should be 3–5 cm or larger. A minimum of 5–6 leaves helps the offset establish independence.
- Checking for existing roots: Some offsets may already have runner stems (stolons) with roots in the soil. This condition reduces separation risk and accelerates rooting. Gently excavate the soil around the offset's base to confirm whether roots have already formed.
- Best timing: Spring (March–May) and autumn (September–October) offer active growth and easier rooting. Avoid the hot, humid summer months and cold winter periods, as cut wounds heal slowly and risk fungal growth and rot. The rainy season (June–July) in regions from Kanto westward is particularly unsuitable due to high humidity and prolonged cut-wound drying.
Safe Separation Procedure
Separating offsets requires clean tools and precise technique.
- Tool preparation: Use a sharp knife or pruning shears. Sterilize the blade beforehand with alcohol or flame to prevent bacterial contamination. When working on multiple plants, disinfect the blade between cuts to minimize infection risk.
- Cut angle and position: Cut the runner or stem connecting the offset and parent plant as close as possible to the parent. Leaving a long stub on the offset side can cause tissue decay. Similarly, cutting too short on the parent side may damage parent tissue. The ideal cut is slightly closer to the parent than the midpoint between the two plants.
- Cut-wound drying (callus formation): Immediately after separation, dry the cut surface in a well-ventilated location away from direct sunlight for 2–5 days. This callus-formation step is essential; skipping it risks rot starting from the cut. Do not water the offset during this drying period.
Promoting Root Development and Initial Care
Once the cut is callused, prepare conditions to promote rooting and pot the offset.
- Rooting hormone: Applying commercial rooting hormone (such as diluted auxin or rooting powder) to the cut promotes faster, more reliable rooting. However, use sparingly—dust formulas should be lightly applied and excess tapped off, while liquid formulas should be diluted several times over before use.
- Soil choice: Prioritize drainage for rooting medium. Use river sand or perlite (small grade) alone, or a mixture of perlite and akadama (approximately 6:4). Standard succulent soil retains too much moisture and risks rot before rooting. Choose a small pot (5–7 cm) to allow quick drying and easier management.
- Placement and watering: For the rooting period (2–6 weeks), avoid direct sun and keep in bright shade to weak indirect light. Water only when the soil surface is completely dry, applying water gently from below. Limit top watering to a fine mist once weekly until roots form, and avoid sitting water.
- Confirming rooting: After 2–4 weeks, gently lift the offset—resistance indicates root formation. New leaf growth at the center also signals active rooting. Once roots are confirmed, gradually acclimate the offset to direct sun and increase watering frequency.
Parent Plant Recovery Care
After offset removal, parent plant recovery and transition to the next growth cycle are essential.
- Wound care: Dry the parent plant's cut in similar conditions—away from direct sun, rain, and humidity—for several days. Once a thin callus forms, return to normal care.
- Nutrient replenishment: Offset production consumes energy from the parent plant. After offset removal, apply diluted liquid fertilizer (for succulents, approximately 1:3000 dilution) once monthly to restore leaf color and encourage new offset formation. Avoid over-fertilizing, which promotes weak growth; apply sparingly.
- Form and light improvement: Removing offsets opens up the parent plant's canopy, allowing better light and air circulation. The parent's rosette expands and leaf color (gray-blue with pink tips) intensifies. Echeveria subsessilis becomes more compact and beautiful with sufficient light, so regular offset removal serves dual purposes as form management.
Common Problems and Troubleshooting
- Mold on cut wounds: Planting before the cut fully dries promotes fungal growth. If white powdery mold appears, remove the offset, scrape the cut lightly with a knife, dry again, and re-pot.
- Leaf wilting: Leaves may shrivel before rooting as the offset consumes stored moisture—a normal process signaling active root development. For excessive wilting, mist the leaves but avoid direct watering.
- Rapid growth after rooting: Resume normal watering once roots form, gradually moving the offset into direct sun. Echeveria subsessilis grows quickly after rooting, often reaching parent-plant size within a year under proper care. Decide early on your management approach—group potting or individual containers—for smooth handling.
Offset propagation requires effort, but once mastered, it efficiently multiplies your collection. Combined with good parent plant care, it supports long-term collection growth.