Propagation and Leaf-Cutting Techniques for Echeveria
A practical guide to leaf-cutting specialized for the Echeveria genus. Covers everything from selecting healthy leaves to callus formation and root management, species-specific failure factors for powder-coated varieties, and when to use pup division or stem cuttings instead.
Key Takeaways
A practical guide to leaf-cutting specialized for the Echeveria genus. Covers everything from selecting healthy leaves to callus formation and root management, species-specific failure factors for powder-coated varieties, and when to use pup division or stem cuttings instead.
Related Species
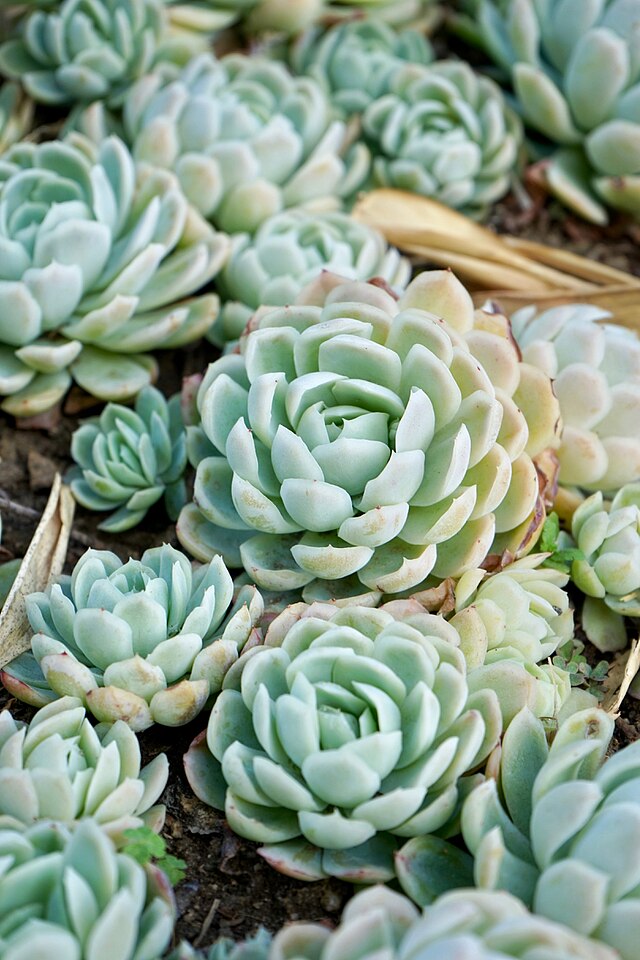
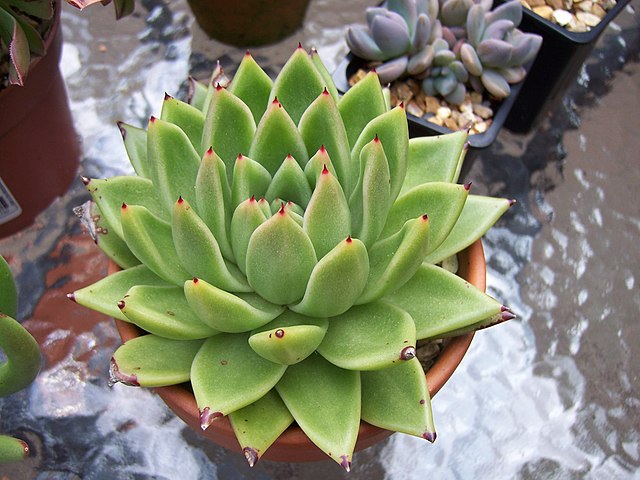
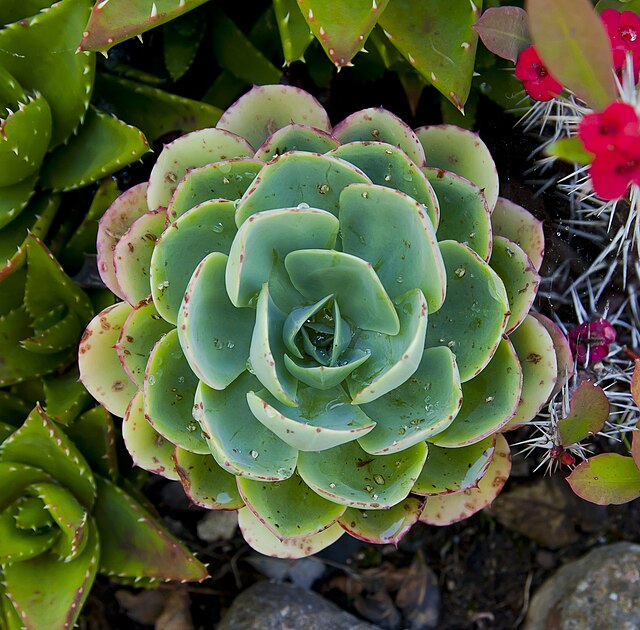
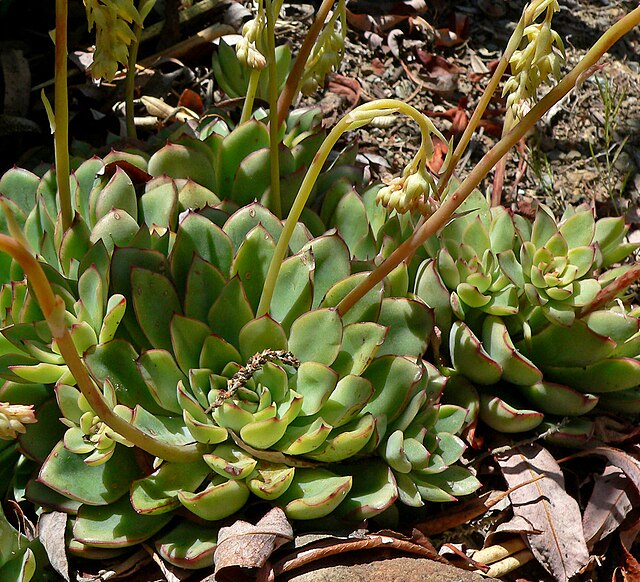
Echeveria is known as a group of rosette-forming succulents with particularly high success rates for leaf propagation. Even within the same Crassulaceae family, different genera vary in leaf thickness, water retention capacity, and leaf attachment patterns, making propagation techniques subtly different. This article focuses specifically on Echeveria, systematizing key points to remember at each stage of leaf propagation and explaining specific areas where Echeveria growers commonly stumble.
Why Echeveria Leaves Are Well-Suited for Leaf Propagation
Echeveria leaves are thick-fleshed yet attach to the rosette stem at a relatively shallow angle, making them easy to remove without excessive force. Another major characteristic is their high storage capacity—they can sustain themselves through rooting and sprouting using only the water and nutrients stored within the leaf. Echeveria elegans, with its thinner rounded leaves, is considered beginner-friendly due to easy moisture balance adjustment, while Echeveria agavoides, with pointed thick succulent leaves, is hardy and durable but requires care when detaching from the base due to leaf firmness. The fact that difficulty varies by leaf shape even within the same Echeveria genus is genus-specific knowledge that general leaf propagation guides for succulents rarely mention.
Selecting Good Leaves — Which Position on the Rosette to Take From
Leaf propagation success depends almost entirely on the condition of the leaf used as the propagule. Echeveria rosettes have young leaves near the center and older leaves toward the outside. The ideal leaves for propagation are intermediate ones—fully expanded healthy mid-layer leaves. Leaves too young near the center wilt easily before callus formation due to immature tissue, while the oldest leaves on the outermost edge have largely finished their role and often have reduced rooting capacity.
When selecting leaves, check the following:
- No cuts, insect damage, or discoloration; the leaf is firm and turgid
- No cracks or wilting at the base where the leaf attaches
- For varieties like Echeveria pulidonis that have white powder (bloom) on the leaf surface, the powder should be uniformly intact (uneven powder indicates damage to the epidermal cuticle layer, which makes bacterial invasion easier)
For powder-coated varieties and types like Echeveria 'Momotaro' with mixed fine hairs and powder, minimizing hand contact and handling with only gentle finger support directly impacts success rate.
Removing Leaves — Tips for Clean Separation
The basic technique for Echeveria is not to pull the leaf off, but to gently twist it sideways while rocking it back and forth. Specifically, support the base of the leaf lightly with your fingertips and gently rock it side to side while adding a twisting motion; the leaf will naturally separate along with the vascular tissue at its base. If tearing occurs, where some tissue at the base remains on the stem, the rooting rate of that leaf drops significantly. Conversely, if the leaf separates cleanly with no torn edges remaining and the base maintains a smooth rounded shape, success rate is high.
After removing the leaf, don't insert it into soil immediately. Instead, place it in a well-ventilated shaded spot for several hours to a half day to lightly dry the moisture at the cut site (base). Since Echeveria leaves are thick-fleshed, the risk of rot increases if the cut remains wet when contacting soil, making this drying step a critical process.
Managing Callus Formation — Soil, Humidity, and Light Conditions
Two to four days after removing the leaf, callus (scab-like tissue protecting the wound) begins to form at the cut base. During this period, Echeveria requires the following environmental conditions:
- Use a thin layer of well-draining succulent soil mix (primarily akadama or pumice) and lay the leaves flat on it
- Avoid direct sunlight; provide bright indirect light or lace-curtain filtered light
- Keep soil basically dry, only misting lightly (excessive moisture is strictly forbidden)
The most common failure in Echeveria leaf propagation is rot from excessive moisture at this stage. Thicker leaves contain more internal moisture, so in humid periods or poorly ventilated environments, rot progresses easily from the cut site. Until callus formation is complete, maintaining dry soil and circulating air is essential for preventing Echeveria-specific rot.
Timing and Management of Rooting and Sprouting (Pups)
After callus formation, white roots typically begin emerging near the cut site within 2–3 weeks if progressing well, and around the same time small pups (shoots) emerge from the base of the leaf. In Echeveria, some individuals develop roots first then shoots, while others produce both simultaneously, with variation depending on leaf condition and season.
Once roots begin to emerge, gradually increase the frequency of light soil moistening and monitor as the pup gradually becomes independent using nutrients from the parent leaf. Until the pup develops several true leaves and grows large enough to independently absorb water from soil, keep the parent leaf intact without cutting it off. The parent leaf gradually withers while continuing to supply nutrients to the pup, eventually dying naturally and fulfilling its role. Removing the parent leaf prematurely cuts off the nutrient supply needed for pup growth, so care must be taken.
Echeveria-Specific Failure Modes and Countermeasures
In addition to common succulent failures, Echeveria leaf propagation has the following genus-specific stumbling blocks:
- Failures with powder-coated and variegated varieties: Varieties like Echeveria pulidonis with leaf-surface powder are prone to excessive drying or bacterial invasion in areas where powder is worn off, making selection of healthy leaves with uniformly intact powder critical to success.
- Immature leaf failures: Young leaves near the rosette center appear soft and fresh but wilt before callus forms because tissue is underdeveloped.
- Senescent leaf failures: Leaves on the outermost edge have reduced rooting capacity and may never reach rooting stage despite appearing healthy.
- Rot from excess moisture: Thicker leaves contain more internal water; high soil or ambient humidity promotes base rot. For thick-leaved types like Echeveria agavoides, prioritize drainage and air circulation.
Aftercare for the Parent Plant
The parent plant also requires proper care after leaf removal. While Echeveria can lose several leaves with minimal impact on the overall plant, the stem where the leaf was removed is temporarily left with exposed cut sites. For several days after harvest, place the plant in a well-ventilated spot away from direct sun and wait for the cuts to dry and settle before returning to normal care (watering and light). Harvesting many leaves at once causes significant plant stress, so it's best to take a few leaves at a time while observing the overall rosette balance of healthy plants.
Other Echeveria Propagation Methods
While leaf propagation is the typical method for Echeveria, other approaches may be more reliable depending on plant condition.
Pup (offset) division: For individuals with a clustering habit, naturally occurring pups can be detached from the parent and established once they've developed sufficient roots. This method yields plants closer to mature size in less time than leaf propagation.
Stem cutting (decapitation and rejuvenation of leggy plants): For etiolated Echeveria with elongated stems, detaching the rosette along with its stem and treating it as a cutting is effective. After drying the cut for several days, the detached rosette will root when inserted into soil, and new pups may also emerge from the remaining rootstock. For vigorous varieties like Echeveria 'Momotaro', this method allows plant renewal and multiplication into multiple individuals.
By combining these methods with leaf propagation, multiple plants can be grown from a single Echeveria without waste. Comparing your cultivated Echeveria and propagated plants with grower listings viewable and available for purchase in online catalogs deepens understanding of individual variation and variety characteristics from plant to plant.