Advanced Guide to Propagating Succulents | Techniques for Seed Propagation, Beheading, and Dividing Cluster Plants
Explore advanced methods of propagating succulents beyond leaf and stem cuttings. Learn detailed procedures for growing from seed, beheading to reshape stems, and dividing cluster plants, along with techniques suited to different varieties.
Key Takeaways
Explore advanced methods of propagating succulents beyond leaf and stem cuttings. Learn detailed procedures for growing from seed, beheading to reshape stems, and dividing cluster plants, along with techniques suited to different varieties.
Related Species
Black Rose Aeonium
View species details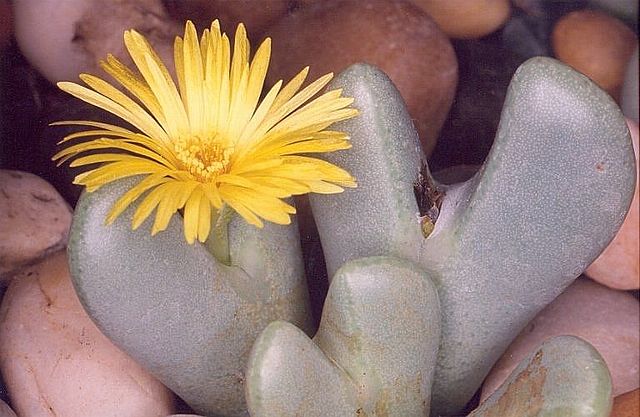
Conophytum
View species details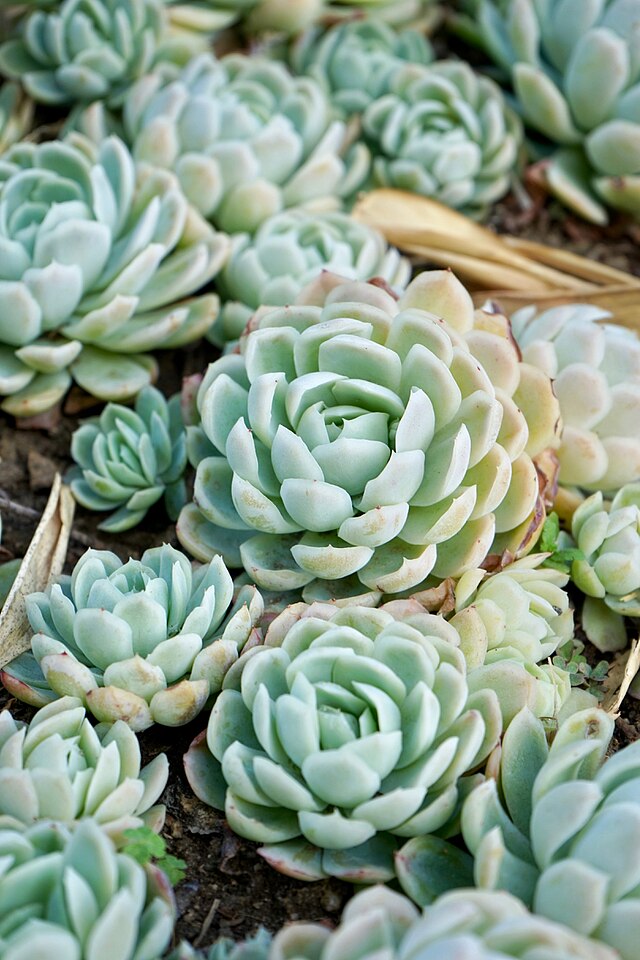
Echeveria
View species detailsEcheveria Lola
View species details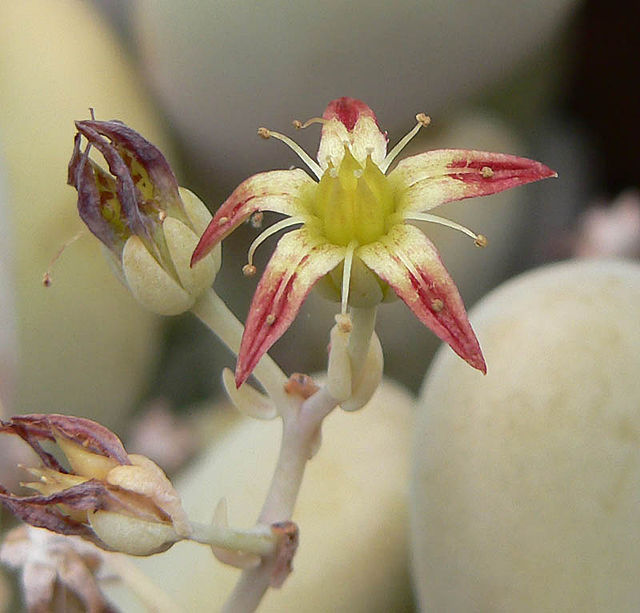
Graptopetalum
View species details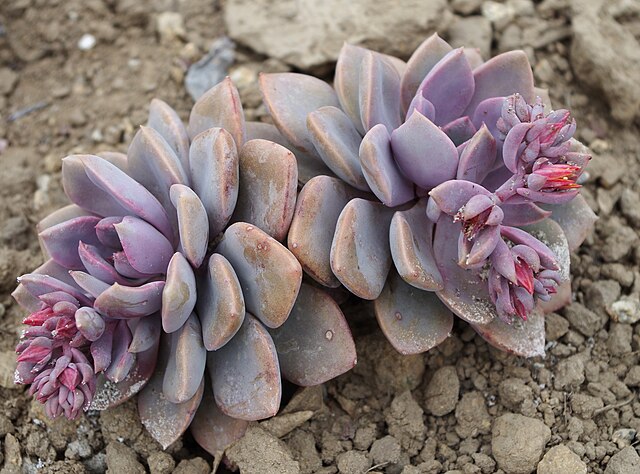
Graptoveria
View species details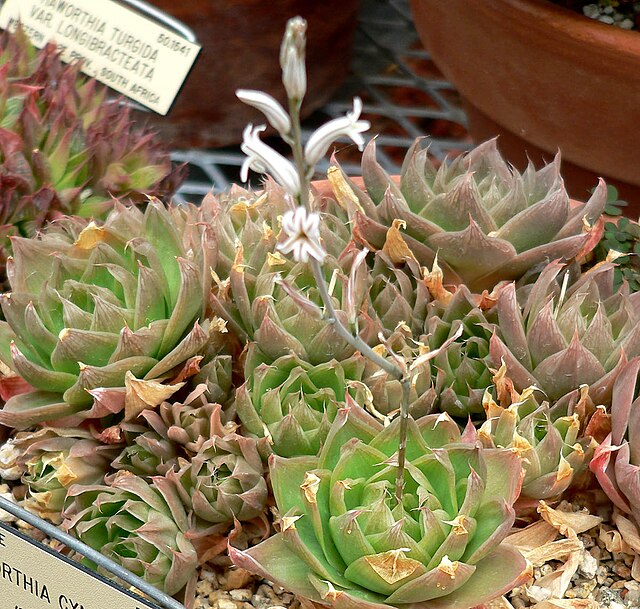
Haworthia
View species detailsHaworthia Obtusa
View species detailsBefore Moving to "Advanced" Succulent Propagation
Leaf cuttings and stem cuttings are widely known as beginner methods for propagating succulents. However, three techniques—seed propagation (sowing seeds), beheading, and dividing cluster plants—step up the difficulty level considerably. Yet when successful, the sense of achievement and the quality of the resulting plants are exceptional. What these advanced techniques have in common is that "timing and precision in environmental management determine the outcome." This article explains each procedure in detail, along with tips for avoiding failure.
Seed Propagation (Sowing Seeds)—The Joy and Challenge of Growing from Seeds
While seed propagation takes the longest, it is the only method to obtain new varieties through hybridization and to develop robust plants close to wild types. Many succulent lineages with refined leaf shapes, such as Echeveria Lola, are fixed varieties established through repeated seed selection; growing from seed is an opportunity to experience how these varieties came to be.
Preparing Soil and Containers Cleanliness is the top priority. Use a basic mix of 7 parts fine-grain red lava soil to 3 parts vermiculite, with just the top 1 cm covered with ultra-fine-grain Akadama soil for stable germination rates. Choose a shallow tray about 5 cm deep with multiple holes in the base, allowing for bottom watering.
Timing for Sowing Echeveria, Haworthia, and Conophytum species are best sown in autumn (September–October), while Sedum and Graptopetalum thrive when sown in spring (March–April). Choose a period when temperatures stay in the 18–25°C range.
Care After Sowing Spread seeds evenly across the soil surface without covering them. Place plastic wrap or a transparent lid over the tray to maintain humidity, and set in a bright location away from direct sun. Keep the soil from drying out until germination occurs. Once germination appears in 1–3 weeks, gradually remove the lid to acclimate to air circulation. When seedlings develop 3–4 true leaves, transplant them into individual pots. Handle this carefully with fine tools like toothpicks to avoid damaging roots, as injury at this stage severely slows growth.
Common Seed Propagation Failures Mold is the biggest enemy. Sterilizing the soil before sowing—by heating in an oven at 100°C for 30 minutes or using a microwave—significantly increases survival rates. Resist the urge to reduce watering once seeds germinate; young seedlings are highly sensitive to drying and will quickly wilt. Maintain consistent moisture via bottom watering until true leaves appear.
Beheading—A Dual-Purpose Technique for Reshaping While Multiplying
Beheading is highly effective for etiolated Agaves and Echeverias with bare lower leaves and poor appearance. Cut the stem horizontally to create new plants from both the top and bottom portions. Even with upright Crassulaceae like Black Rose Aeonium that readily etiolate, this technique allows you to reshape the plant while propagating it simultaneously.
Tool Preparation and Sterilization Use a sharp knife or razor blade, and always sterilize with alcohol. Serrated blades produce rough cut surfaces prone to rot and are not recommended.
Choosing the Cut Position
- Upper section (above the cut): The upper portion containing the growing point will become an independent plant if leaves remain.
- Lower section (below the cut): Multiple offset plantlets typically emerge from the remaining stem. Leaving 5–10 cm of stem is ideal. Too low a cut position makes offset formation unlikely.
Drying Time Is Critical Allow the cut surface to dry in a shaded, well-ventilated location for 1–5 days to form callus (protective tissue) before inserting into soil. Skipping this step invites bacterial infection and rot at the cut surface. Large Agaves may require a week or more of drying.
Tips for Promoting Root Development Applying rooting hormone thinly to the cut surface accelerates rooting. After inserting into soil, avoid direct sun and refrain from watering for 2–3 weeks. Once roots begin to form, transition to normal care.
Managing the Lower Section After Beheading Return the lower section to normal watering once the cut surface has dried. Within several weeks, multiple white buds will emerge around the cut site. Thin excessively crowded growth, and allow each plantlet to develop fully before dividing them.
Dividing Cluster Plants—Separating Colonies into Individual Plants
Cluster plants with many closely packed offsets—such as Haworthia obtusa, ground-planted Sedums, and Agave offsets—can be efficiently multiplied through division. Intergeneric hybrids like Graptoveria, which readily form clusters, offer particular appeal because division produces plants of consistent quality matching the parent.
Best Timing for Division Just before the start of the active growing season is ideal. For spring-growing types, divide in March–April; for autumn-growing types, divide in September. Dividing dormant plants risks delayed rooting and leaves wounds unprotected for prolonged periods, increasing risk.
Separating the Roots First, remove the entire plant from its pot and gently separate the roots to identify individual plants. The stolons (runners connecting child and parent plants) should not be cut; instead, naturally separate them by careful pulling. If cutting is absolutely necessary, use sterilized scissors. Handle carefully when untangling matted roots, loosening them gradually to avoid destroying fine root hairs.
Planting After Division If the separated offsets have established roots, plant them immediately. If roots are sparse or absent, allow 1–3 days of drying before planting. After planting, hold off on watering for about a week, then begin with small amounts, confirming root extension before returning to normal quantities.
Special Tips for Haworthia Division Haworthia roots are thick but brittle. After removing from the pot, rinse the roots with water and remove any damaged roots (dark-colored or mushy ones) with sterilized scissors before drying. This "root washing → removal of rotted roots → drying → planting" sequence dramatically improves growth after repotting.
Common Environmental Management Across All Three Techniques
Regardless of propagation method, the environmental fundamentals supporting root formation, germination, and offset development remain consistent.
- Temperature: 18–28°C provides the highest activity level. Above 30°C during peak summer and below 10°C in winter slow healing of wounds, increasing rot and mold risk.
- Light: Direct sun is too intense for fresh cut surfaces and young rooting plants. Maintain in bright shade (20–30% shade cloth) and gradually acclimate to sunlight once roots are established.
- Watering: Watering too early causes cut surface rot, while withholding it entirely stops rooting. Apply the basic rule of "water lightly once the soil is completely dry," then gradually increase frequency once roots are confirmed.
- Air Circulation: Sealed environments are breeding grounds for mold. Even during germination management, provide a few minutes of ventilation each day.
A Roadmap to Mastery
Seed propagation, beheading, and cluster division generate synergistic effects when combined rather than practiced in isolation. For example, selecting the best-shaped plants from beheaded cuttings and using them for hybridization and seed work, or treating offsets from cluster division with the same care as seed-grown plants, unifies your technique and intuition.
Recording observations as you gain experience is key to improvement. Note the cutting date, drying duration, and root confirmation date; this creates a foundation for more precise management in the next season. Once you develop the judgment to adjust methods based on plant condition and season, succulent propagation transforms from "work" into "creation."