Photography Techniques for Foliage Plants | How to Capture Leaf Shine and Silhouette
A guide to shooting foliage plants by explaining lighting techniques, background arrangement, and angle selection. A photography guide useful for growth records and social media posts.
Key Takeaways
A guide to shooting foliage plants by explaining lighting techniques, background arrangement, and angle selection. A photography guide useful for growth records and social media posts.
Related Species
Why Foliage Plant Photos Look "Dull"
Foliage plants lack the vibrant colors of flowers. When you take a photo, the three-dimensionality and shine you see in person don't come through, and the result often looks flat and dull. In most cases, the cause lies in one of three factors: lighting, background, or angle.
With flowers, color itself becomes the main subject, so the photo looks good even if shooting conditions are less than ideal. However, the charm of foliage plants lies in the accumulation of "quiet elements"—the shading of leaf veins, the shine of the leaf surface, the patterns of cuts and variegation, and the silhouette created by the entire plant. To bring out these qualities, you need to intentionally control lighting, background, and composition. Conversely, with just a little effort, the same plant can look entirely different and much more appealing in a photograph. This article explains photography techniques that work with smartphones or mirrorless cameras, in step-by-step order.
Choosing Light to Enhance Leaf Shine and Texture
The quality and direction of light make the biggest difference in the final photo. First and foremost, direct sunlight outdoors is not suitable for photographing foliage plants. The contrast is too strong, with bright areas blowing out to white and dark areas crushing to black, losing fine details of the leaves.
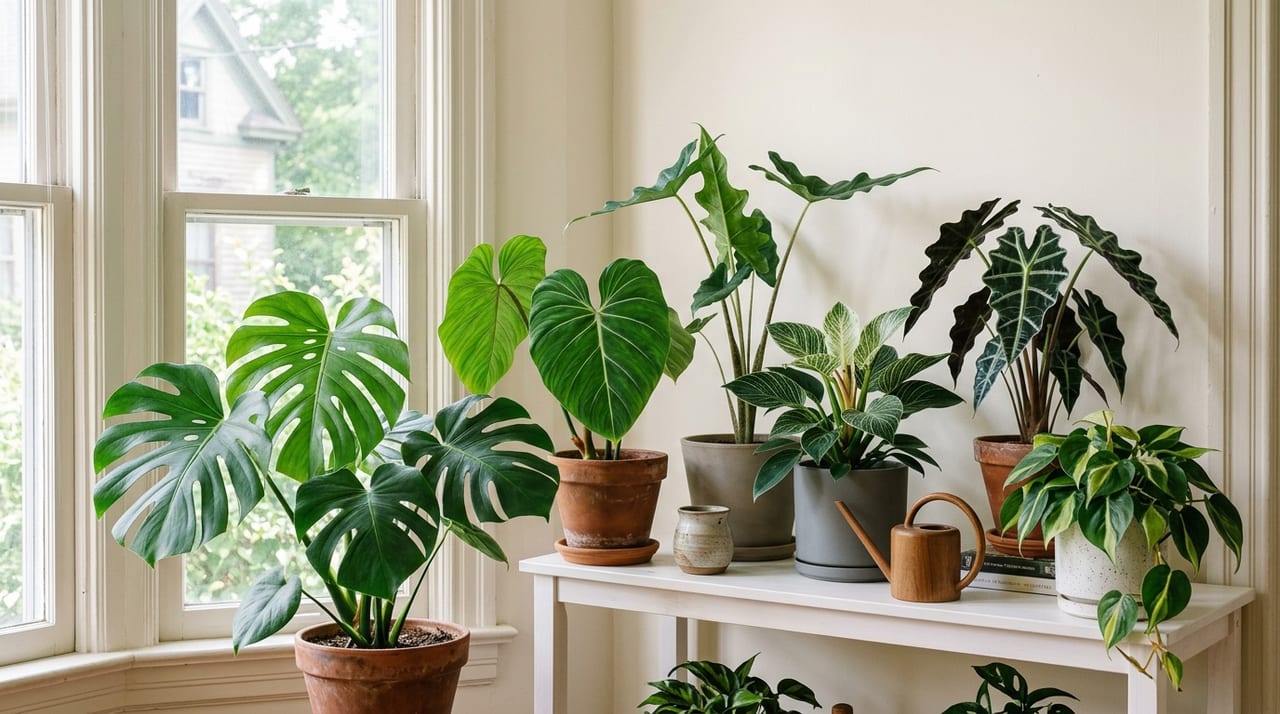
The most controllable light is natural light by a window. Indirect light through a sheer curtain or on a cloudy day diffuses evenly, creating soft shadows across the entire leaf and making the texture stand out. When it comes to light direction, it's effective to use the following approaches:
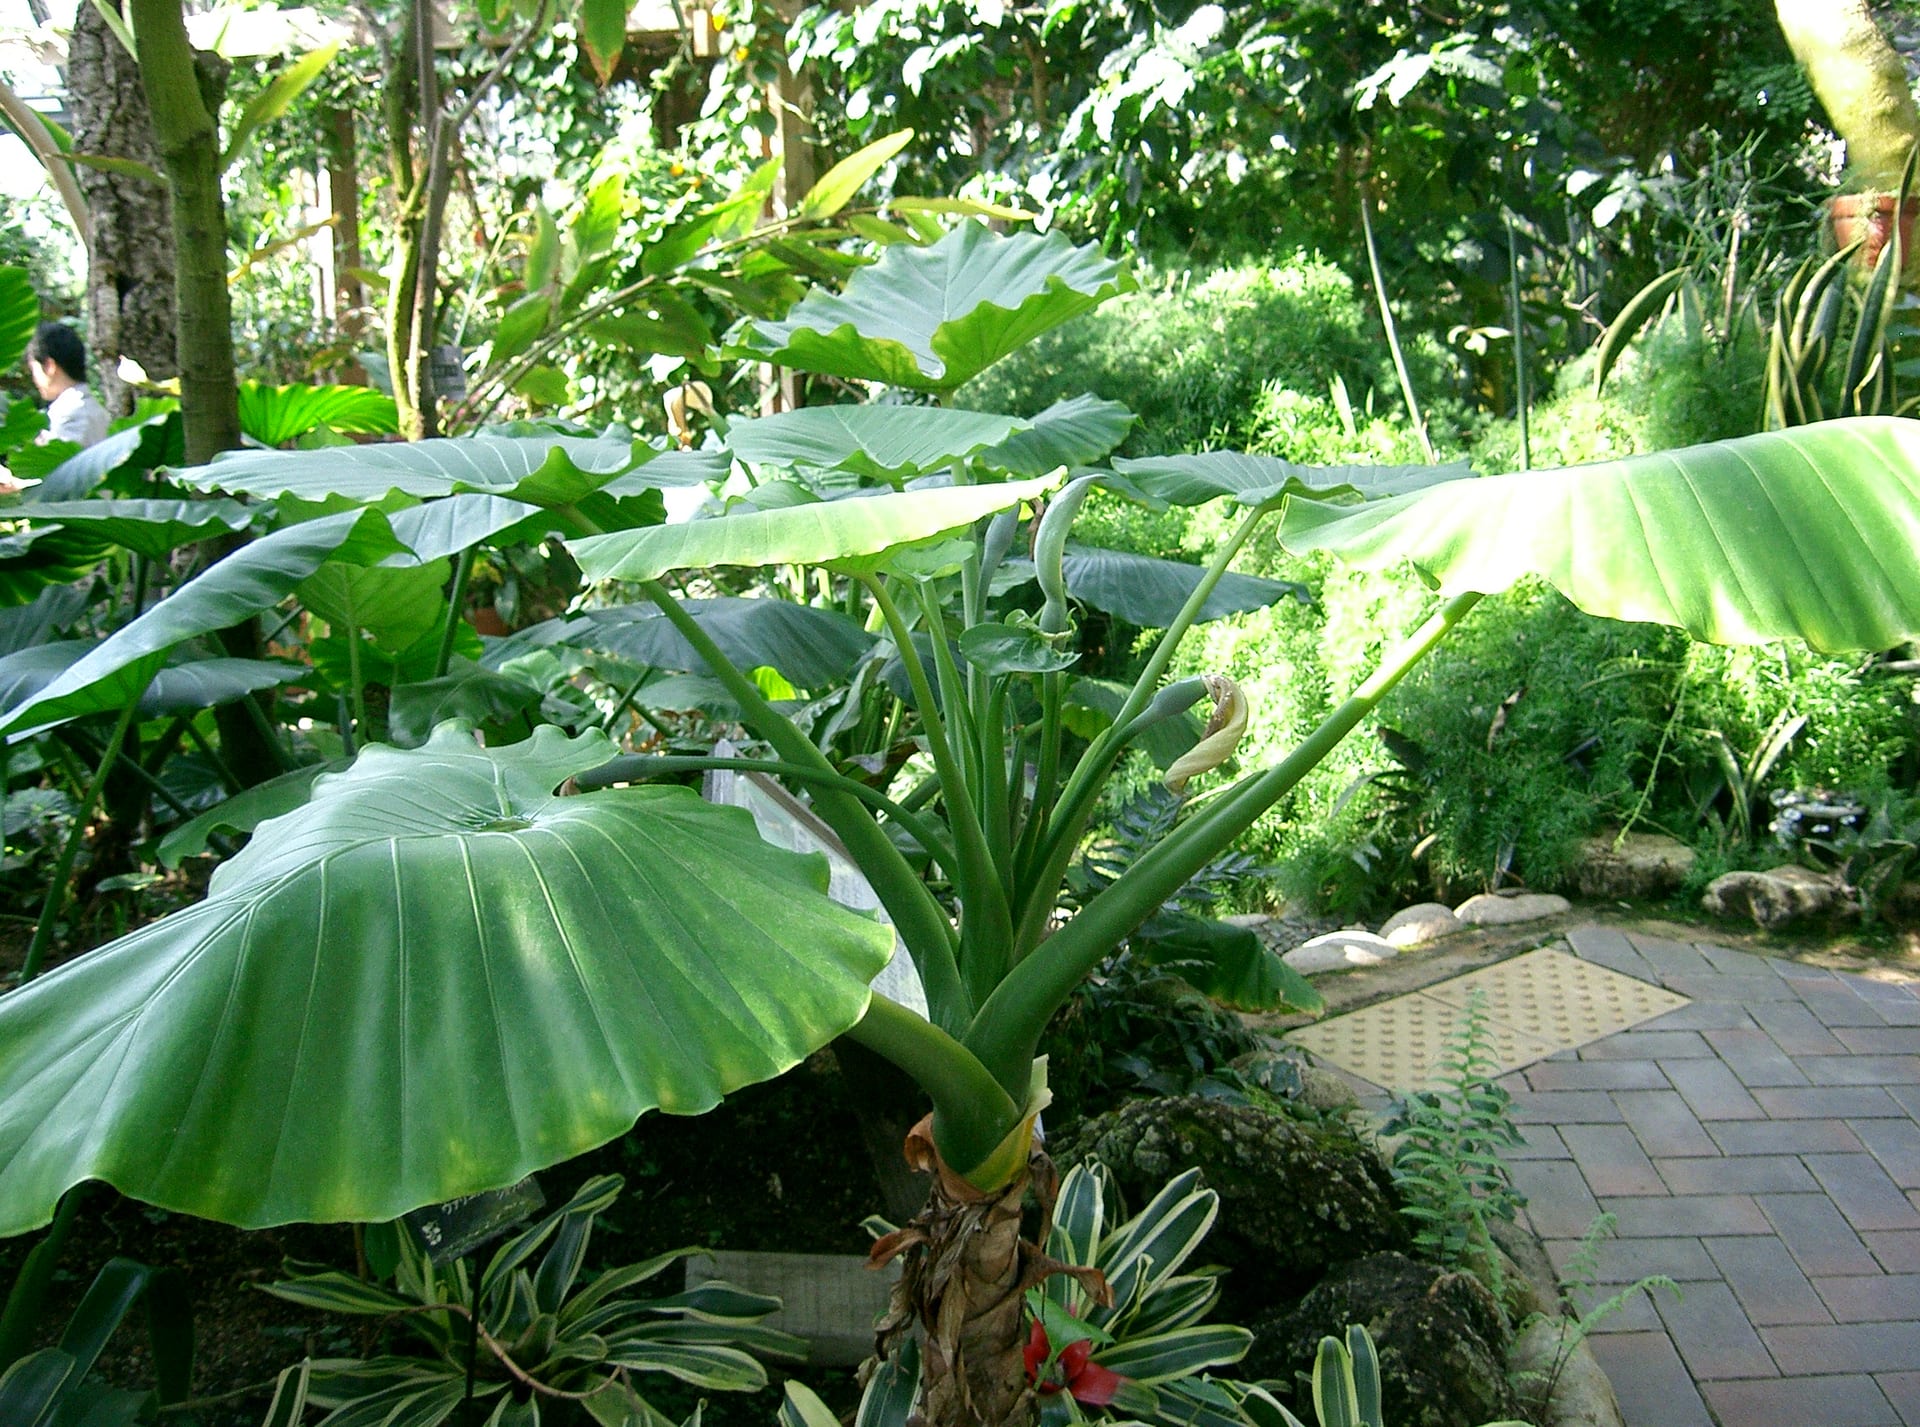
- Side lighting (from the side at an angle): The texture of the leaf creates shadows that make it appear three-dimensional, making this approach ideal for bringing out depth in glossy varieties such as Ficus lyrata and Alocasia odora.
- Light from above at an angle (diagonal light): The entire plant receives natural highlights and shadows, resulting in a balanced composition that includes the pot.
- Backlighting (transmitted light behind the leaves): This approach suits thin-leaved varieties such as Calathea and Stromanthe, bringing out the leaf vein patterns to create a delicate impression.
When shooting at night or with only fluorescent or warm-toned indoor lighting, the green can appear dull or yellowed. If correction is difficult, the easiest solution is to develop a habit of shooting during daylight hours when natural light comes in.
Arranging Background to Make Silhouettes Stand Out
As foliage plants grow larger, they develop a unique silhouette. For Monsteras and Philodendrons with their distinctive cuts, or Hoyas and Cissus with their drooping leaves, the outline itself is beautiful. To convey this outline in a photograph, simplifying the background is most effective.
Simply placing the pot in front of a white wall, light gray wall, or plain fabric brings the outline into sharp relief. On the other hand, if shelves or other items are visible in the background, the outline gets lost and the silhouette doesn't come through.
Varying the background according to your purpose is also an effective approach.
| Purpose | Suitable Background |
|---|---|
| Showing off the plant's own beauty | White or light-colored plain wall |
| Conveying the atmosphere in a room setting | Part of interior décor |
| Emphasizing leaf pattern and variegation | Solid dark-toned background |
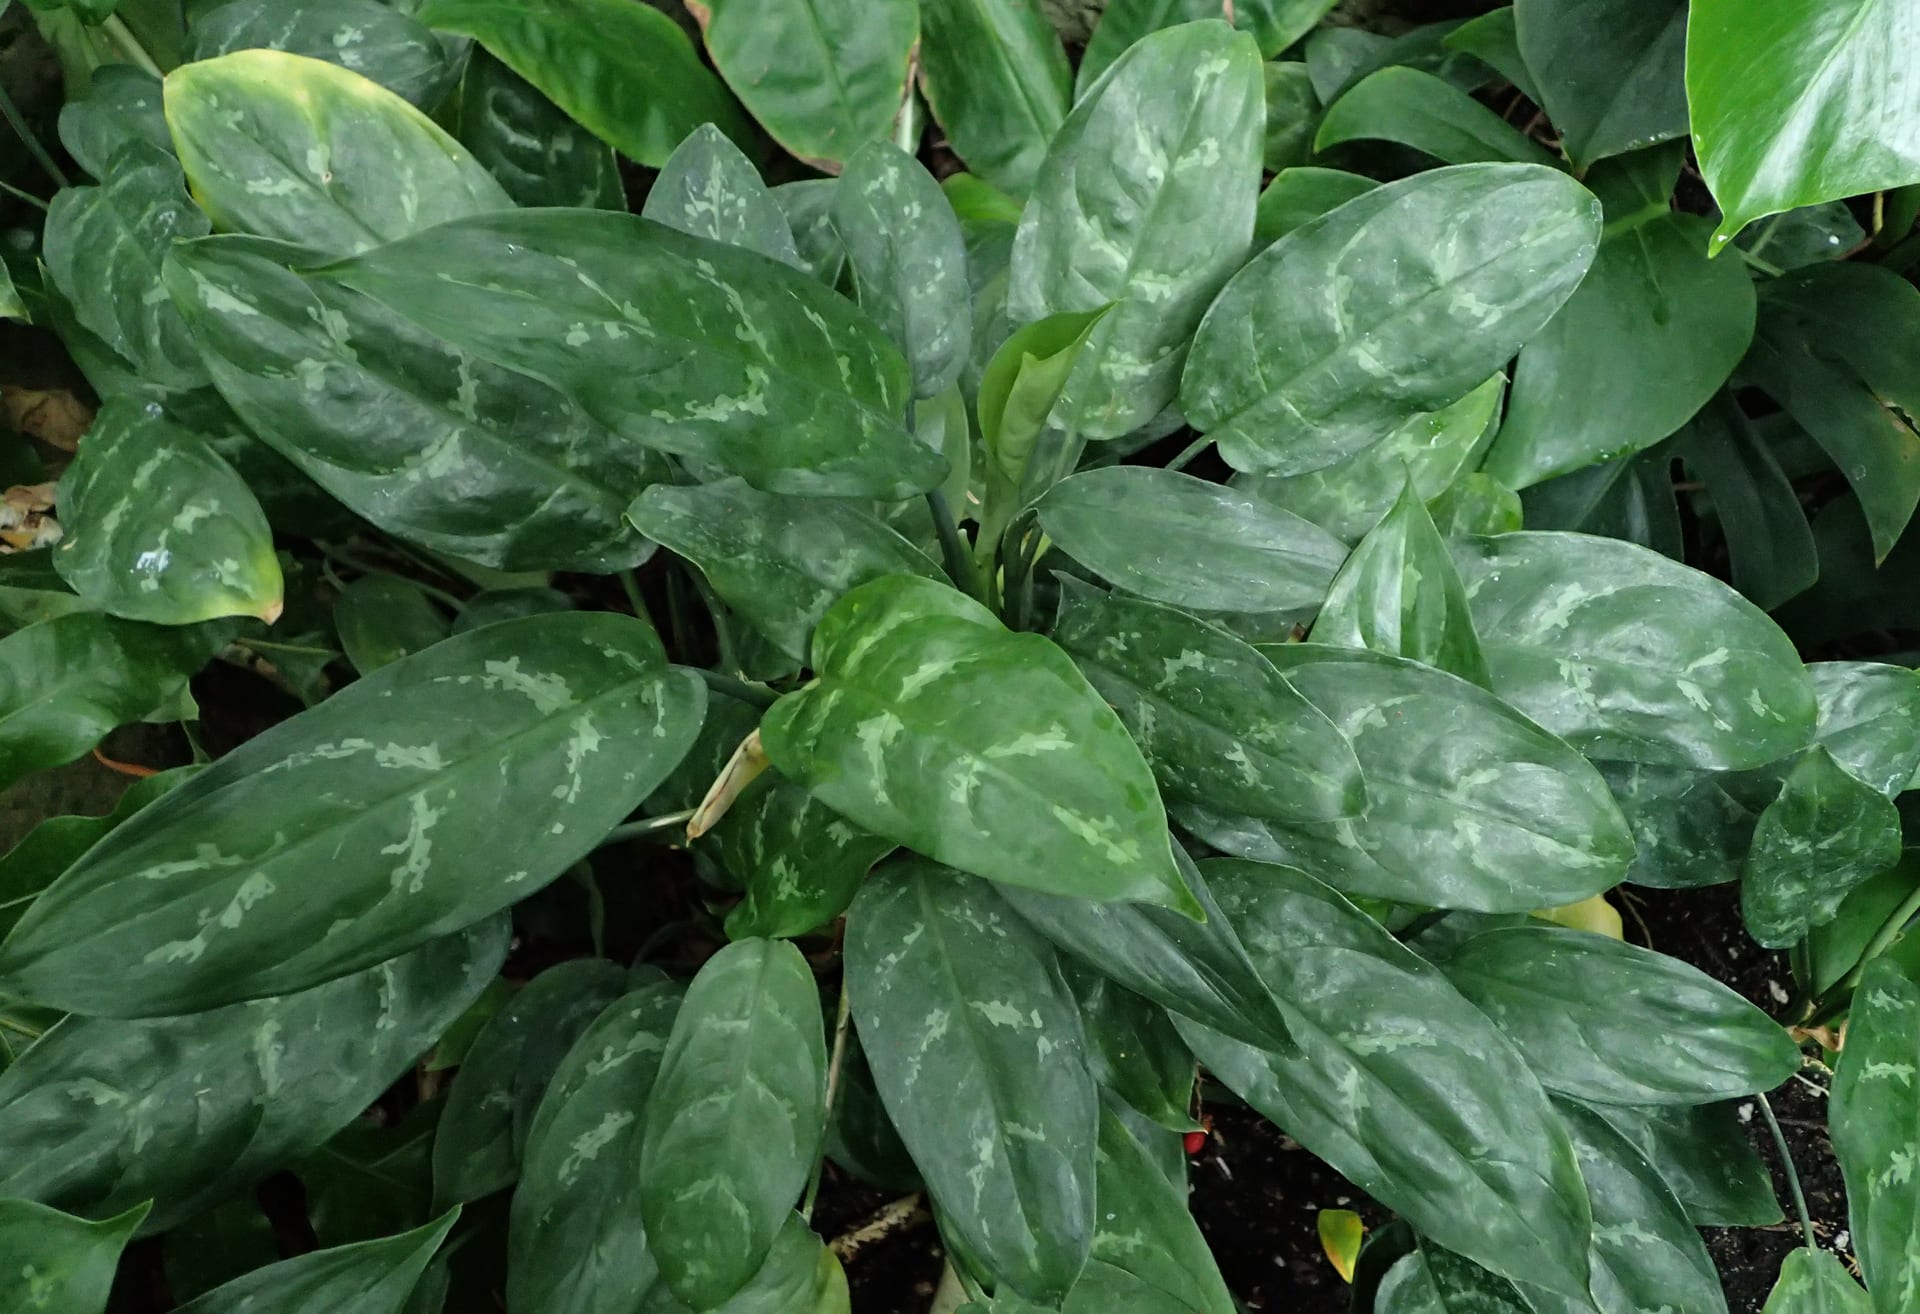
For variegated varieties in particular (such as Aglaonema and Pothos Enjoy), using a dark-toned background makes white or pale green variegation stand out in contrast. Against a bright background, the variegation tends to blend in with the background, so simply being mindful of the background's brightness can make a big difference in how the pattern appears.
Using Angles and Composition
Even with the same plant, the impression changes completely depending on the height and direction from which you shoot. For foliage plants, using the following three angles appropriately for different scenes expands your range of expression.
Eye-level angle (shooting horizontally from the middle of the plant) creates the most natural impression of how the plant looks when placed in a room. This is the basic approach when you want to show overall balance and shape. For upright varieties like Ficus umbellata and Cordyline, this angle creates the most stable composition.
Low angle (shooting slightly upward from below) is effective when you want to emphasize the presence and height of a large plant. It creates a dramatic shot with leaves spreading to the ceiling.
Close-up (focusing on a single leaf or bud) is used to convey the pattern of variegation, the fine details of leaf veins, and the softness of new growth. Using your smartphone's portrait mode to blur the background keeps focus on the main leaf and creates a more polished image.
It's also effective to be mindful of the "rule of thirds" as a compositional basic. Placing the plant's center or main leaf at one of the intersection points of the grid created by dividing the frame into thirds both horizontally and vertically results in a more stable and dynamic photo than simple center composition.
Shooting Habits for Documenting Growth
Unlike flowers that scatter after blooming, the charm of foliage plants is that they continue to grow. Recording daily changes—such as newly unfurling leaves, emerging aerial roots, and variegation beginning to show color—is useful for reconsidering your care methods.
The key to documentation photography is consistency. By regularly shooting from the same angle, with the same background, and at the same time of day, you can see the plant's changes at a glance when viewing them in chronological order. Organizing shots in your smartphone's "frequently photographed subjects" album makes it easier to keep shooting location and settings consistent.
Additionally, for plants purchased from a grower, photographing them at different stages—right after arrival, after repotting, and several weeks later as they settle into their environment—allows you to track changes until the plant stabilizes. Another benefit of continuing documentation photography is that it makes it easier to spot signs of insufficient light or root-bound conditions by comparing photos.
Styling with Pots and Accessories
Simply paying attention not just to the plant itself but to the pot and surrounding accessories elevates the quality of the photo. Choosing a pot that doesn't clash with the plant's color—such as a terracotta pot, basket, or matte ceramic pot—makes the leaves stand out as the star. Even a plastic nursery pot can transform with a quick wrap of raffia or burlap.
Styling with tools and accessories is also effective. Adding items you actually use in daily care—such as a watering can, spray bottle, wooden tray, or small stones—naturally in a corner of the frame creates depth as a moment in everyday life. Overdoing it can look cluttered, so limiting accessories to one or two pieces is the easiest way to maintain balance.
Also consider the combination of colors with flooring and wall colors. Deep green Philodendrons look striking against warm-toned wood floors, while patterned Calatheas with ethnic designs stand out against white walls. A composition that considers harmony with the interior can simultaneously convey both the plant's own charm and how naturally it fits into your living space.
Summary: Mindfulness of Three Elements—Light, Background, and Angle—Makes All the Difference
Foliage plant photography changes dramatically simply by being mindful of three basics: light direction, background simplicity, and angle selection. Because foliage plants lack the vibrant colors of flowers, the key is knowing how to bring out the quiet charm of leaf shine, texture, and silhouette.
You can achieve a lot with just natural light by a window and a white wall, without any special equipment. Start by taking several shots of the same plant with your smartphone, varying the angle of light and background to compare. You should be able to share in a photograph the sense of wonder you feel when standing before the actual plant and thinking, "This one is beautiful."