Orchid Root Management | Health Check by Root Color and Condition
Explains the structure and role of orchid roots, how to distinguish healthy roots from unhealthy ones, causes and treatments for root rot, and tips for growing vigorous roots.
Key Takeaways
Explains the structure and role of orchid roots, how to distinguish healthy roots from unhealthy ones, causes and treatments for root rot, and tips for growing vigorous roots.
Related Species
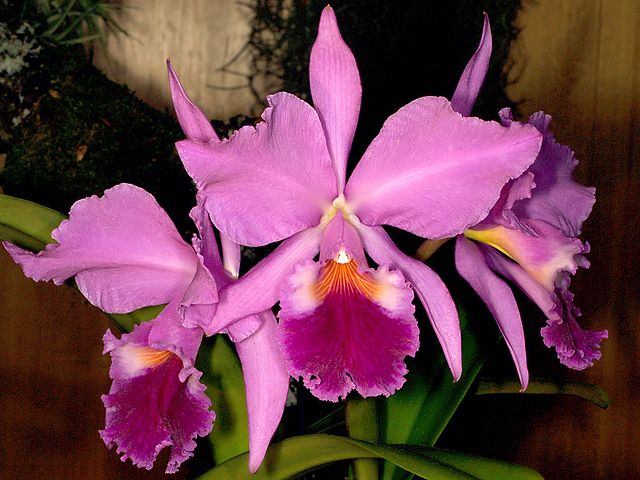
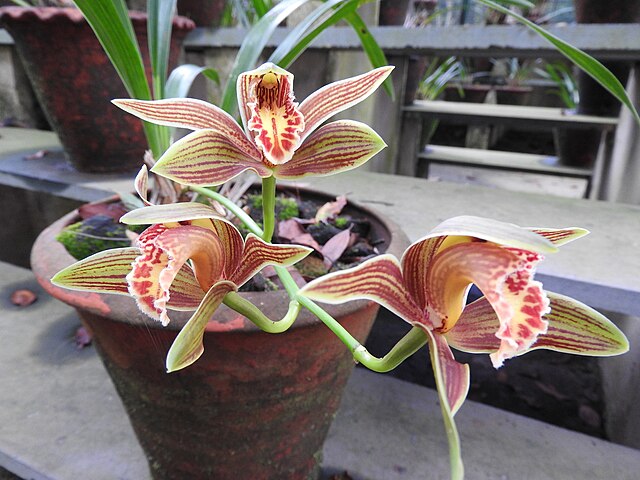
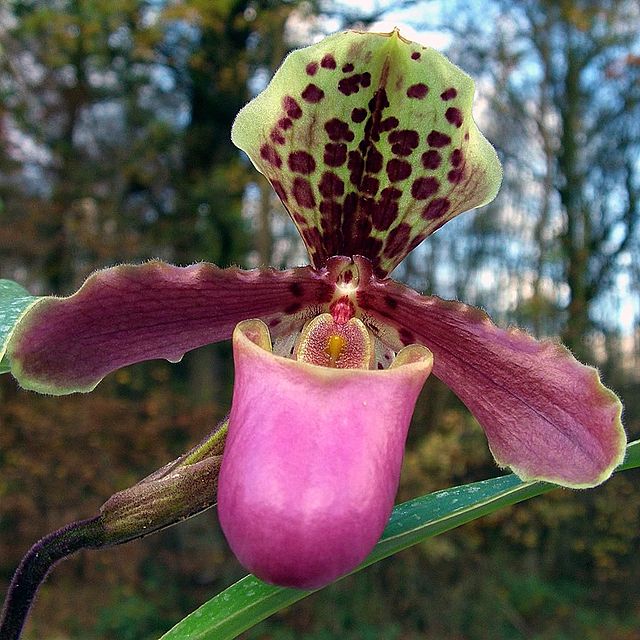
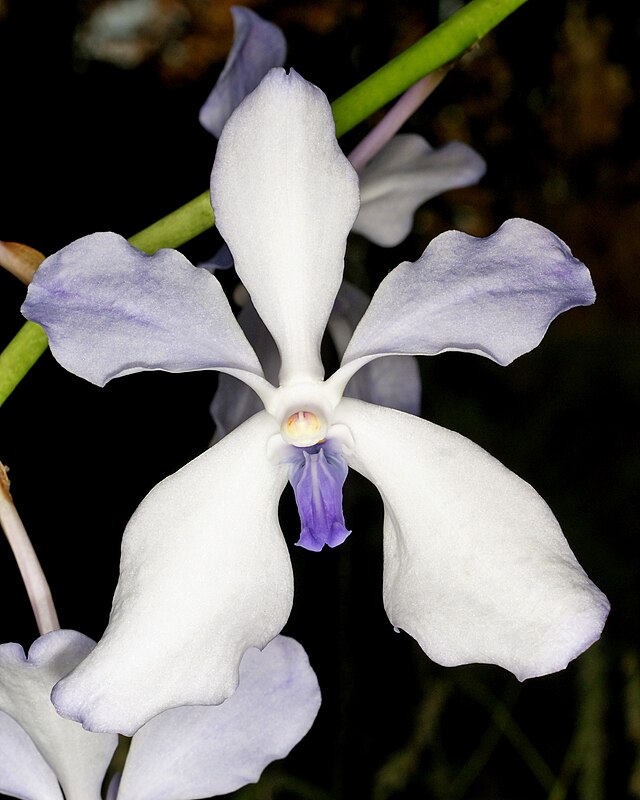
In orchid cultivation, root management is even more important than getting the flowers to bloom. Orchid roots absorb water and nutrients, and in epiphytic orchids, they also play a crucial role in photosynthesis. Learning to read the condition of your roots and providing proper care is the key to successful orchid growing.
Structure and Characteristics of Orchid Roots
Orchid roots differ significantly from the roots of typical plants. The roots of epiphytic orchids (Phalaenopsis, Cattleya, Vanda, etc.) are covered with a white, sponge-like tissue called velamen. Velamen has the ability to quickly absorb and retain moisture from the air.
When dry, velamen is white to silvery in color; when it absorbs water, it turns green. This is because the chloroplasts inside the root become visible, evidence that the orchid root is performing photosynthesis. For this reason, Phalaenopsis and Vanda thrive better when grown in transparent pots—the light reaching the roots promotes healthier growth.
Terrestrial orchids (Cymbidium, Paphiopedilum, etc.) have thin velamen and roots closer in structure to typical plants. They are less dependent on air humidity than epiphytic orchids, but they share the preference for well-draining growing medium.
The green tip of the root is called the "root apex" and is the actively growing part. A plant with vigorous, extending root apices can be judged to be healthy overall.
Distinguishing Healthy Roots from Problematic Roots
The health of orchid roots can be judged by their color and firmness. Healthy roots are white to silvery (when dry) and turn a vibrant green when watered. When touched, they feel firm and elastic.
Rotted roots turn brown to black, become mushy and soft to the touch, and in severe cases, the outer velamen peels away leaving only the inner core. Such roots cannot absorb water or nutrients and should be removed.
Over-dried roots become white and brittle, losing elasticity. Completely desiccated roots will not turn green again even when soaked. However, roots that appear white and hard may still be alive, so do not remove them carelessly.
"Aerial roots" protruding from the pot are not abnormal. For epiphytic orchids, sending roots into the air is natural behavior. An abundance of aerial roots can signal poor conditions inside the pot (excess moisture, oxygen deficiency, etc.), so check the state of your growing medium.
Causes of Root Rot and How to Address It
Root rot is the most common problem orchids face. The main causes are:
Overwatering is the most typical cause. Watering too frequently or using poorly draining medium keeps roots constantly wet, leading to decay. Winter is especially prone to root rot since evaporation is slower.
Using old growing medium is another cause. Sphagnum moss breaks down in 1–2 years and becomes overly moisture-retentive. Orchid bark deteriorates with time, particles crumble, and airflow worsens. Repotting at appropriate intervals prevents problems.
When root rot occurs, promptly remove the plant from its pot and cut away all rotted roots with clean scissors. Apply a fungicide (such as Topsin M paste) to the cut surfaces, let them dry for half a day in a well-ventilated, shaded location, then repot in fresh medium.
Key Points for Growing Healthy Roots
The most important factor in maintaining healthy roots is an appropriate watering rhythm. Be mindful of creating a clear distinction between dry and wet phases—water only after the medium has dried out thoroughly. Roots suffer both from constantly wet and constantly dry conditions.
Adequate airflow is also essential. Terra cotta pots offer excellent drainage and effectively prevent root rot. If using plastic pots, consider drilling additional holes in the sides or using bark medium to improve aeration.
Feed with diluted fertilizer on a regular schedule, but avoid fertilizing when roots are damaged—it will backfire. During recovery from root rot, withhold fertilizer until roots regenerate, then resume gradually.
To promote root growth after repotting, dissolve a plant vigor supplement (such as Menedeal) in your watering water—it stimulates root development and speeds recovery from damage.
Make Root Observation a Habit
Orchid roots are a mirror of overall plant health. Make it a habit to observe root color changes during watering, and thoroughly check root quantity and condition during repotting.
Using transparent pots makes it easy to monitor root conditions from outside the pot. If roots fill the entire pot, it's time to repot; if roots are sparse, reconsider your watering frequency.
Regular root observation allows you to detect watering timing issues and environmental problems early. Cultivating affection for the roots as much as the flowers is a shortcut to becoming a skilled orchid grower.
Root Management Using Transparent Pots
In recent years, transparent plastic pots have become widely available, allowing constant external monitoring of root conditions.
- Roots entirely silver-white → watering time
- Roots maintaining green color → still sufficiently hydrated
- Roots turning brown → possible decay; consider repotting
- Water droplets visible on pot interior walls → no watering needed yet
- Green algae covering pot walls → sign of excessive light or excess water
Rescue Procedure for Severe Root Damage
Even when root rot is severe and healthy roots are scarce, the following steps can sometimes save the plant.
- Remove all rotted roots and apply fungicide to the cut surfaces
- Allow cut surfaces to dry in a well-ventilated, shaded location for half a day to one day
- Lightly wrap remaining roots in moistened sphagnum moss and pot in terra cotta
- Cover the pot with a plastic bag to maintain high humidity
- Place in bright shade and ventilate every 1–2 weeks
- Once new roots extend 2–3 cm, return to normal care
Recovery from near-total root loss takes 2–6 months. During this period, withhold fertilizer and provide foliar misting for water. Dilute plant vigor supplement (such as Menedeal) is effective for stimulating root development.
Transparent Pot Techniques for Root Management
Using transparent plastic pots allows constant observation of root conditions, making management significantly easier.
- Roots entirely silver-white → watering time
- Roots maintaining green color → still adequately hydrated
- Roots turning brown → possible decay; consider repotting
- Water droplets on interior pot walls → no watering needed yet
- Green algae on pot walls → sign of excessive light or excess water
Rescuing Plants with Few or No Roots
When root rot is severe and healthy roots are almost entirely absent, the following steps may still save your plant.
- Remove all rotted roots and apply fungicide
- Dry cut surfaces in a well-ventilated, shaded location for half a day to one day
- Lightly wrap remaining roots in moistened sphagnum moss and pot in terra cotta
- Cover with a plastic bag to maintain high humidity
- Place in bright shade and ventilate every 1–2 weeks
- Once new roots extend 2–3 cm, return to normal care
Recovery takes 2–6 months. During this time, withhold fertilizer and provide foliar misting for water. Dilute plant vigor supplements like Menedeal are effective for accelerating root development.
Get Healthy-Rooted Orchids from GrowerDirect
At GrowerDirect, you can purchase orchids shipped directly from growers with roots carefully managed. Because the plants bypass market intermediaries, transport stress on roots is minimal—they will begin vigorous growth immediately after arrival. If you have concerns about root condition, you can also ask the grower questions beforehand.