How to Health-Check Your Orchid Roots | Green, White, and Brown Root Conditions and Treatment
How to assess your orchid's health based on root color and texture. This guide explains how to distinguish healthy green roots, dry white roots, and rotted brown roots, includes recovery steps from root rot, and covers how to handle aerial roots.
Key Takeaways
How to assess your orchid's health based on root color and texture. This guide explains how to distinguish healthy green roots, dry white roots, and rotted brown roots, includes recovery steps from root rot, and covers how to handle aerial roots.
Related Species

Orchid Roots as a Health Barometer
When growing orchids, it's easy to focus only on the above-ground leaves and flowers, but the truth is that root condition most honestly reflects the health of the plant. Simply by developing a habit of properly observing the roots hidden in soil or sphagnum moss, you can often detect problems early and prevent the plant from dying.
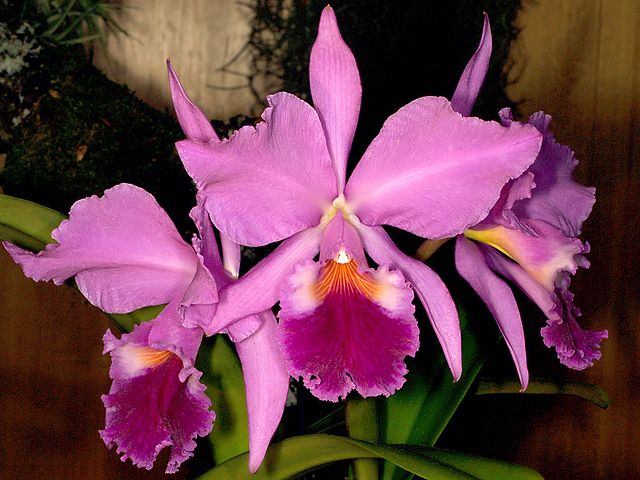
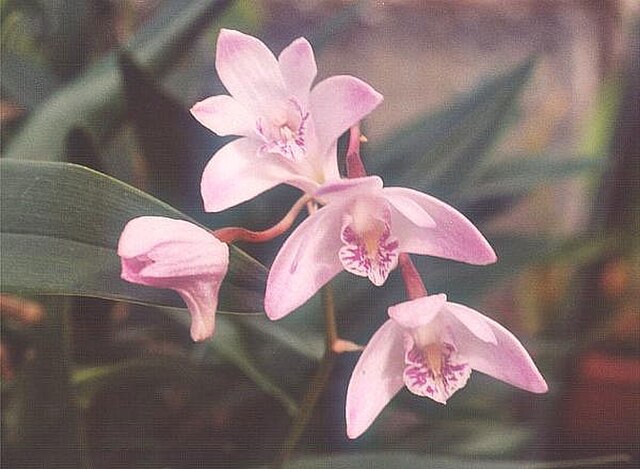
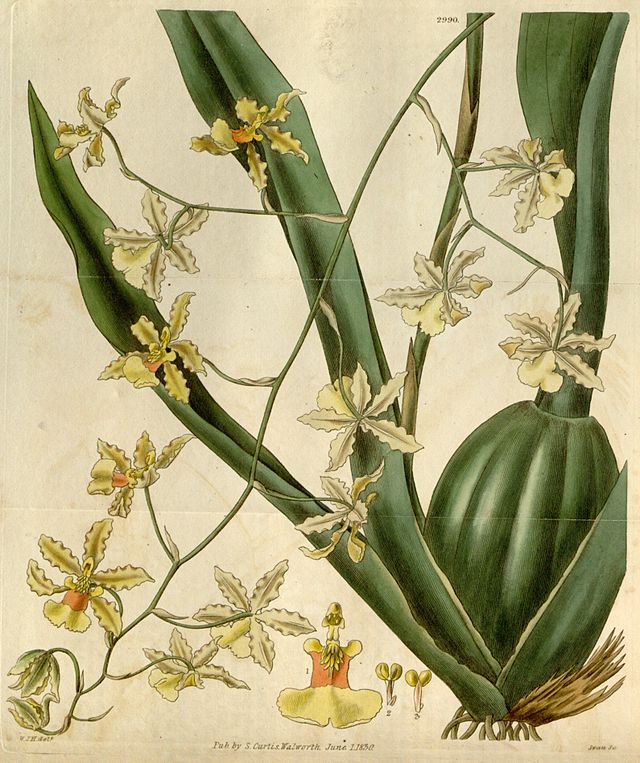
Many tropical orchids, such as Phalaenopsis, Dendrobium, Cattleya, and Oncidium, have what are called "aerial roots"—roots exposed to the air—and their color and texture change visibly. Let's turn this characteristic to our advantage by using root color as a "health indicator."
What Root Color Reveals: The Meaning of Green, White, Silver, and Brown
Orchid roots change color depending on their water content and tissue condition. Understanding four typical patterns will make diagnosis much easier.
Green Roots Seen immediately after watering or in high-humidity environments. The root epidermis (velamen layer) absorbs water and swells, allowing the internal chlorophyll to show through and give the root a green appearance. This is a sign that the root is functioning actively—the most ideal condition. If aerial roots extending into the air have green tips, the plant is actively taking up water and nutrients.
White and Silver Roots A few days after watering, roots appear whitish or silvery-gray. The velamen layer is in a dry state, and healthy orchids cycle between dry and water-uptake periods. It's useful to remember the rule "water when roots are entirely white" as a guide for your next watering. As long as white roots remain firm and don't collapse when lightly pressed with your finger, there is no problem.
Yellowish-White and Translucent Roots This stage occurs when prolonged water shortage causes roots to begin shriveling. They are not completely dead, and often recover with adequate watering and proper humidity management. In some cases, removing roots from the pot and soaking them in warm water (around 30°C) for several minutes—a "rehydration soak"—will allow roots to absorb water and regain firmness.
Brown and Black Roots A sign of decay and necrosis. Tissue has died due to overwatering, root rot disease, or cold damage. If roots feel mushy when held and pulling them leaves only the skin with the interior core slipping out, they must be removed immediately. Not all brown roots are completely dead, so confirm by touch before deciding.
Timing and Methods for Checking Roots
Regular checks are essential for understanding root condition. Recommended inspection timing is as follows.
- Before and After Watering: Before watering, check the whiteness of roots to gauge dryness, and after watering, observe whether they turn green
- During Repotting (once every 1–2 years): Remove old sphagnum moss or bark medium and visually inspect and feel all roots
- Seasonal Transitions: Pay special attention during the rainy season through summer with high humidity and the cold winter period, when root rot and frost damage are more likely
Practical Inspection Steps
- If using a clear plastic pot, check root color and condition from the side
- For ceramic or opaque pots, regularly remove the plant from the pot and directly observe the roots
- Gently touch roots one by one and check for firmness and resilience
- Follow discolored roots from base to tip and identify which sections are dead
How to Correctly Remove Brown and Rotted Roots
Leaving diseased roots untreated allows decay bacteria to spread to healthy roots and stems. Act quickly once you discover them.
You Will Need
- Clean scissors or pruning shears (disinfect with alcohol before and after use)
- Activated charcoal powder or cinnamon powder (for sterilizing and drying cut surfaces)
- Fresh sphagnum moss or bark medium
Steps
- Remove the plant from its pot and remove all old media
- Rinse roots gently under running water and assess the overall condition
- Cut brown or black softened roots just before the healthy white section. If decay extends into healthy tissue, continue cutting until healthy tissue appears
- Apply activated charcoal or cinnamon to cut surfaces and let dry for 30 minutes to 1 hour
- Repot in fresh, clean media and place in dappled shade (avoiding direct sun) for about a week
- Water for the first time 3–5 days after repotting (to avoid stressing roots and encourage establishment)
If rot extends to nearly half of the total root system or the whole plant is weakened, more than emergency treatment is needed—comprehensive recovery is required. In such cases, also consult the steps in our Orchid Recovery Guide for Struggling Plants.
Daily Care to Maintain Healthy Roots
The leading cause of root rot is "overwatering and poor air circulation." By adopting the following management habits, you can prevent many problems.
Establishing a Proper Watering Cycle Orchid roots prefer a cycle of "wet, then completely dry." Constant moisture promotes anaerobic decay bacteria. During the growing season (spring through autumn), water once or twice weekly; during winter dormancy, aim for 2–3 times per month, judging by root color (water when roots turn white). If you prefer to manage while directly observing root condition, hydroponic orchid cultivation is another option.
Selecting and Regularly Changing Media Sphagnum moss has high water retention and good contact with roots, but as it ages it becomes a breeding ground for decay bacteria. Be sure to replace it every 1–2 years. Bark medium (pine bark) has high air circulation and resists root rot, making it suited to environments with difficult humidity control or for beginners.
Choosing Pot Material and Size Clay pots and slotted pots allow excess moisture to evaporate easily, improving root aeration. Ideal pot size is slightly smaller than needed to accommodate roots; if too large, media won't dry and rot risk increases.
Temperature and Ventilation Management Orchid roots thrive in the 15–30°C range. Cold air below 10°C or direct cold drafts damage root tissue. When managing indoors, avoid cold from windowsills and direct air-conditioner airflow.
Reading "Whole-Plant Signs" from the Roots
Root condition is deeply linked to overall plant health. If roots are active but leaves wilt, it may be that water uptake from the roots isn't keeping pace with leaf transpiration (high temperature, low humidity). Conversely, if new shoots don't emerge despite apparently healthy roots, suspect insufficient light or a dormant state from cold.
Observe roots, leaves, and new shoots together holistically. When contradictory signs appear—such as "roots are healthy but leaves are yellowing" or "no root rot but the plant is tilting"—suspect poor aeration inside the media, water quality (salt buildup from hard water), or disease.
Orchid roots don't lie. The habit of looking at them regularly is your shortest path to enjoying beautiful flowers for years.
Related Articles
- Orchid Recovery Guide for Struggling Plants | Recovery from Root Rot and Leaf Burn — Steps to rehabilitate plants with severely damaged roots
- Complete Guide to Hydroponic Orchid Cultivation | Growing Without Soil While Observing Roots — Management method allowing constant observation of root condition
- Orchid Annual Care Schedule | Complete Month-by-Month Care Guide — Seasonal guidelines for inspection timing