Orchids and Phalaenopsis: Hydroponic Growing | Water Immersion Guidelines, Water Level, and Water Changes
An introduction to hydroponic (water culture) growing for orchids, with a focus on phalaenopsis. Learn whether roots should be left submerged continuously, proper water levels, and water change schedules—plus a safer wet/dry cycling approach (5 days immersion + 2 days dry) for beginners. We cover suitable varieties, transition steps, and algae prevention.
Key Takeaways
An introduction to hydroponic (water culture) growing for orchids, with a focus on phalaenopsis. Learn whether roots should be left submerged continuously, proper water levels, and water change schedules—plus a safer wet/dry cycling approach (5 days immersion + 2 days dry) for beginners. We cover suitable varieties, transition steps, and algae prevention.
Related Species
What is Hydroponic Growing? A New Approach to Growing Orchids in Water Alone
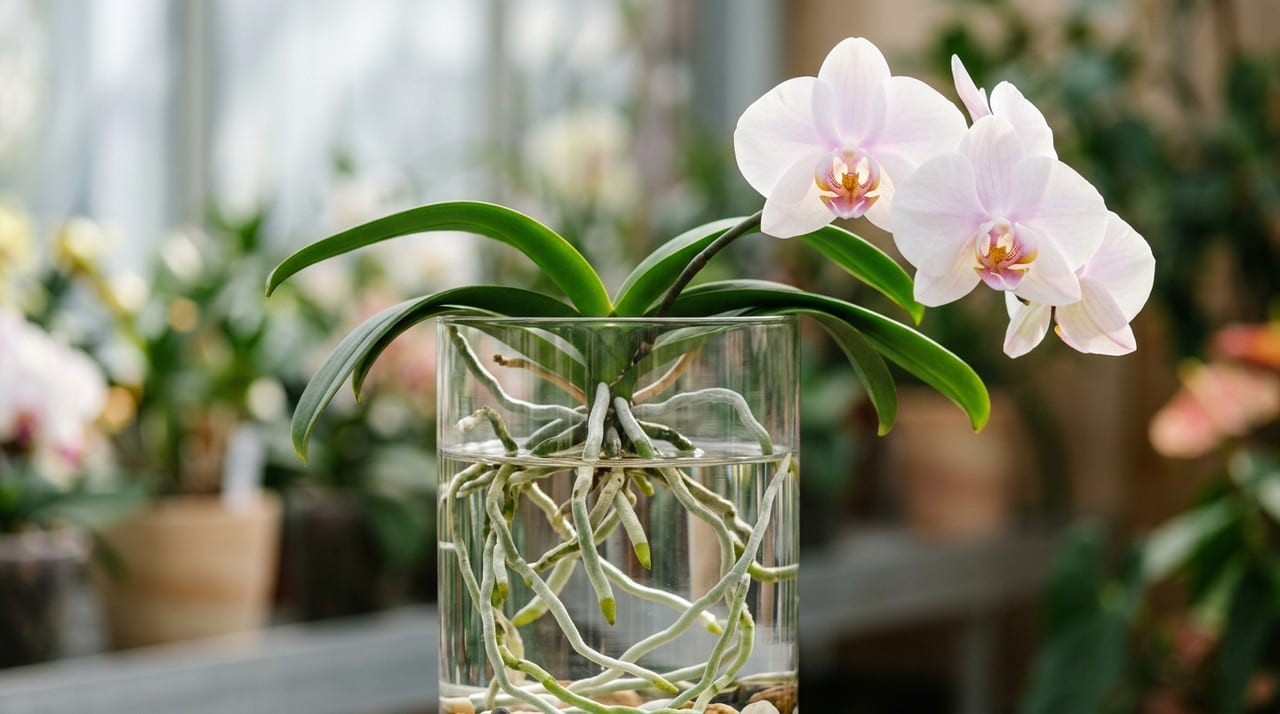
Hydroponic orchid cultivation is a method of growing orchids in clear glass containers filled with water—no sphagnum moss, bark, or growing media of any kind. Known internationally as "Water Culture" or "Full Water Culture (FWC)," this technique has gained rapid popularity in recent years, especially among orchid enthusiasts overseas.
The greatest advantage of this method is constant visibility of root condition. With traditional moss or bark cultivation, you cannot see how roots are developing until repotting time. Hydroponic growing lets you observe root color, growth rate, and health at a glance—enabling early detection of problems.
Another major benefit is freedom from guessing when to water. You no longer have to worry about "Is the moss dry?" and risk damaging roots through watering mistakes or underwatering.
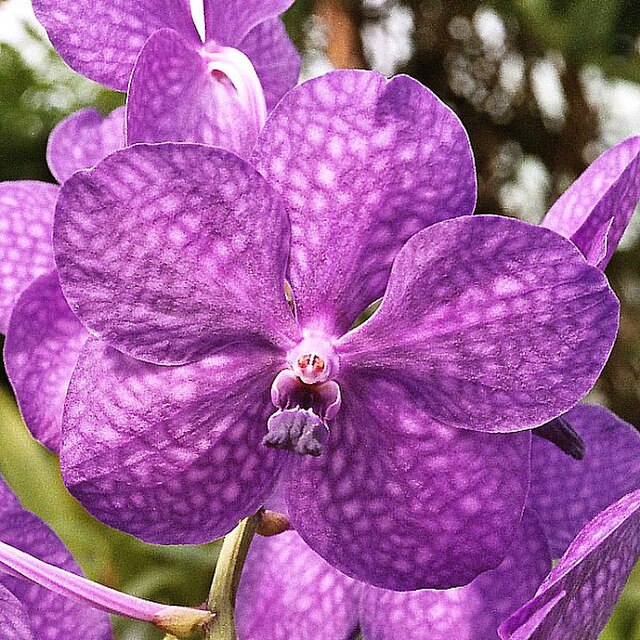
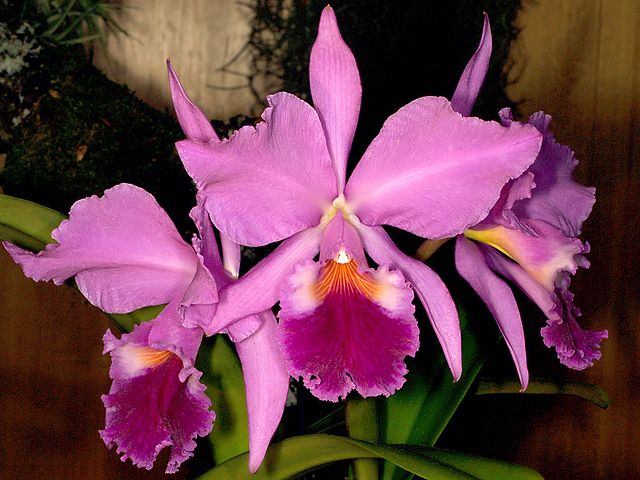
However, not all orchids suit hydroponic cultivation. Phalaenopsis (moth orchids) and Vanda adapt well, while Cattleya and Dendrobium, which prefer drier conditions, may struggle. Understanding each variety's needs before starting is essential.
Orchid Varieties Suited to Hydroponic Growing and Container Selection
Varieties with Good Compatibility
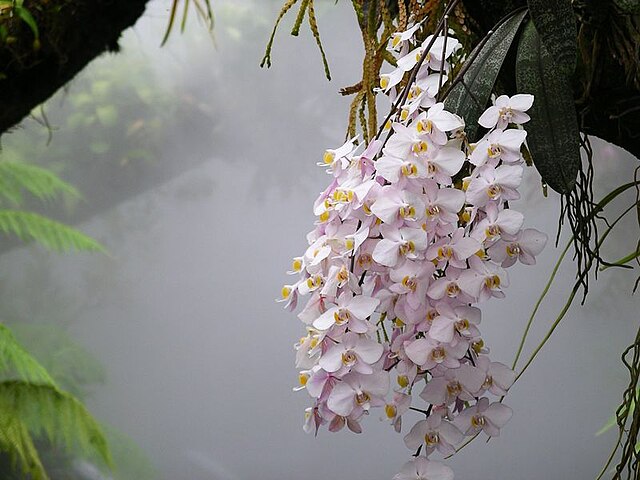
Phalaenopsis (Moth Orchid)
The most successful orchid for water culture. Being an epiphytic orchid with thick aerial roots, it thrives in the hydroponic environment where both water and air reach the roots. Works across ミニ (mini) to large-flowered varieties.
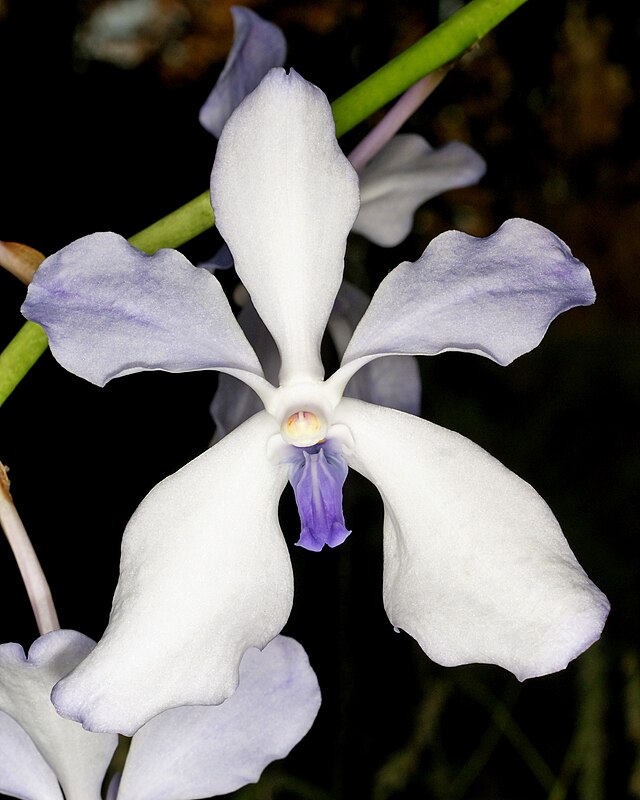
Vanda
Traditionally grown in baskets with exposed roots, this genus transitions smoothly to hydroponic systems. Its thick roots breathe easily even when submerged.
Ascocenda
A Vanda hybrid, Ascocenda also thrives in water culture and is smaller and easier to manage than Vanda—making it an excellent entry-level hydroponic orchid.
Unsuitable Varieties
- Cattleya: Stores water in pseudobulbs; roots rot quickly if constantly submerged
- Dendrobium (Nobile type): Requires winter drying to set flower buds; constant water prevents blooming
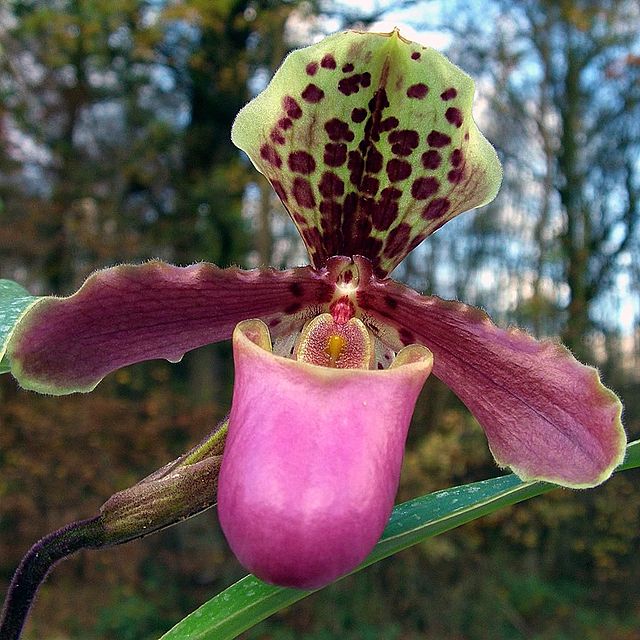
- Terrestrial orchids (Paphiopedilum, etc.): Fine, delicate roots are difficult to manage in water
Choosing a Container
Vase-shaped containers made of clear glass or transparent plastic work best.
- Diameter: Should fit the base of the plant (leaf insertion point) snugly at the rim. Roots hang into the container; leaves and stems extend above—this is ideal
- Depth: 15–25 cm to allow ample root extension
- Shape: Narrowed-neck vase shapes are most practical. The constriction stabilizes the plant and makes water-level adjustment easy
- Color: Transparent is recommended for monitoring root condition and water clarity. However, direct sunlight causes algae growth, so position accordingly
You can even use inexpensive glass vases from dollar stores—no need for expensive specialty containers initially.
Transitioning from Traditional Cultivation to Hydroponic Growing
Success depends on gradual adjustment when switching an established moss or bark orchid to water culture.
Step 1: Removing the Plant and Cleaning Roots
Remove the plant from its pot and carefully strip away old moss and bark. Rinse remaining media from roots under running water.
Using sterilized scissors, remove blackened roots, mushy soft roots, and hollow, deteriorated roots. Healthy roots are green to white and feel firm when touched.
Air-dry cut surfaces in a well-ventilated, shaded spot for half a day to one full day. Skipping this drying step allows bacteria to enter cut surfaces, causing rot in water.
Step 2: Acclimating to Water
Introduce roots to water gradually, not abruptly.
Week 1: Fill the container with 2–3 cm of water so only the root tips touch. Keep the base of the plant completely dry.
Weeks 2–3: Gradually raise water level so the lower half of roots are submerged.
Week 4+: Stabilize the plant with approximately two-thirds of roots in water.
If the plant wilts or leaves droop during this period, mist the foliage while monitoring—this is normal stress from environmental change. Most plants adapt within 2–4 weeks.
Step 3: Optimal Timing for Transition
Spring through early summer (April–June) is ideal. This is the orchid's active growth season when new roots develop vigorously, maximizing its ability to adapt.
Avoid winter transitions. The plant's sluggish winter growth cannot recover from the shock of such a drastic environment change.
Daily Care: Water Changes, Water Level, and Fertilizing
Water-Change Frequency and Method
Regular water changes are the most critical daily task in hydroponic cultivation.
- Frequency: Once to twice weekly is standard. Summer heat makes weekly changes insufficient—change twice weekly then
- Water Temperature: Use room-temperature water (20–25°C). Cold tap water shocks roots
- Dechlorination: Let tap water sit overnight or use filtered water. Chlorine can damage roots
- Method: Completely drain old water, lightly rinse the container, and refill with fresh water
If water becomes cloudy, slimy, or foul-smelling, change it immediately to prevent root rot.
Water Level Management
Water should cover from the root tips to roughly the lower half. Roots fully submerged for extended periods cannot breathe and will suffocate.
Wet/Dry Cycling Method
A safer approach is "wet/dry cycling": immerse roots for 5 days, then drain water completely for 2 days to let roots dry. Repeating this cycle gives roots periodic access to air, dramatically reducing rot risk.
This method is especially valuable for new hydroponic plants or those recently transitioned from traditional media. Once fully adapted to hydroponic conditions, most plants thrive with roots constantly submerged.
Fertilizing
Fertilizer concentration for hydroponic orchids should be even lighter than for conventional cultivation.
- Concentration: Dilute liquid fertilizer to ¼–⅛ of recommended strength
- Frequency: During growing season (spring–fall), apply every 2–3 weeks using fertilized water during water changes
- Winter: Reduce fertilizing to once monthly or stop entirely
- Note: Fertilized water degrades faster; change every 2–3 days
Over-fertilizing accumulates nutrients in water, causing root burn and promoting algae. Aim for lower rather than higher concentrations—orchids evolved in nutrient-poor environments.
Hydroponic-Specific Problems and Solutions
Algae Growth
When light reaches the transparent container, algae and algae bloom in water.
- Prevention: Avoid direct sunlight; use sheer-curtain-filtered light. Wrapping the container in semi-transparent paper is also effective
- Treatment: During water changes, scrub the container with neutral soap and a brush
Algae doesn't directly harm orchids, but it clouds the view and hampers root monitoring.
Slimy Root Biofilm
Neglecting water changes allows biofilm (slime) to coat roots.
- Prevention: Maintain a strict water-change schedule
- Treatment: Gently rinse roots under running water to remove slime. For severe cases, use dilute hydrogen peroxide solution (~0.3%) as a disinfectant
Low Winter Water Temperature
Water temperature drops sharply near windows in winter. Below 15°C, root activity plummets and rot risk climbs.
- Solution: Move plants away from windows in winter. If water is cold, reduce water level to minimize submersion
- Wet/Dry method in winter: Extend the dry period (e.g., 3 days immersion, 4 days dry) to give roots more breathing time
Unstable or Shifting Plant Position
Without growing media, plants lack anchoring—a downside of hydroponics.
- Solution: Use a narrowed-neck vase. Insert foam at the container's rim to stabilize the plant if needed
- Support staking: If flower stems become heavy and destabilize the plant, use a stake and clips to secure the stem
Getting Hydroponic Orchids to Bloom
With proper care, hydroponic orchids bloom as readily as those in traditional media.
Create Temperature Fluctuation
Phalaenopsis flower-bud formation requires a 5–10°C temperature difference between day and night in autumn and winter. Replicate this in hydroponics by placing plants in a warm spot during the day and near a cool windowsill at night.
Ensure Sufficient Light
Hydroponic setups look beautiful, tempting you to display them deep indoors—but insufficient light prevents flowering. Provide at least 6 hours daily of bright, sheer-curtain-filtered light.
If supplementing with LED grow lights, use full-spectrum plant-growth LEDs for 10–12 hours daily. Regular decorative lighting is too weak.
Maintain Healthy Roots
Blooming requires energy reserves, which depend on healthy roots that absorb adequate nutrients. In hydroponics, you see the roots clearly—verify they are white to green, thick, and resilient.
When a hydroponic orchid flowers, the stem weight can destabilize the plant. Support the stem with a stake and clips to prevent the container from tipping.
Summary: Hydroponic Orchid Growing Changes Your Relationship with the Plant
Hydroponic growing revolutionizes orchid cultivation by making root condition visible and simplifying water management. It solves the common beginner pitfalls: "When should I water?" and "I didn't notice root rot until too late."
Yet hydroponics brings its own management demands—regular water changes and algae control. It's not a cure-all, but rather one valuable option among several cultivation methods.Start simple: grab an inexpensive glass vase and one phalaenopsis. Watching roots grow inside a transparent container—a sight impossible with soil media—offers a uniquely rewarding experience.