[Pro Tips] Aquatic Plant Layout Techniques | Composition, Planting, Trimming
Explains basic aquatic plant layout compositions (concave, triangular, convex), planting techniques, and trimming methods.
![[Pro Tips] Aquatic Plant Layout Techniques | Composition, Planting, Trimming](https://img.botachoku.com/column-images/aquatic-plant-disease-trouble/hero-1778967677261.jpg)
Key Takeaways
Explains basic aquatic plant layout compositions (concave, triangular, convex), planting techniques, and trimming methods.
Related Species
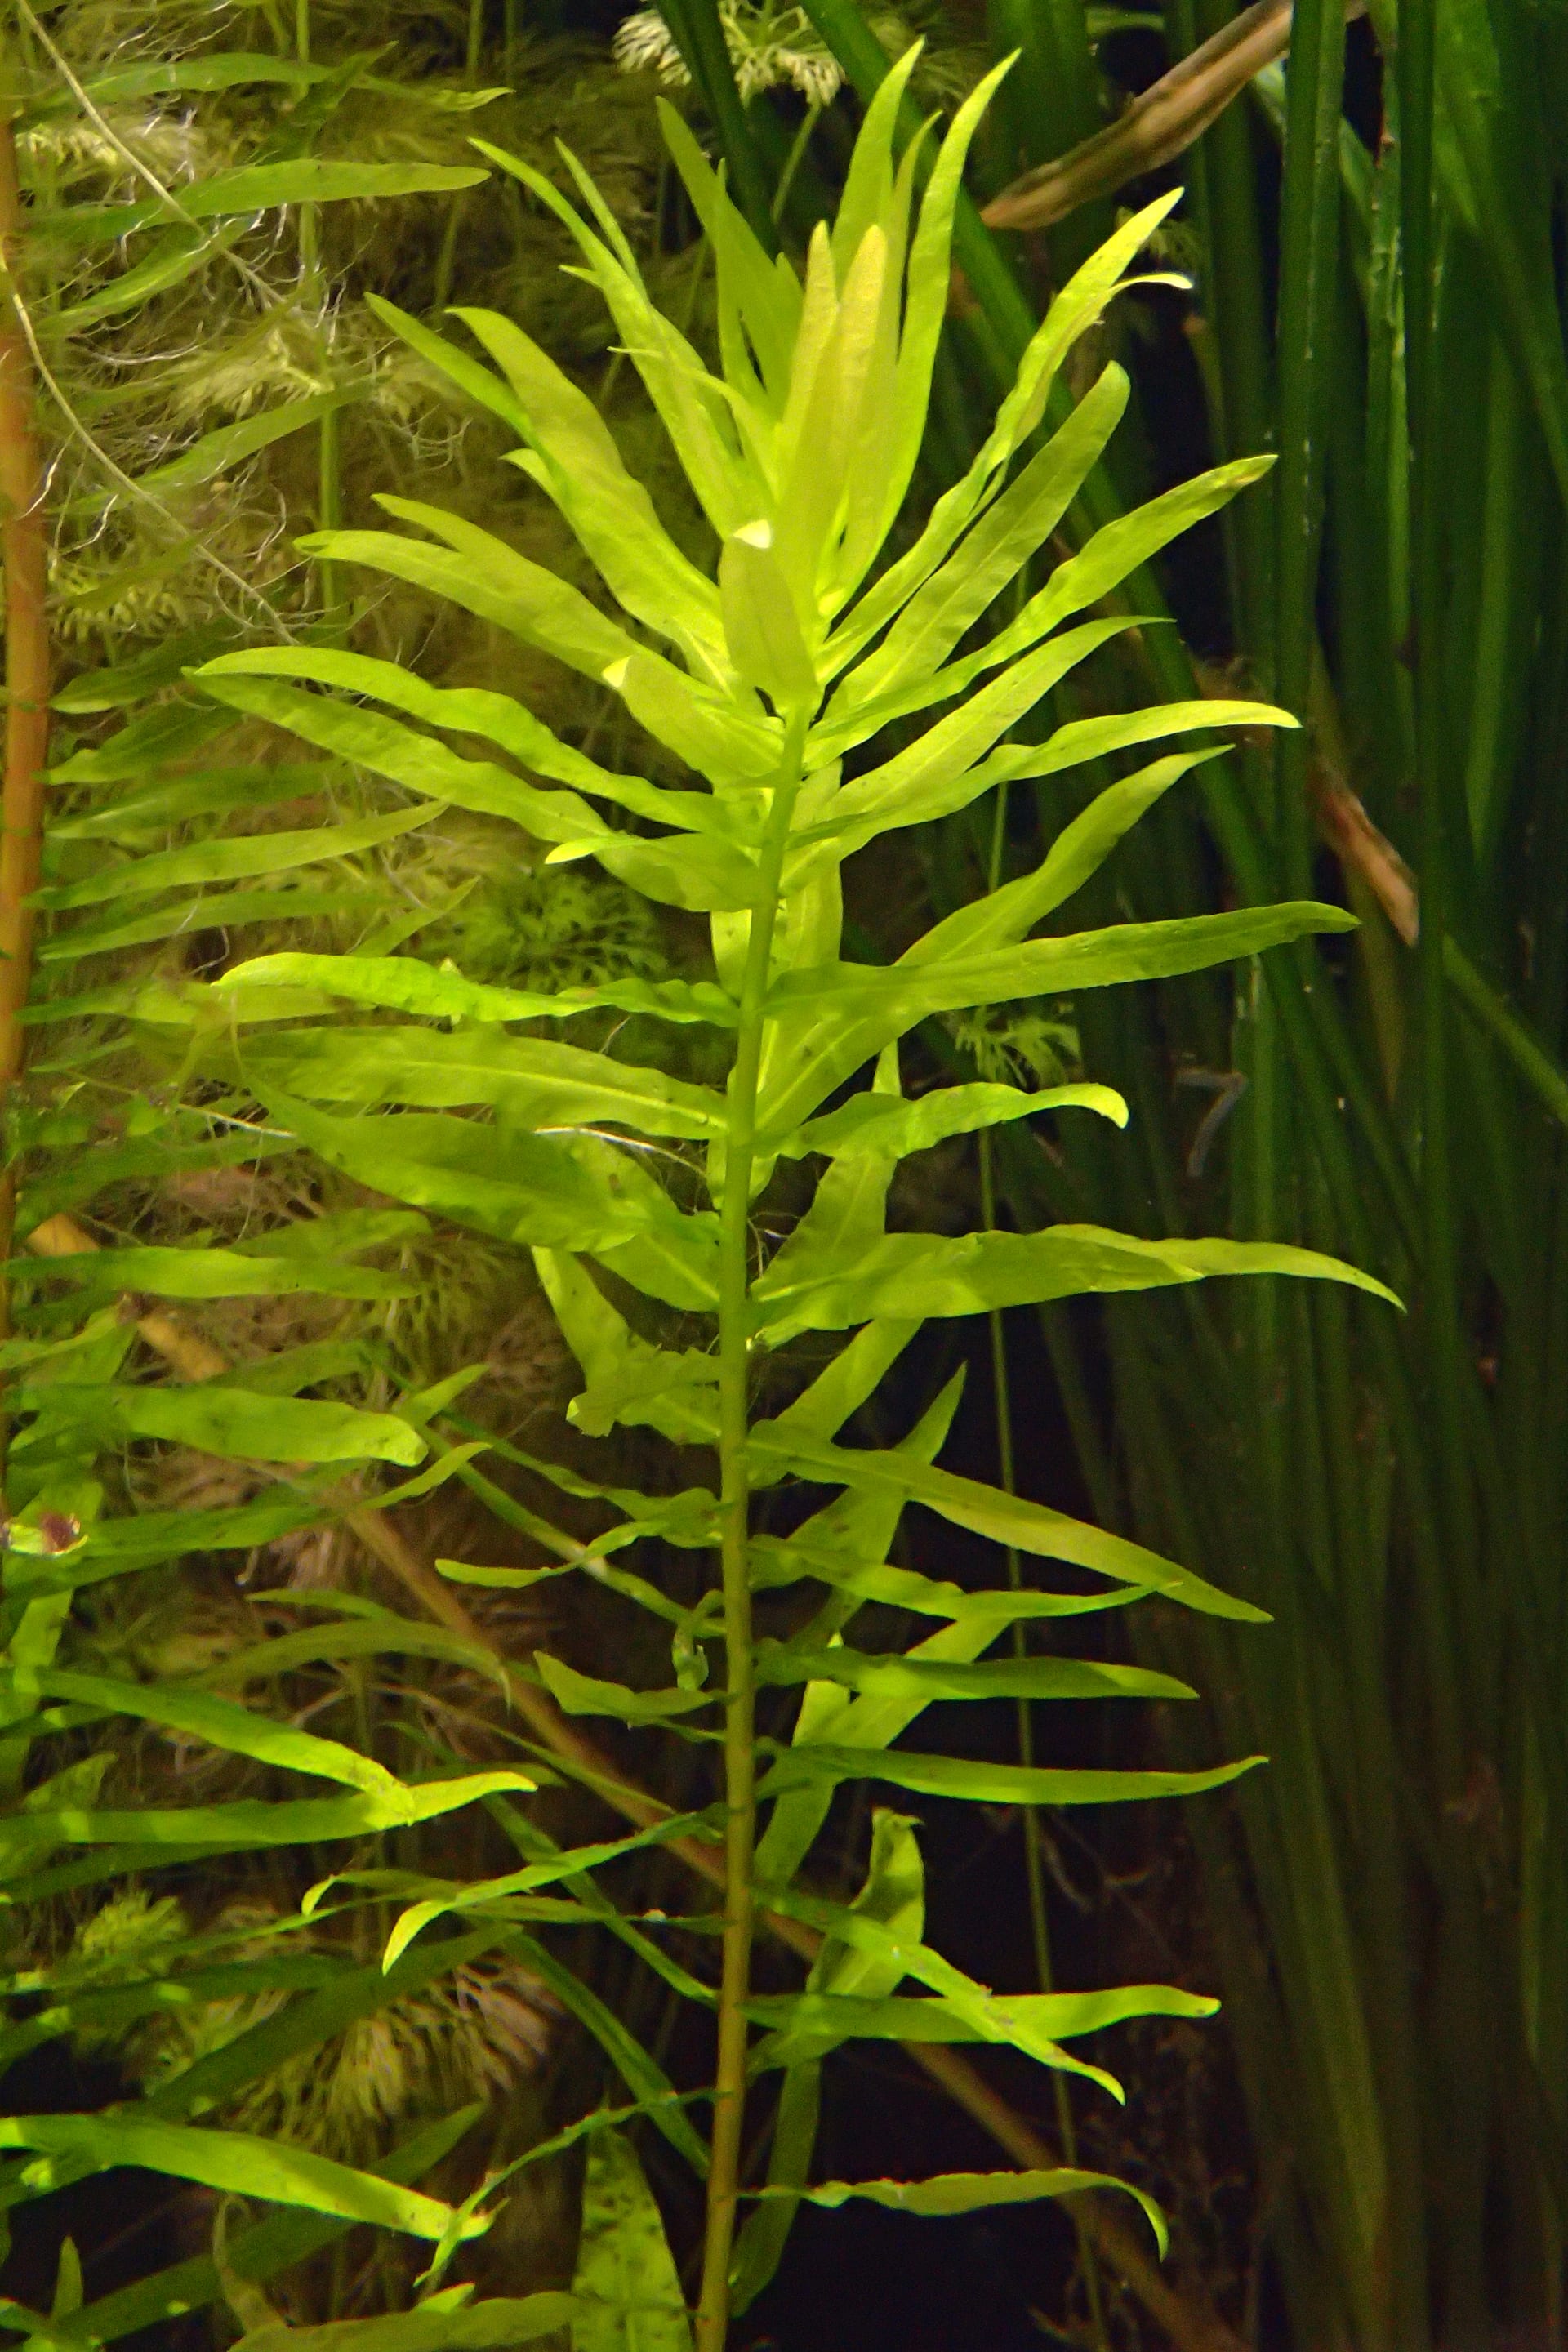
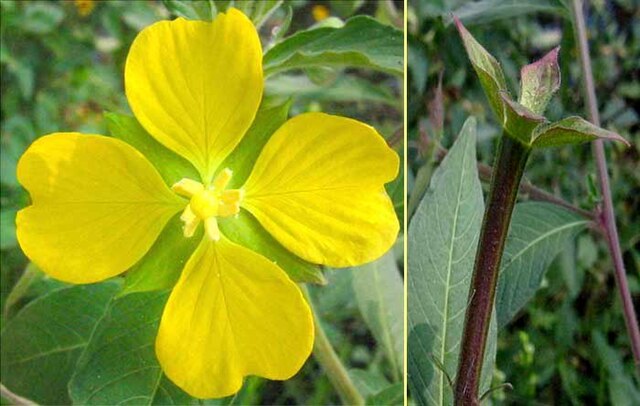
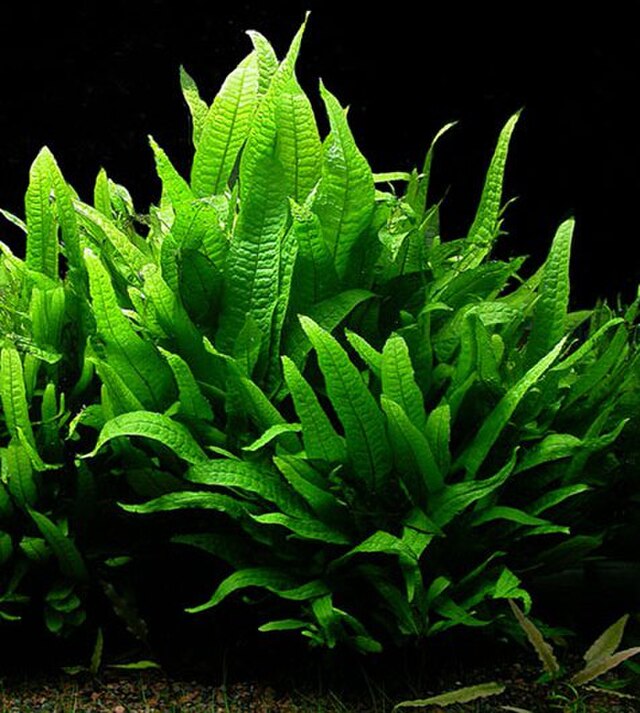
Beautiful aquatic plant tanks are determined by layout — fundamental composition and planting methods practiced by professionals
The appeal of an aquatic plant tank lies not simply in planting aquatic plants, but in the ability to create a "spatial beauty" as if capturing a natural underwater landscape. However, beginners attempting aquatic plant layout for the first time often fall into a common pitfall: "I put in some aquatic plants, but it all looks cluttered and messy."
Beautiful layouts are built on the "compositional types" and "planting techniques" that professionals have refined over many years. This article explains the fundamentals and practical techniques of aquatic plant layout in an easy-to-understand manner, useful for both beginners and intermediate aquascapers.
The foundation of aquatic plant layout: 3 basic compositions
Aquatic plant layouts have several standard compositions. Mastering these "types" is the shortcut to improvement. Deciding on a composition first, then selecting aquatic plants, stones, and driftwood makes it easier to achieve overall balance.
| Composition | Recommendation | Characteristics |
|---|---|---|
| Concave | ★★★ | Beginner-friendly |
| Triangular | ★★★ | Easy to balance |
| Convex | ★★ | Intermediate to advanced |
Concave composition (recommendation: ★★★ beginner-friendly)
A composition where tall aquatic plants, stones, or driftwood are placed on the left and right, with the center kept low. The eye naturally focuses on the center, creating a sense of depth and distance, and has become the standard layout for 60cm tanks.
The key point is "how to make use of the low central space." By laying foreground plants like a carpet or emphasizing the sandy bottom to create openness, the expansiveness underwater becomes more pronounced.
Triangular composition (recommendation: ★★★ easy to balance)
A composition that creates a diagonal line by making one side of the tank high and the other side low. It easily expresses movement and flow, and works well for natural layouts that evoke the flow of a river or the ridgeline of a mountain.
The basic approach is to concentrate background plants on one side, then create a gradation that gradually becomes lower toward the opposite side. Simply angling driftwood on the high side immediately gives a professional appearance.
Convex composition (recommendation: ★★ intermediate to advanced)
A layout like an "island" with the center raised high and the left and right sides kept low. While it has visual impact, an imbalance in the left-right symmetry easily creates an unstable impression, making the difficulty level relatively high. The standard technique involves placing large stones or driftwood in the center and densely planting aquatic plants around them.
Planting techniques for foreground, midground, and background
Once the composition is decided, the next step is how to plant the aquatic plants. Thinking of aquatic plants in terms of three zones — "foreground," "midground," and "background" — results in a natural layout with depth.
Foreground plants: precision determines the carpet finish
Foreground plants with a low, spreading habit, such as Glossostigma and hair grass, are planted one bundle at a time with tweezers at approximately 1cm intervals. Planting too many bundles at once results in poor rooting and a tendency to melt, so take your time and carefully plant each stem individually.
Strong light intensity and CO2 supplementation are essential for carpeting foreground plants. Without sufficient light, they grow upward rather than spreading horizontally and won't form a carpet. Aim for approximately 1 bubble per second of CO2, adjusting gradually.
Midground plants: bundle 3-5 stems to create a "natural clustering effect"
Midground aquatic plants such as Anubias, Microsorum, and Bucephalandra look most natural when planted in bundles of 3 to 5 stems.
For species that attach to stones or driftwood, secure them firmly with fishing line or specialized adhesive. Attachment takes approximately 2 to 4 weeks, but once established, maintenance becomes much easier.
Background plants: plant densely to create a "wall of green"
Tall background plants such as Ammania gracilis and Ludwigia are planted densely near the glass surface to create a backdrop. Dense planting has the advantage that plants support one another, making them less likely to topple.
Regular trimming to maintain consistent height creates a neat appearance. Stems can be replanted and propagated, making this economical.
Stone and driftwood placement: reproducing "the breath of nature"
In addition to aquatic plants, the placement of stones and driftwood significantly affects the completeness of a layout. Professionals keep two principles in mind: the "golden ratio" and the "rule of odds."
- Golden ratio (1:1.618): position the main focal object at approximately one-third of the tank's full length
- Rule of odds: arrange stones in odd numbers — 1, 3, 5, etc.
- Material cohesion: combine stones of the same type and color palette
Keep the golden ratio (1:1.618) in mind
When placing the main focal stone or driftwood, position it at approximately 1:1.618 from the full length of the tank — that is, at about one-third of the overall space — and the layout naturally appears beautiful. Most layouts that look "somehow just right" are applying this ratio either consciously or unconsciously.
Arrange in odd numbers
When using stones, positioning them in odd numbers — 1, 3, 5, etc. — makes visual balance easier to achieve. Using 2 or 4 tends to create symmetry and can result in an unnatural, artificial appearance.
Cherish material cohesion
The rule with stones is to keep the type and color palette consistent. Mixing different types such as Dragon Stone, lava rock, and pumice disrupts the overall cohesion. By combining the same material while varying the size, you can recreate rock formations as they appear in nature.
CO2 supplementation and fertilizer management: creating an environment to "cultivate" aquatic plants
Maintaining a beautiful layout requires an environment in which aquatic plants thrive. The key to this is CO2 supplementation and fertilizer management.
CO2 supplementation: basics and adjustment
CO2 activates photosynthesis in aquatic plants and directly affects leaf color vibrancy and growth rate. Start with approximately 1 bubble per second and gradually increase while observing the fish. If fish begin surfacing to gulp air, that is a sign of excess; reduce the amount immediately.
Using a drop checker — a tool that indicates CO2 concentration in the tank by color — simplifies management. Color indicators are as follows:
- Light green: appropriate
- Yellow: excessive
- Blue: insufficient
Additionally, since photosynthesis stops at night, CO2 supplementation is unnecessary during dark hours. Using a timer to automate on/off cycles synchronized with lighting reduces maintenance effort.
Fertilizer: the rule is "add only when lacking"
A common beginner mistake is over-fertilizing. Excess fertilizer triggers massive algae blooms. The correct approach is to start with no fertilizer or minimal amounts, then supplement only when leaf color yellows or growth slows.
Liquid fertilizer is typically added in small amounts with each water change, while substrate fertilizer is generally embedded near the roots during planting.
Summary: enjoy aquatic plant layout even more with GrowerDirect
Aquatic plant layout begins with learning compositional types and opens into a deep world encompassing planting techniques, material placement, and CO2 management. The path to improvement is to start with simple compositions like the concave type and gradually establish your own style.
GrowerDirect allows you to purchase aquatic plants, tropical fish, and saltwater fish directly from growers, so you can reliably obtain high-quality organisms and aquatic plants. Although it is an individual transaction, a grower screening and rating system is in place, so even beginners can confirm their transaction partner before proceeding. Payment is exchanged directly between grower and buyer (GrowerDirect neither holds payment nor stores payment information).
Please take your first step into aquatic plant layout with GrowerDirect.