Complete Guide to Succulent Leaf Propagation | Tips to Boost Success Rates and Variety-Specific Methods
A comprehensive guide to propagating succulents by leaf. Covers how to remove leaves, drying timeframes, optimal growing media, success rates by variety (Echeveria, Graptopetalum, Sedum, etc.), and common mistakes to avoid.
Key Takeaways
A comprehensive guide to propagating succulents by leaf. Covers how to remove leaves, drying timeframes, optimal growing media, success rates by variety (Echeveria, Graptopetalum, Sedum, etc.), and common mistakes to avoid.
Related Species
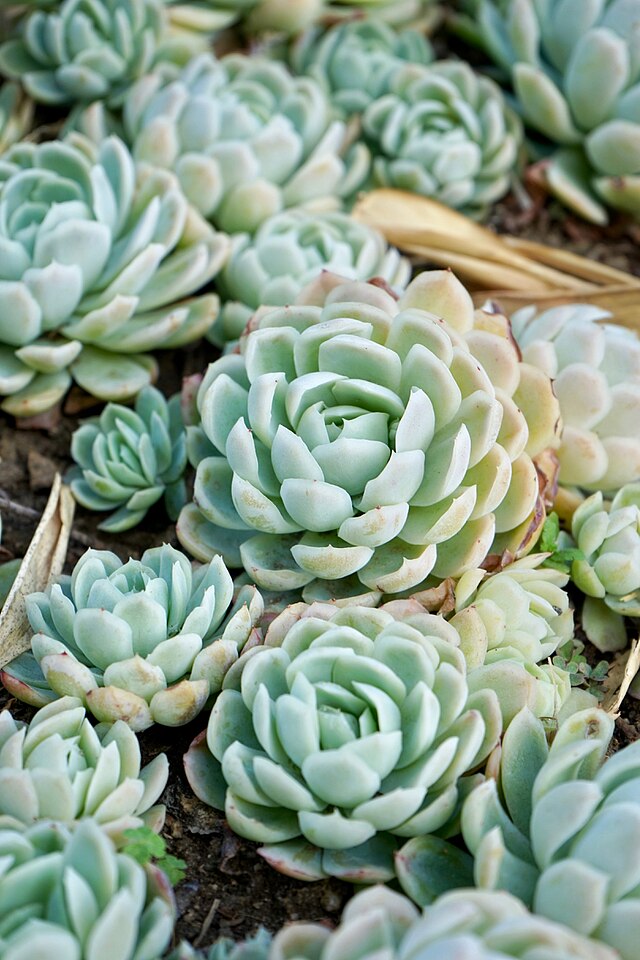
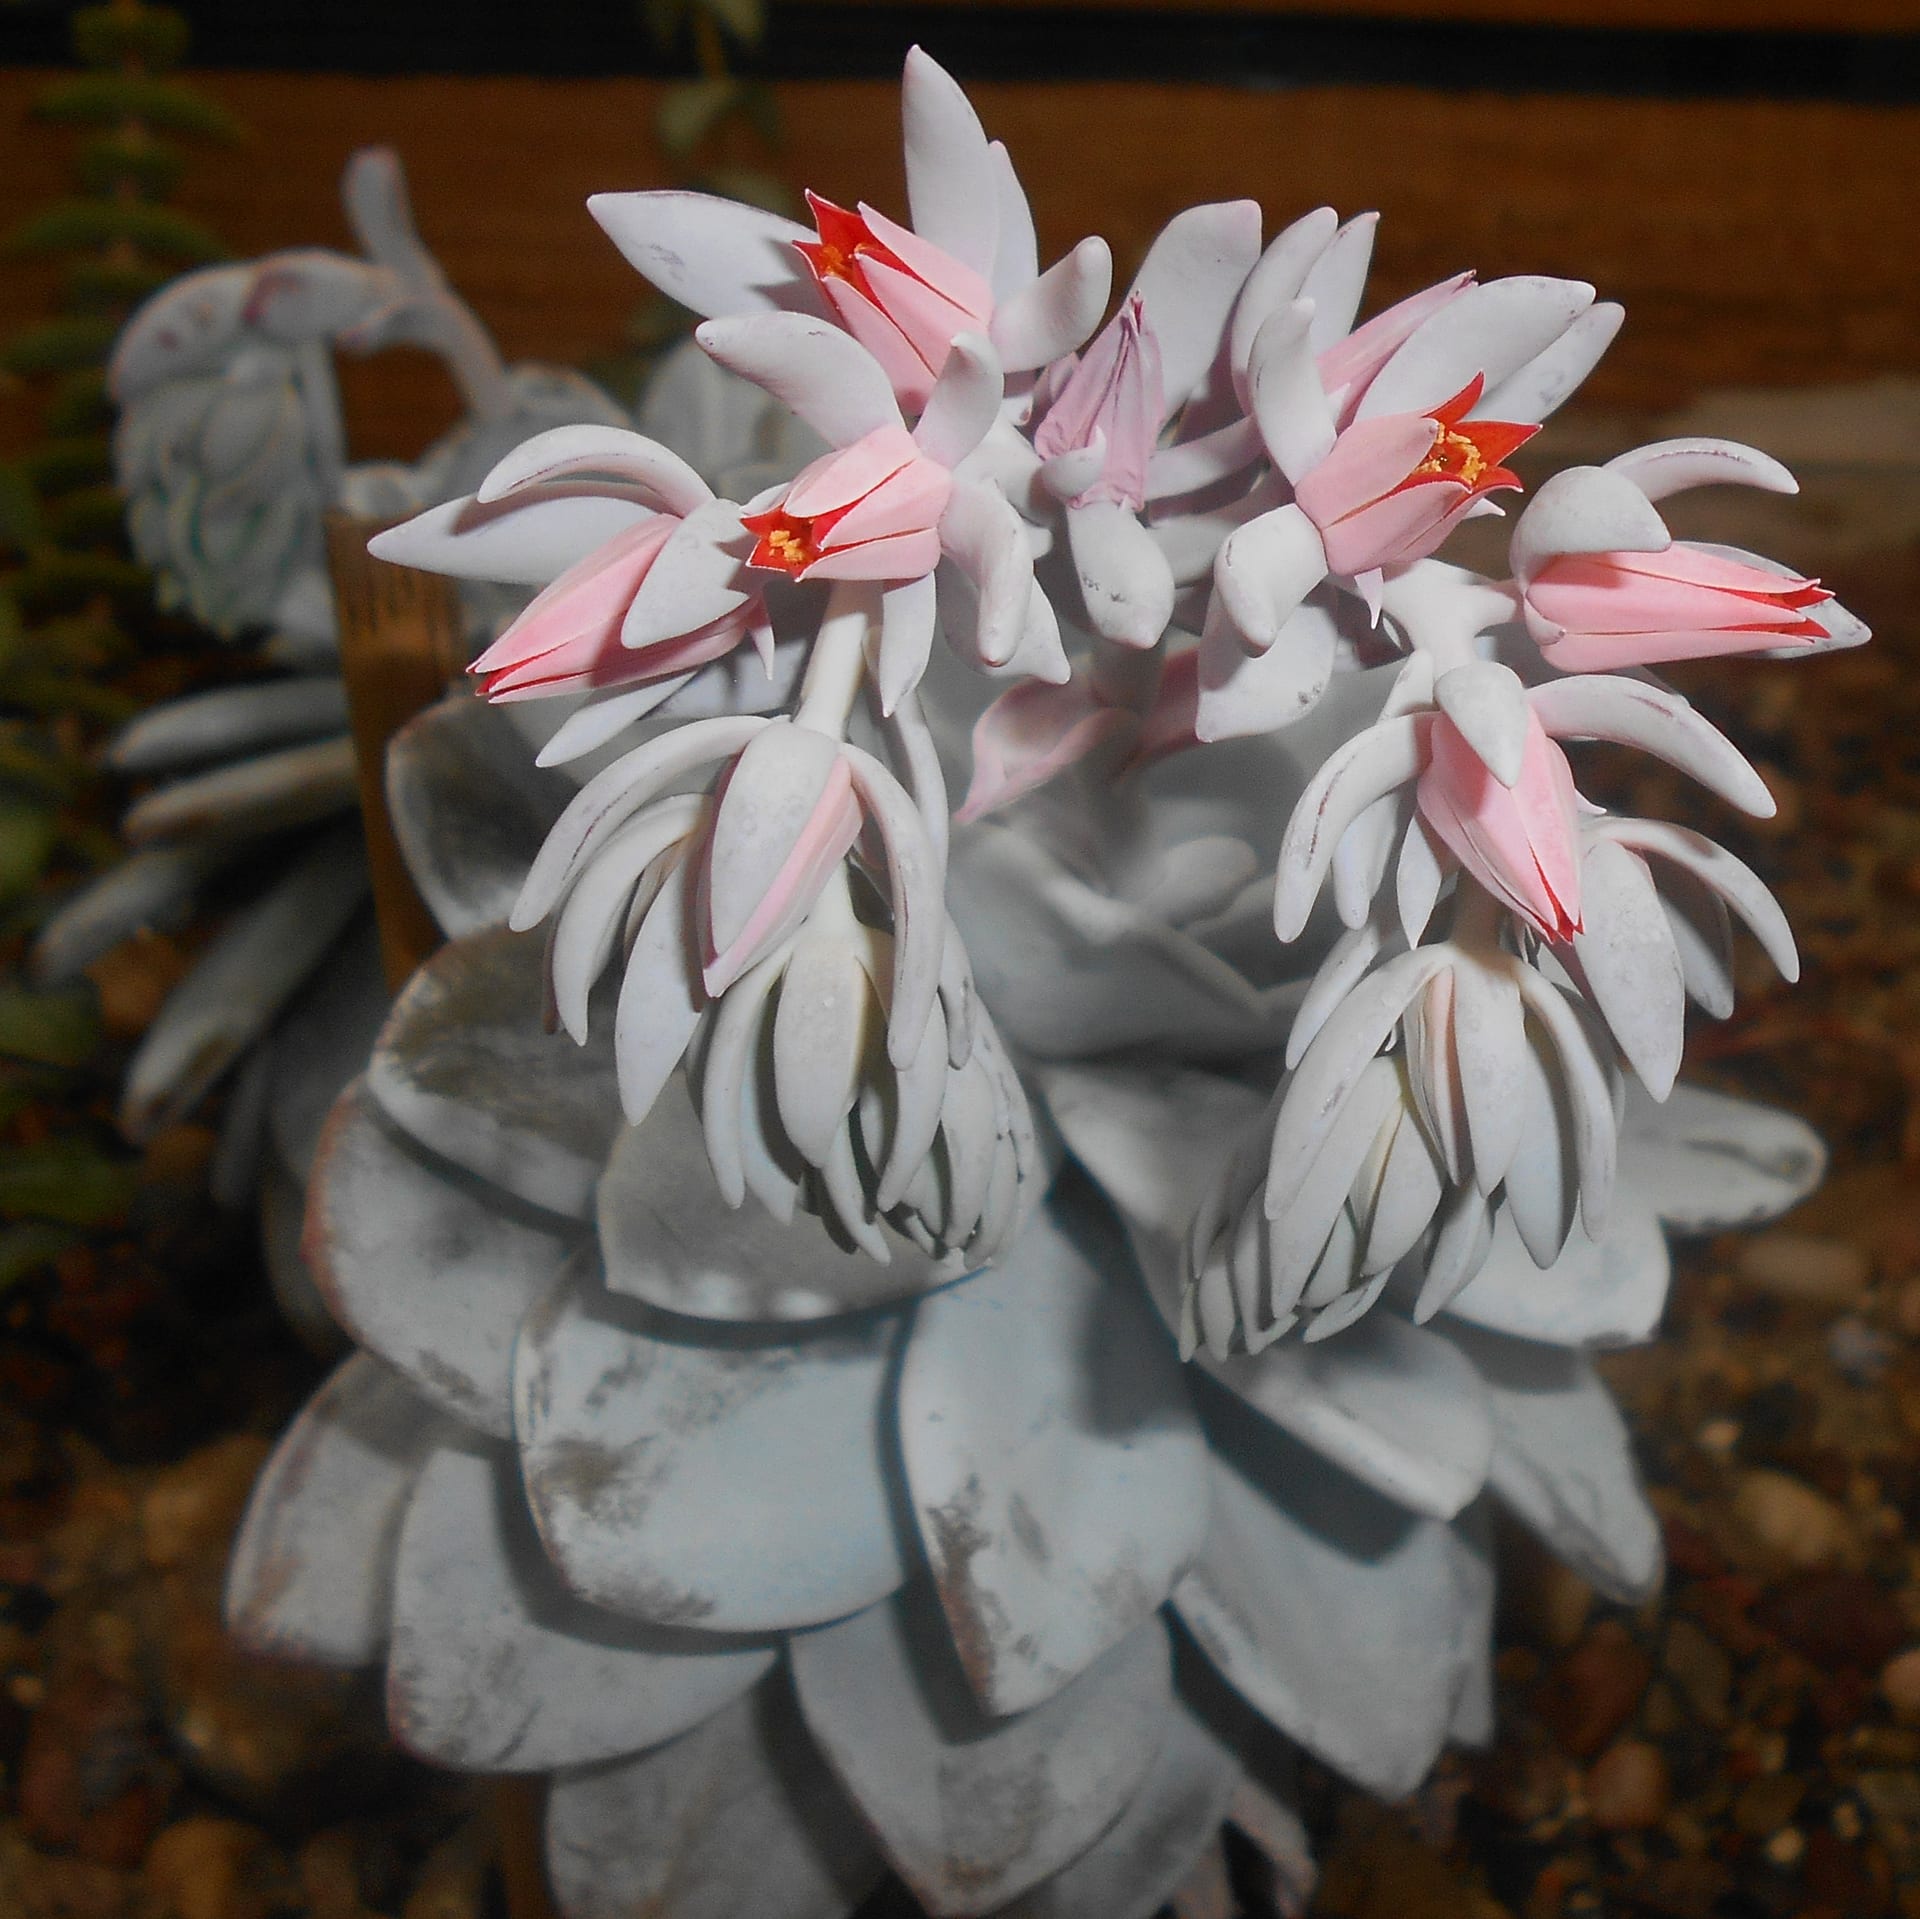
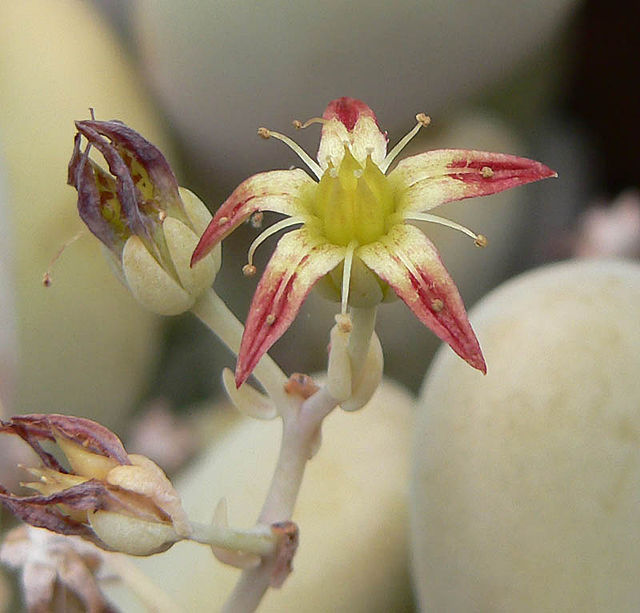
Leaf propagation is one of the simplest ways to increase succulents, allowing you to grow a new plant from a single leaf. No special tools or advanced techniques are required—even beginners can easily try it.
How to Remove Leaves
The success or failure of leaf propagation depends largely on how you remove the leaf at the start.
The Correct Way to Detach Leaves
Gently move the leaf side to side while detaching it completely from the base (where the leaf joins the stem). Most importantly, avoid damaging the meristematic tissue at the leaf's base—where the leaf attaches to the plant. If the base remains intact, new roots and shoots will emerge from that point.
Examples of what NOT to do:
- Leaves that break partway through (will not root)
- Leaves with scratches from fingernails
- Diseased or discolored leaves
The technique is not to twist, but to "peel" the leaf in the opposite direction from how it grows. With practice, you'll feel a slight "pop" as the leaf comes away naturally.
Timing for Removal
The highest success rate comes from taking leaves during the active growing season (spring and autumn) from healthy plants. Avoid the intense heat of summer or the deep cold of winter, when the leaves lack vigor.
Drying Period (2-3 Days)
Do not place the removed leaf on soil immediately. Instead, let it dry for 2-3 days.
This prevents infection through the cut surface. Once the cut has dried and a white callus (scar tissue) has formed, you're ready to proceed. The ideal drying location is a bright, shaded spot with good air circulation and no direct sunlight.
Substrate for Root Development and Placement
Substrate for Root Development
The growing medium for root development should prioritize drainage over water retention.
- Pumice (fine grade) alone
- Perlite alone
- Small red volcanic rock + perlite, 1:1 ratio
If the soil holds too much moisture before roots appear, rot becomes a risk. Start with a substrate that retains very little water.
How to Place the Leaves
Lay the dried leaf horizontally on the surface of the soil. It does not need to be buried—simply let the leaf base touch the soil lightly. Keep it in a shaded location and do not water initially.
Once rooting and sprouting begin (1-4 weeks in), mist the soil lightly with a spray bottle.
Success Rates by Variety
Success rates for leaf propagation vary considerably by variety.
High-Success Varieties
Echeveria: Large, fleshy leaves make the meristematic tissue easy to preserve, making this the best genus for leaf propagation. Echeveria elegans, Echeveria laui, and Echeveria 'Purple Haze' root especially quickly.
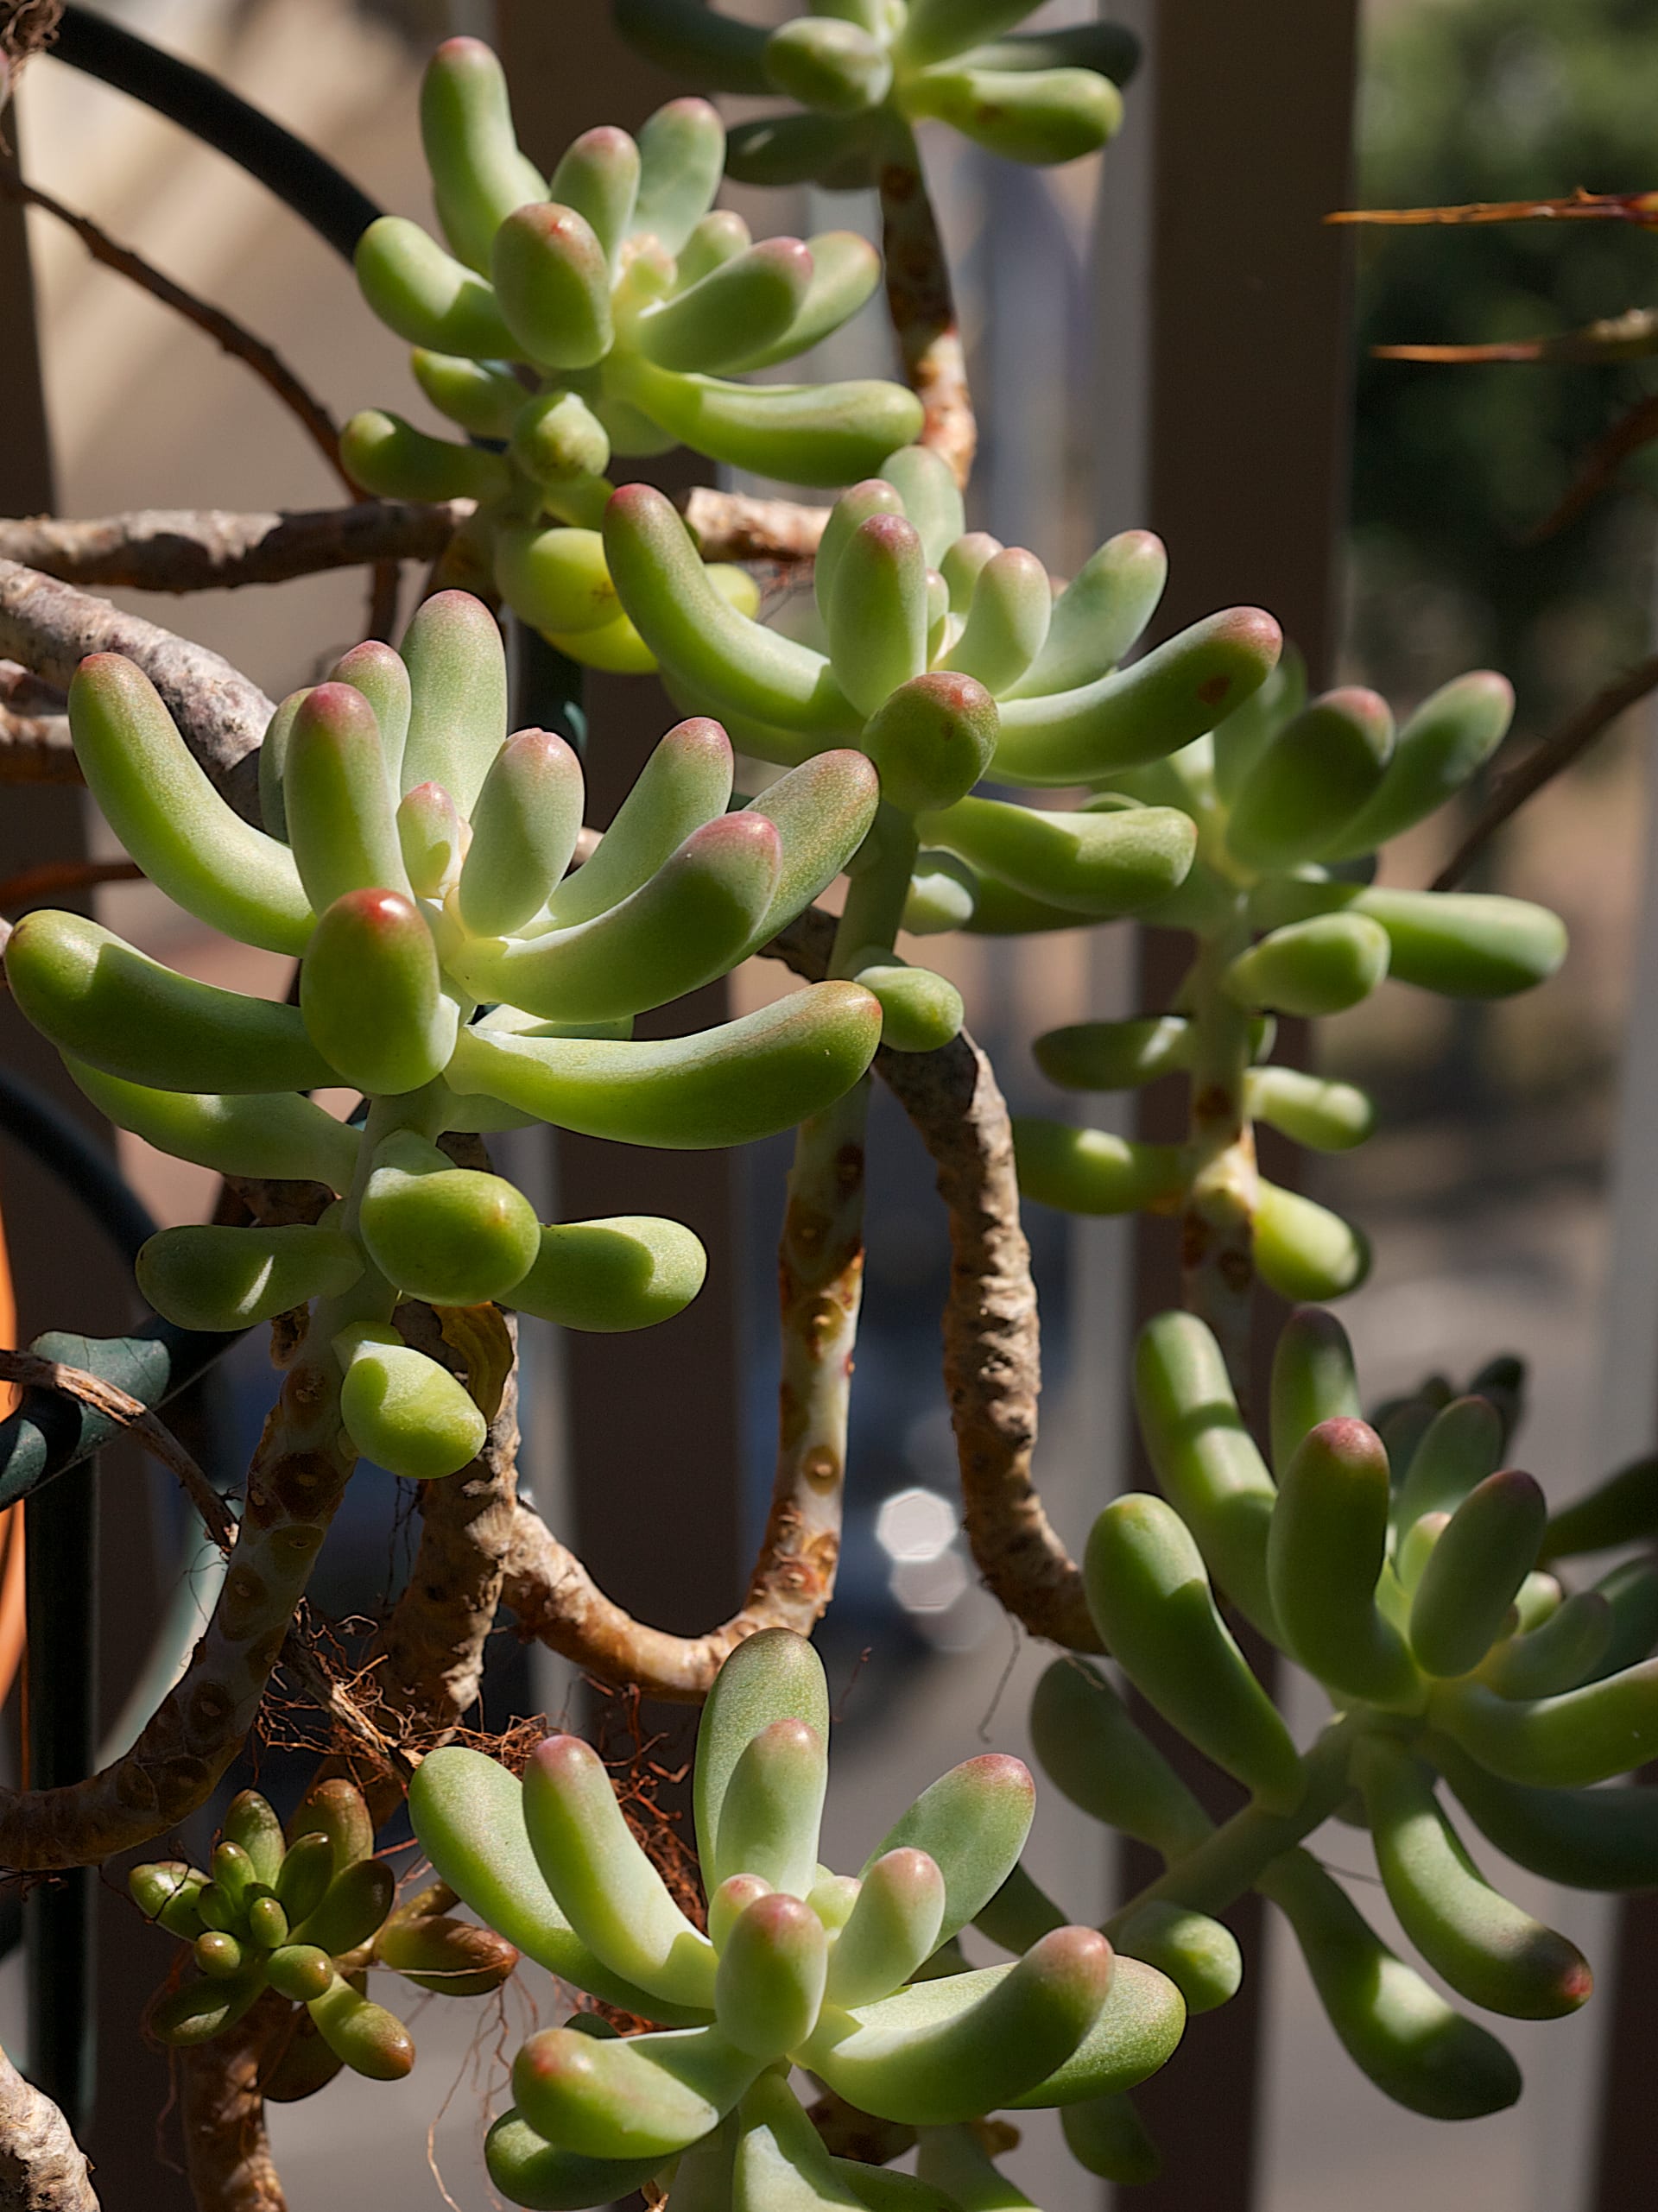
Sedum: Rainbow Jade, Sedum 'Maiden's Blush', and Sedum 'Bicolor' are extremely fast to root and ideal for beginners.
Graptopetalum: Fleshy varieties like Graptopetalum paraguayense are relatively easy to propagate.
Low-Success or Difficult Varieties
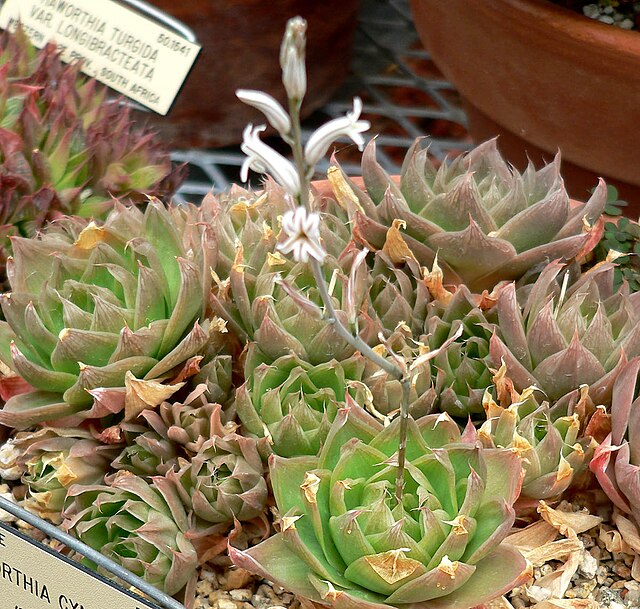
Haworthia: Leaf propagation is theoretically possible, but rooting and sprouting often take several months with a high failure rate. Soft-leaved species (such as Haworthia obtusa) are particularly difficult, and these are usually increased by seed or division instead.
Agave (Leaf propagation not possible): Agave cannot be propagated by leaf. Offsets (pups) are divided from the parent plant—this is the standard method.
Watering Timing and Transplanting
Care After Root Development
Once roots are visible (white roots emerging from the leaf base), water with a spray bottle 2-3 times per week. Small new shoots will appear and gradually enlarge as they consume the stored nutrients from the original leaf.
Once the original leaf shrivels and dies (a sign the nutrients are depleted), the new plant is self-sufficient.
Timing for Potting Up
When the new plant reaches 2-3 cm in size and roots are well-established, transplant it into standard potting soil. Begin regular watering 3-5 days after the transplant.
Common Mistakes Beginners Make and How to Avoid Them
Mistake 1: Leaving tissue attached to the stem when removing the leaf The growth point is located at the leaf's base. If you twist and don't remove it cleanly from the root, no shoots will appear no matter how long you wait. Rather than scraping with your nail, gently rock the leaf side to side until it comes away naturally at the correct point.
Mistake 2: Pressing the leaf into the soil Leaf propagation is a matter of simply placing the leaf—that's all. Pressing it in keeps the cut surface wet and causes rot. Lay the leaf on dry substrate and let the roots touch the soil only after they appear.
Mistake 3: Watering before roots develop If you water before the cut has dried, bacteria will enter and the leaf will decay. Keep it completely dry for 2-3 days after removal, and only start misting once roots are visible.
Optimal Seasons for Leaf Propagation: Spring and Autumn Are Overwhelmingly Advantageous
Season dramatically affects success rates. Spring (March–May) and autumn (September–November) offer the highest success rates. Temperatures in these seasons—around 20-25°C—are ideal for root development. Summer (June–August) leaf propagation sees higher failure rates because heat increases evaporation and dries the leaves. Winter (December–February) propagation is largely unsuccessful because cold temperatures nearly stop root formation and success rates drop sharply.
Echeveria Genus Leaf Propagation: Unique Techniques
Among succulents, Echeveria is the easiest genus for leaf propagation. The most critical step in Echeveria propagation is leaf removal. Large-leaved species such as Echeveria moorii and Echeveria laui show even higher success rates when the leaf is completely detached. The key to success is fully preserving the tiny growth point (meristem) at the leaf's base.
Shop with Confidence on GrowerDirect
The quality of parent plants used for leaf propagation directly determines your success rate. GrowerDirect lets you buy healthy succulents directly from growers. At purchase, you can consult with growers about which varieties are suited to propagation and which are not, making it a reliable platform for anyone looking to expand their collection.