Complete Guide to Repotting Succulents | Timing, Procedure, Root Care, and Post-Repotting Management
Comprehensive coverage of the optimal timing for succulent repotting, necessary tools, root handling methods, and watering timing after repotting. We also introduce in detail the common pitfalls for beginners and how to avoid them.
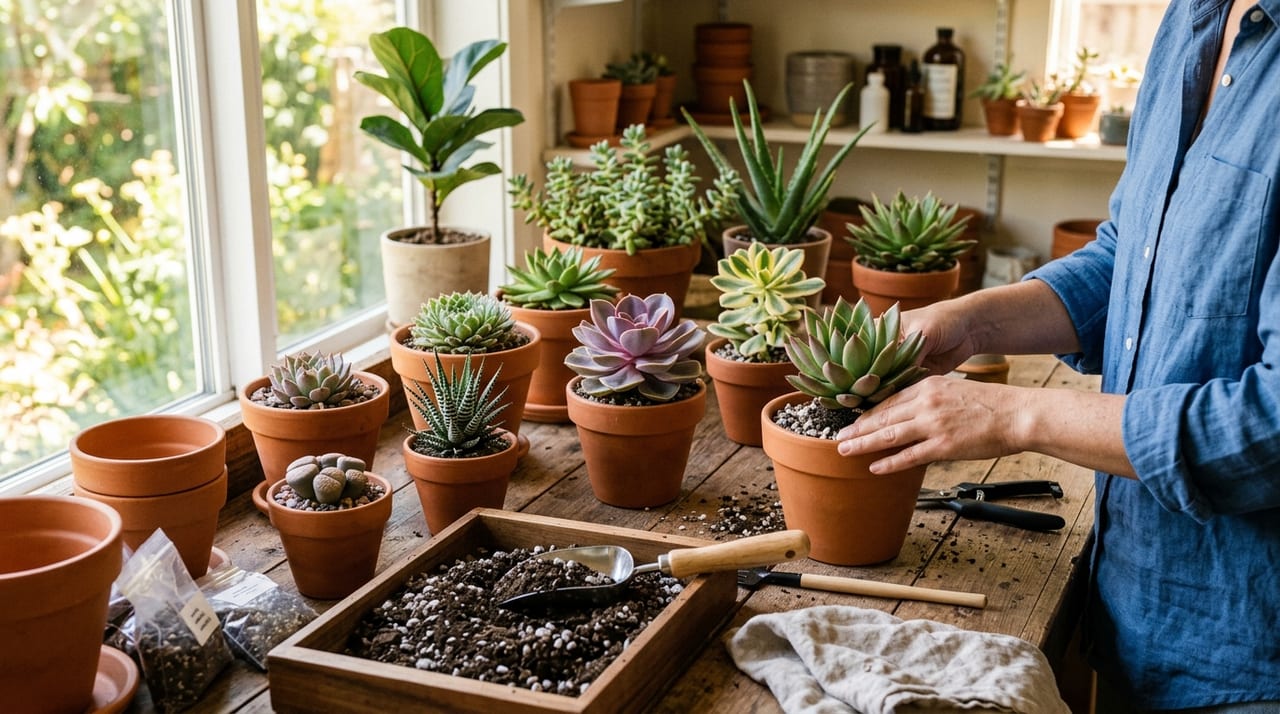
Key Takeaways
Comprehensive coverage of the optimal timing for succulent repotting, necessary tools, root handling methods, and watering timing after repotting. We also introduce in detail the common pitfalls for beginners and how to avoid them.
Related Species
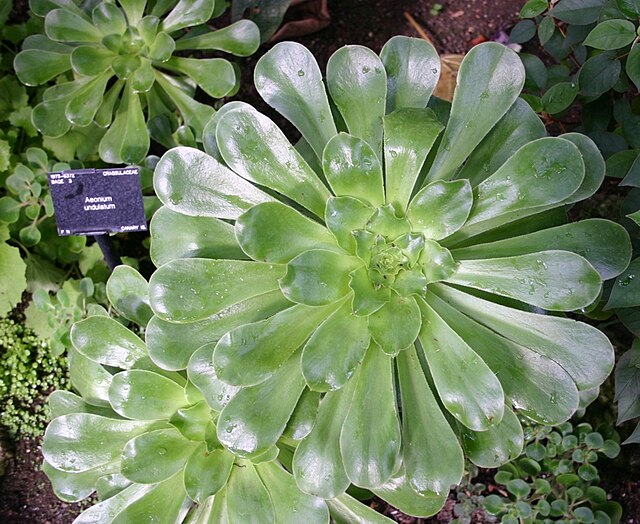
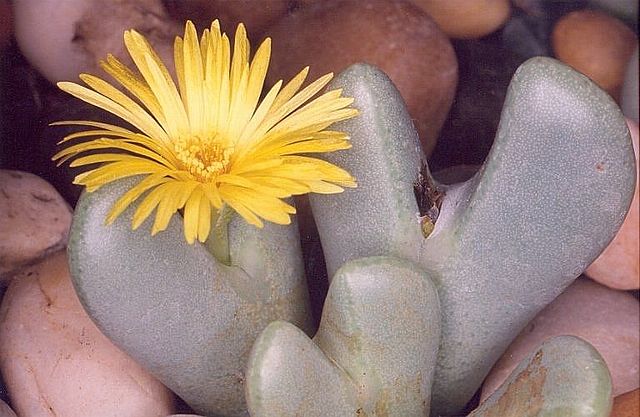
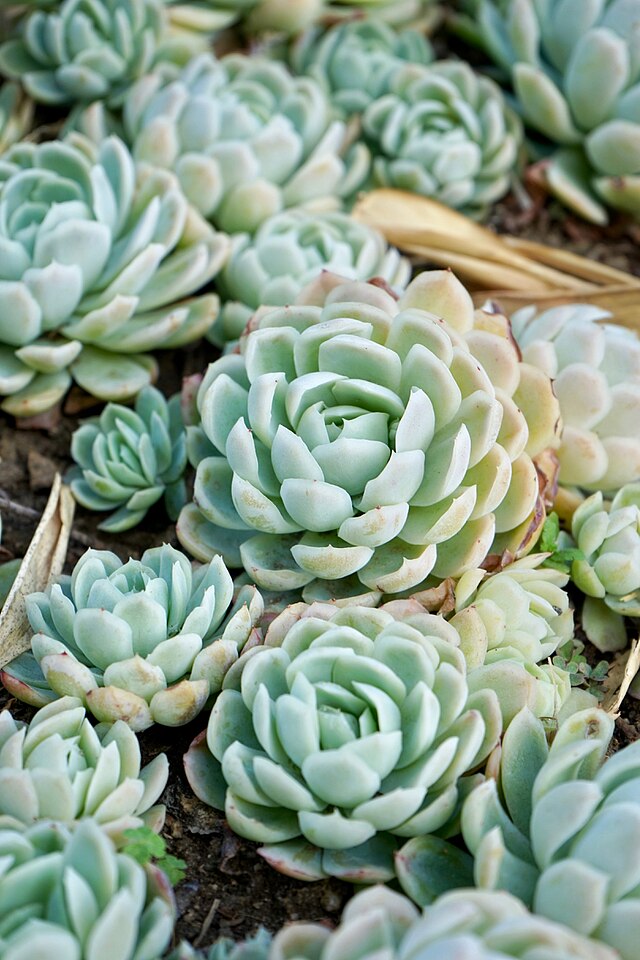
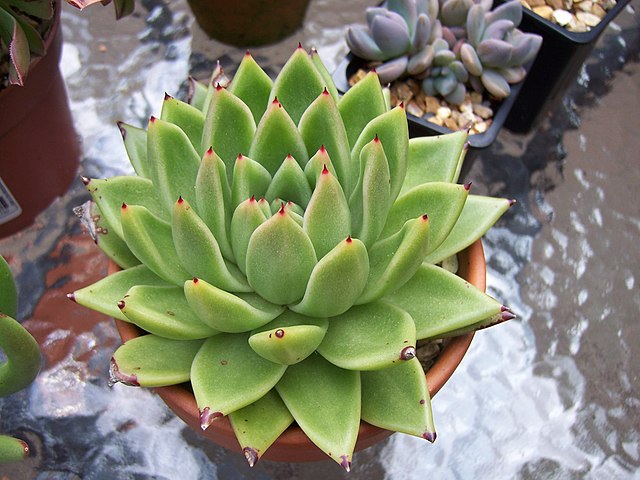
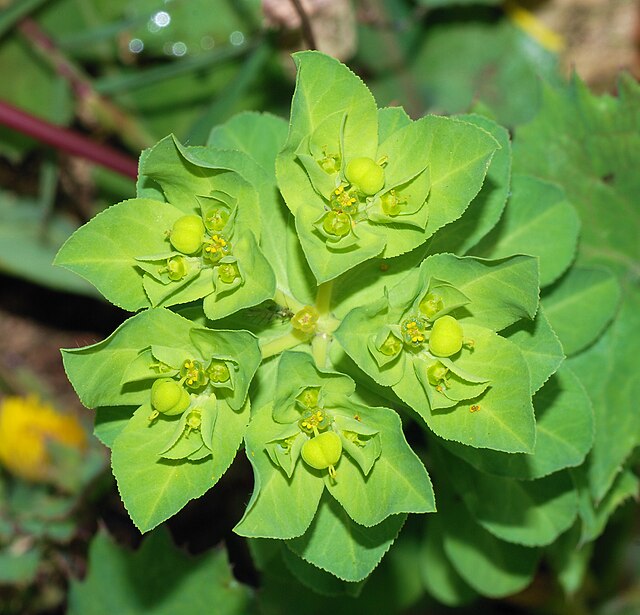
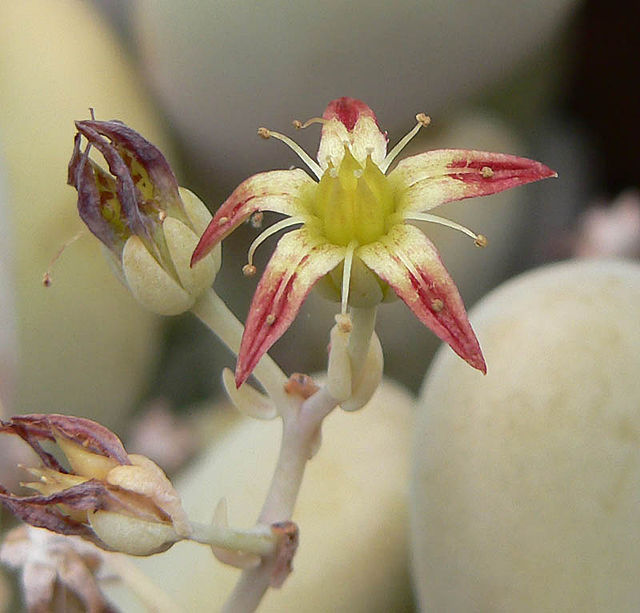
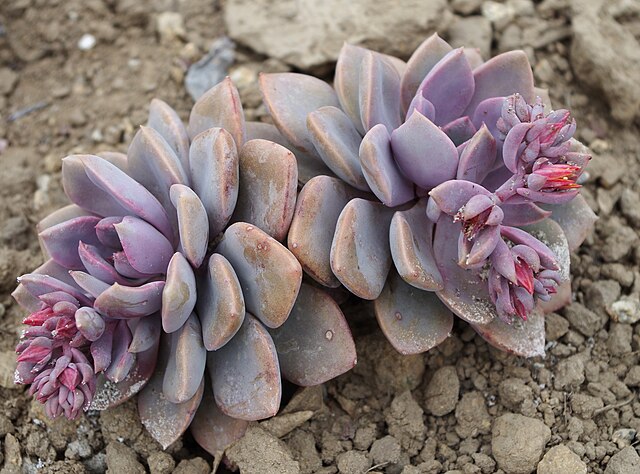
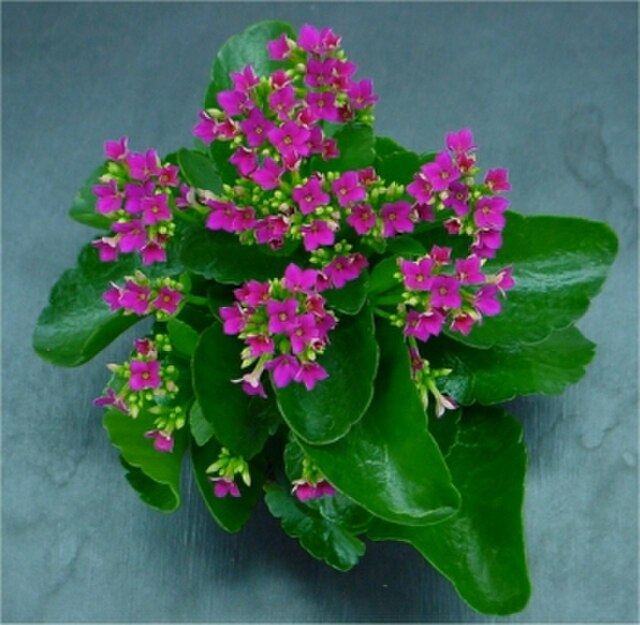
"Repotting" is an indispensable practice for growing succulents healthily and sustainably. If you continue growing them in the same pot and soil as when purchased, root congestion and soil degradation can compromise the plant's vigor. However, many beginners find themselves uncertain about when to repot, how to handle the roots, and what care is needed after repotting. This article provides thorough coverage of succulent repotting, from the basics to advanced techniques.
Why Repotting Is Necessary
Succulents, like all potted plants, require regular repotting. There are three main reasons for this.
1. Relieving Root Congestion
When roots fill the entire pot, water absorption becomes less efficient, slowing growth. Roots emerging from the drainage hole or water running off instead of soaking into the soil are signs of root congestion.
2. Addressing Soil Degradation
Over time, soil particles in succulent potting mix break down, increasing fine dust and reducing drainage. Typically, the physical structure of the soil degrades within 1–2 years and must be replaced. Additionally, old soil can accumulate salts that damage roots.
3. Moving to a Pot Suited to the Plant's Size
If the pot is too small for a growing plant, roots cannot spread adequately and growth is restricted. Conversely, if a newly purchased seedling is in a pot that is too large, the soil dries slowly, increasing the risk of root rot.
Optimal Repotting Timing—Determined by Season and Growth Type
The fundamental principle for succulent repotting is to perform it at the beginning of the growing season. When growth is active, roots recover quickly from damage, minimizing post-repotting risks.
Optimal Timing by Growth Type
| Growth Type | Representative Genera | Ideal Timing | Secondary Timing |
|---|---|---|---|
| Spring-autumn type | Echeveria, Graptopetalum, Sedum, Pachyphytum | March–April, September–October | Early May |
| Summer type | Kalanchoe, Adenium, some Euphorbia | April–May | Early June |
| Winter type | Lithops, Conophytum, Aeonium | September–October | March |
Hardy Echeveria agavoides and freely clustering Graptopetalum are quintessential spring-autumn types and are well-suited to practicing repotting.
Seasons to Avoid Repotting
- Mid-summer (July–August): High temperatures injure roots and slow recovery. Spring-autumn types are semi-dormant and less tolerant of repotting stress.
- Mid-winter (December–January): Low temperatures slow root activity, delaying root development after repotting. Even winter types should avoid repotting during this period.
- During flowering: Repotting while the plant is dedicating energy to flowers adds a double stress to the plant.
Tools Required for Repotting
Preparing tools in advance ensures the work proceeds smoothly.
Essential Tools
- Fresh potting soil: Succulent potting mix or a custom well-draining blend
- New pot: One sized appropriately for the current plant (one size larger is standard). Bottom drainage holes are essential.
- Mesh pot screen: Prevents soil loss from drainage holes and keeps pests out
- Pot shards or gravel: Coarse pumice, etc. Lay 1–2 cm as a drainage layer
- Tweezers: For detailed work and positioning of offsets
- Chopsticks or bamboo skewers: Used to push soil into gaps between roots and eliminate air pockets
- Gardening scissors: For removing damaged roots and dead lower leaves. Disinfect with alcohol beforehand
Convenient Tools to Have
- Newspaper or tray: Protects your workspace and catches old soil
- Root knife: For prying roots away from the pot wall when they adhere densely to the interior
- Insecticide: If you use one against root mealybugs, check the label for a product registered for root mealybugs (scale insects); GF Ortran granules do not list root mealybugs among their target pests for ornamental flowers and foliage plants
Source: MAFF Pesticide Registration Database (GF Ortran Granules)
Repotting Procedure—Step-by-Step Explanation
Step 1: Preparation (3–5 Days Before Repotting)
Before repotting, stop watering and allow the soil to dry completely. Moist soil clings to roots and is difficult to remove, increasing the risk of root damage. Dry soil also allows for accurate observation of root condition.
Step 2: Removing the Plant from Its Pot
- Tip the pot to its side and gently tap the sides to slowly extract the plant
- For plastic pots, press the sides with your fingers to deform the pot and make removal easier
- For terracotta pots with roots densely adhered, insert a knife along the interior wall to cut roots free
- Trim any roots extending from the drainage hole with scissors before removing the plant
Step 3: Removing Old Soil
- Gently loosen the root ball by hand and remove approximately 80% of the old soil
- Use a bamboo skewer to carefully remove soil embedded between roots
- It is not necessary to remove all soil, but remove as much fine dust as possible
Step 4: Root Conditioning (Most Critical Step)
This is the most important step determining success or failure of repotting.
Points to Check
- Remove all blackened (rotted) roots
- Remove dry, brown, dead roots
- Healthy roots are white to light tan and firm
- If roots are excessively long, trim them to about one-third their length to fit the pot depth
Addressing Root Problems
- Root mealybugs discovered: Rinse roots thoroughly under water to remove insects, dry completely, then pot in fresh soil (soaking roots in diluted Ortran is not listed on the product label)
- Advanced root rot: Remove all rotted parts and cut back to healthy tissue. Leave the cut end in a shaded, dry location for 3–7 days, then pot in fresh soil (Daconil's registration for succulents covers 1000× spray for leaf spot and similar diseases; application to cut surfaces is not listed on the product label)
- Few or no roots: If the stem is healthy, treat as a cutting. Allow the cut end to dry and insert into fresh soil to await rooting
Step 5: Planting into the New Pot
- Lay mesh over the pot bottom, then add 1–2 cm of pot shards as a drainage layer
- Fill the pot with soil to about one-third full
- Place the plant in the center, spreading roots outward. Take care not to fold roots
- Fill surrounding area with soil while tamping with chopsticks or skewers to ensure soil reaches all root gaps
- Fill to about 1 cm below the pot rim (to preserve watering space)
- Confirm the plant is stable. Add more soil if unstable
Step 6: Finishing
- Spread a thin layer of decorative sand (fine red volcanic soil or Fuji sand) on the surface for a neat appearance and improved air circulation around the base
- Remove any dead lower leaves at this time
Source: MAFF Pesticide Registration Database (ST Daconil 1000)
Post-Repotting Care—This Is Where Results Show
Post-repotting care is critical. Mistakes at this stage can make repotting counterproductive.
Watering Timing
Watering immediately after repotting is forbidden.
- Do not water for 3–7 days. During this period, cut root ends dry and callus (healing tissue) forms
- If roots were extensively trimmed, withhold water for 7–10 days
- Begin with minimal water; wet only half the pot, then transition to normal amounts from the second watering onward
- For recovery repotting of rot-affected plants, limit water to misting until rooting signs appear (new growth or leaf firmness)
Placement
- Keep in bright shade and away from direct sun for 1–2 weeks after repotting
- Ensure air circulation. Stagnant air causes root rot
- Gradually return to normal growing conditions after 2 weeks
Fertilizer
- Do not apply fertilizer for 2–4 weeks after repotting. Resume once new roots begin extending
- If slow-release fertilizer (Magamp K, etc.) is mixed into the fresh soil, additional feeding is unnecessary for some time
Repotting in Special Situations
Repotting Immediately After Purchase
Succulents from home centers or online retailers often come in moisture-retentive soil for shipping and benefit from early repotting. Similarly, plants purchased direct from a grower should be repotted using this procedure if the home environment differs significantly from the source.
Approach
- Allow the plant to acclimate to its new environment for about a week (immediate repotting compounds stress)
- Refrain from watering and allow soil to dry before repotting
- Remove as much of the old soil as possible (poor-quality soil is prone to causing root rot)
Repotting Clustered Plants
Plants such as Echeveria and Sedum that form clusters offer the chance to divide while repotting.
Key Points
- Separate at naturally dividing points. Do not force separation.
- Offsets with few roots should be treated like cuttings, with watering withheld until roots develop
- For large clustered plants, increase pot size alone and defer division to the following year
Emergency Repotting from Root Rot
If root rot is discovered, repot immediately regardless of season.
Procedure
- Remove all rotted roots. If the stem base is blackened, cut back to healthy tissue
- Apply fungicide to the cut surface
- Dry in a well-ventilated, shaded location for 3–7 days (until the cut end is completely dry)
- Pot in fresh, sterile soil
- Withhold water for at least 2 weeks while awaiting rooting signs
Repotting Frequency Guidelines
| Plant Condition | Recommended Frequency |
|---|---|
| Young plants with vigorous growth | Annually |
| Mature, established plants | Once every 1–2 years |
| Clustered plants | Annually to every 1.5 years |
| Newly purchased plants | Within 1–2 weeks of purchase |
| Plants in declining condition | As needed depending on cause |
When you view regular repotting not as "tedious work" but as a "plant health checkup," cultivation becomes far more enjoyable. Make the most of this precious annual opportunity to observe root condition with your own eyes.
Summary—Repotting as Dialogue with Your Succulents
Repotting is a valuable practice that allows you to observe the roots normally hidden in soil and assess plant health. When performed at the proper time with the correct technique, succulents emerge from repotting noticeably healthier and more beautiful.
At first, the procedure may seem complex, but with practice your hands learn the motions and the work becomes quick. During the pleasant spring and autumn seasons, take time to engage meaningfully with your favorite succulents.