How to Remove and Propagate Agave Offsets | Optimal Timing and Steps
A detailed guide on how to remove Agave offsets (pups), covering optimal timing, step-by-step procedures, and root development management. Learn the key points for safely dividing and propagating your plants.
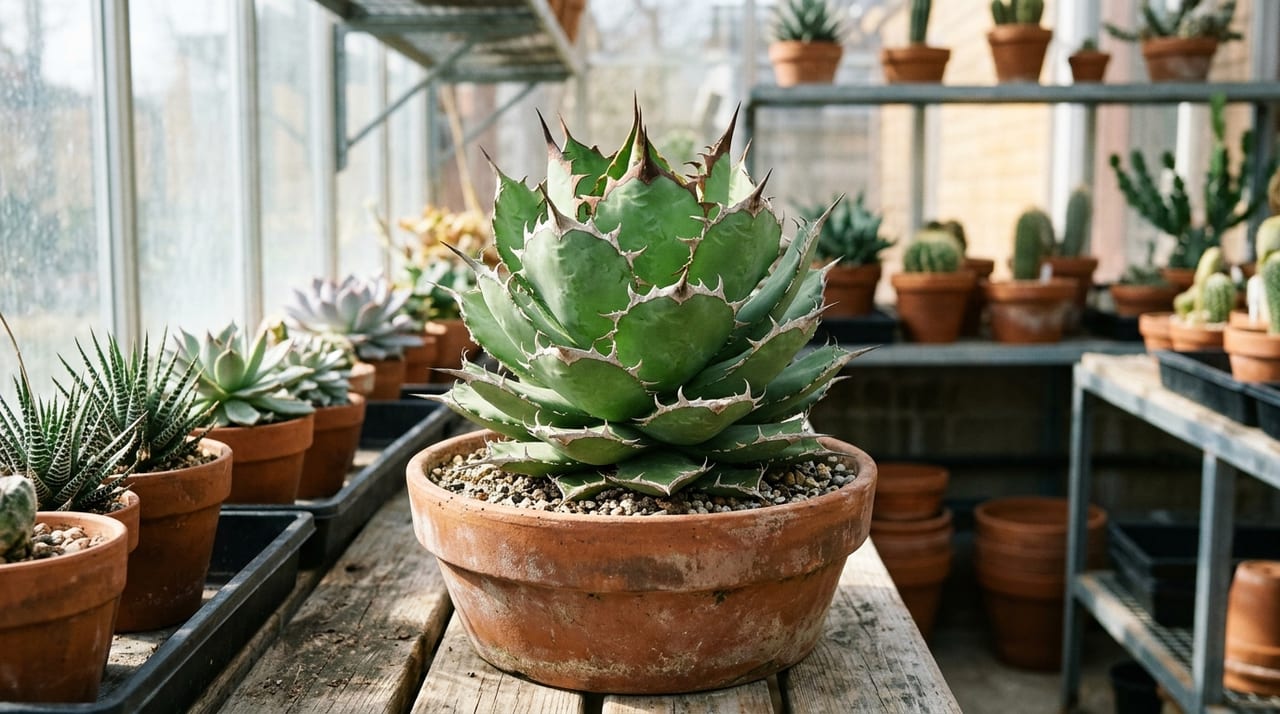
Key Takeaways
A detailed guide on how to remove Agave offsets (pups), covering optimal timing, step-by-step procedures, and root development management. Learn the key points for safely dividing and propagating your plants.
Related Species
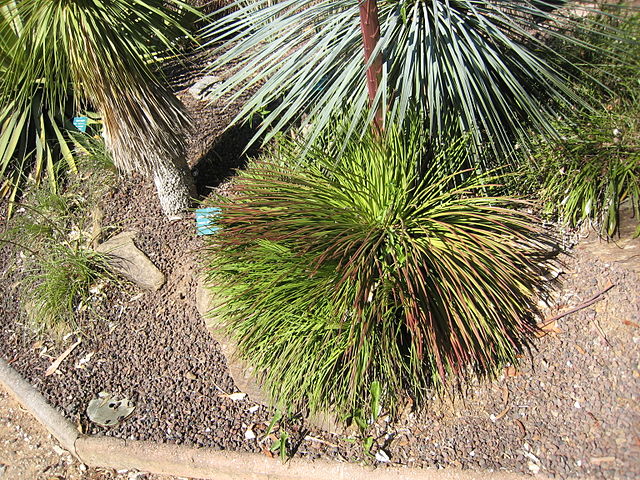
As Agaves grow, they produce offsets (pups) at the base of the plant. By separating these offsets from the parent plant and growing them independently, you can propagate your favorite Agaves. This guide covers everything from removing offsets to root management. If you're new to growing Agaves, start with the Agave Growing Beginner's Guide to review the basics.
Optimal Timing for Removing Offsets
The optimal time to remove Agave offsets is from April to June, when the growing season begins.
Why Spring Is Ideal
- Temperatures are rising, promoting faster root development
- With a long growing season ahead, roots can establish fully before winter
- The parent plant recovers quickly from the division
Fall (September–October) is possible, but with less time before winter, success rates are lower than in spring. Avoid division in peak summer and peak winter.
Determining the Right Time to Remove Offsets
Not all offsets are ready to be removed immediately. Check that the following conditions are met:
- At least five leaves have developed: Offsets that are too small lack the strength to survive independently after separation
- The offset itself shows visible roots: Roots visible near the junction with the parent plant are ideal
- The parent plant is healthy: Do not remove offsets from a parent plant showing signs of disease or pest damage
Tools Needed
- Clean, sterilized knife or scissors
- Fungicide (such as Daconil or Benomyl) or sulfur powder
- Newspaper or paper towels
- Shelf or tray for air-drying
- Well-draining soil and pot for rooting
Steps for Removing Offsets
1. Remove the Parent Plant from the Pot
Remove the entire plant from its pot and gently clear away the soil around the roots. Visually identify the junction where the offset connects to the parent plant.
2. Separate the Offset
Use a knife to cut the offset away from the parent plant, leaving as many roots as possible attached to the offset. If the junction is thick, cut carefully with small, deliberate movements. Never pull by hand, as this damages tissue and invites rot.
3. Treat the Cut Surface
Apply fungicide to the cut surfaces of both the parent plant and the offset. Dusting with sulfur powder is also effective. Skipping this step increases the risk of bacterial contamination and rot at the cut site.
4. Allow the Cut to Dry
Dry the cut surfaces in a well-ventilated, shaded area for 3 to 7 days. Because Agaves have thick stems, thorough drying is essential. Once the cuts are completely dry and callus tissue (white growth) forms, you're ready to proceed.
Root Management
Preparing the Soil
Use a highly draining soil for rooting. Red lava soil (small grain) alone, or a mix of red lava soil and pumice in a 7:3 ratio, is recommended. Avoid organic-rich soils due to rot risk.
Planting
Plant the offset in a pot and fill around it with soil to stabilize it. Avoid planting too deep, as this promotes rot; the base should sit just at the soil surface.
Watering
Do not water for 5 to 7 days after planting; keep the cut site completely dry. After that, water sparingly when the soil surface dries out. During the 1 to 2 months until roots establish, water at about half the normal rate.
Environment
Keep the offset in bright, indirect light. Avoid direct sun, which only increases water loss when roots are absent. Ideal temperatures are 20–30°C (68–86°F).
How to Check for Root Development
Three to four weeks after planting, gently tug the offset. Resistance indicates roots are developing. Avoid pulling hard, as this damages new roots. New leaf growth is a sign that rooting is progressing well.
Caring for the Parent Plant
After removing an offset, hold back water for about a week; the cut is still vulnerable. Return to normal care once the treated cut is completely dry. A healthy parent plant will produce new offsets in the coming years.
If Your Agave Isn't Producing Offsets
Some varieties naturally produce fewer offsets. Certain clones of Titanota and Isismensis tend to be slow to offset. You can force offset production by intentionally removing flower buds, but this is a risky technique for advanced growers. Growing from seed is also an option. For a complete overview of propagation methods beyond division, see the Complete Agave Propagation Guide.
Making the Most of Your Offsets: The Joy of Propagation
Successfully growing offsets opens up many new ways to enjoy Agaves. Here are a few ways to make the most of them:
Gifts to friends and acquaintances are the most popular use. Sharing your propagated offsets spreads the joy of Agaves. Passing them along after roots have established gives recipients confidence to grow them successfully.
Online sales or exchange is another option. Using a platform like GrowerDirect connects your offsets with Agave enthusiasts across the country. Including photos of the parent plant and variety information in your listing builds buyer confidence.
Growing as a cluster is a third approach. By leaving offsets attached to the parent plant, you create a distinctive landscape where multiple rosettes overlap. Varieties such as Agave geminiflora and Lophantha are particularly prized for their clustered form. For more on the appeal of Agave Lophantha, see How to Grow Agave Lophantha.
Once rooted, treat offsets the same as mature plants. However, young plants have fewer roots and are more sensitive to drying out, so water slightly more frequently than mature plants and acclimate them to direct sun gradually.
Varieties That Offset Readily vs. Those That Don't
Offsetting tendency varies widely among varieties. Keep this in mind when planning your collection:
Varieties That Offset Readily
- Lophantha: Produces offsets prolifically, tends to form clusters
- Kisshokkan: Hardy and produces offsets frequently
- Americana: A large species that readily produces offsets
- Himegengaryū: A small variety that offsets readily
Varieties That Rarely Offset
- Utahensis: Slow to offset until mature; seed propagation is the primary method. Known for cold hardiness, detailed in How to Grow Agave Utahensis
- Isismensis: Rarely produces offsets
To encourage offsetting, repot into a slightly larger container to give roots more space. When roots are well-established in ample soil, the plant stores more energy for offset production. Conversely, tight, compact growing tends to inhibit offsetting.
Find Offset-Bearing Agaves on GrowerDirect
The most important point when removing offsets is patience. Removing offsets while they're too small increases the risk of failure due to insufficient vigor. Wait until at least five leaves have developed and the offset shows its own roots. A healthy parent plant will continue to grow even with offsets still attached.
On GrowerDirect, you can purchase offset-bearing Agaves directly from specialist growers in the Agave category. One advantage of buying direct is that you can also consult with growers about offset removal techniques and root care when you make a purchase.