Wabi-kusa (Wabi-Aquatic Plants) DIY Guide: The Charm of Moss-Ball-Style Aquascaping
Learn how to create wabi-kusa. This guide covers soil ball formation, selecting suitable aquatic plants, and care methods for both submerged and emersed environments.
Key Takeaways
Learn how to create wabi-kusa. This guide covers soil ball formation, selecting suitable aquatic plants, and care methods for both submerged and emersed environments.
Related Species
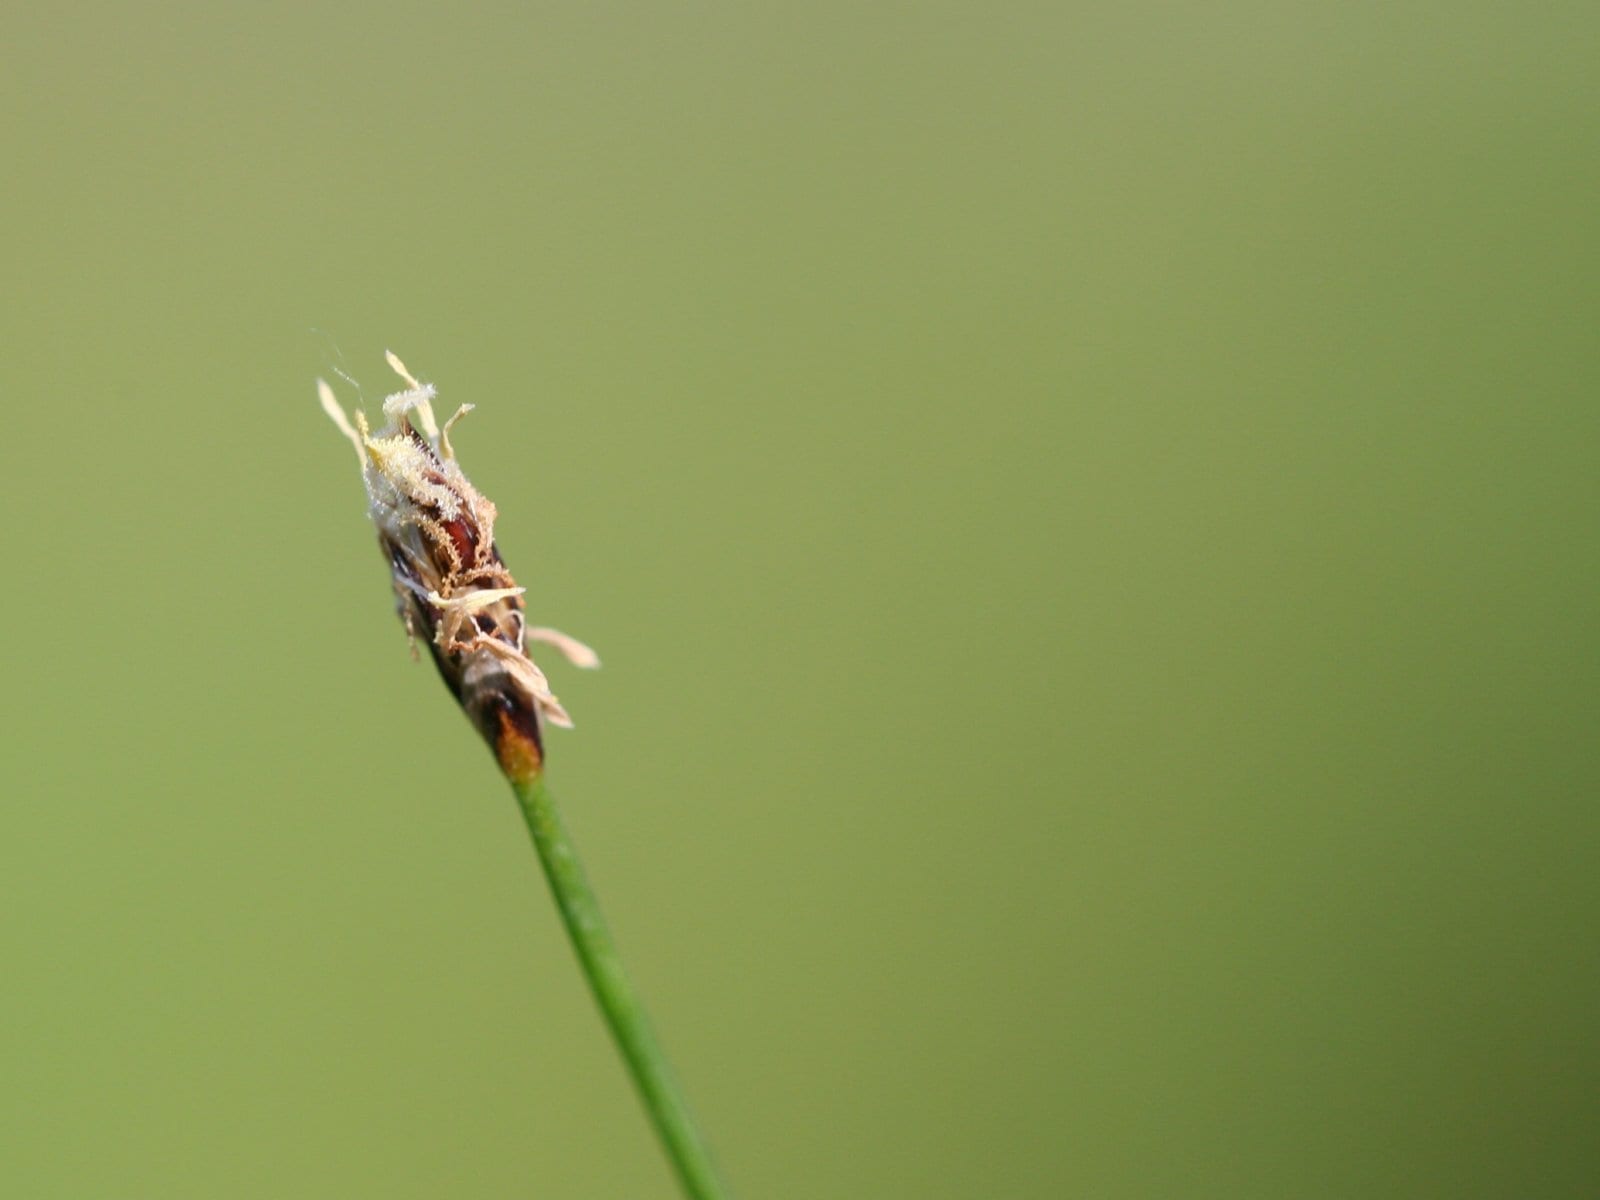
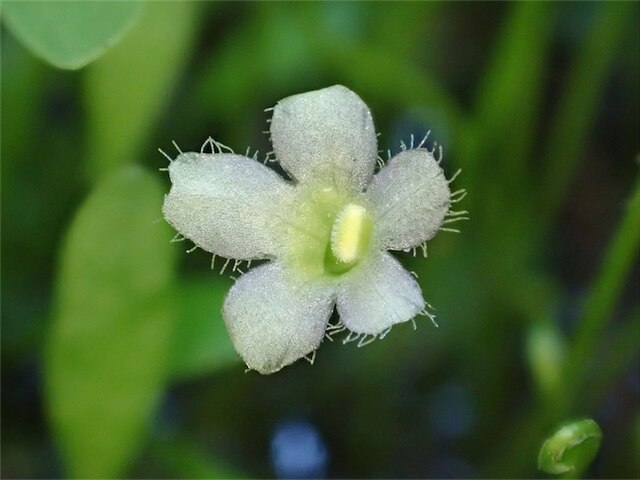
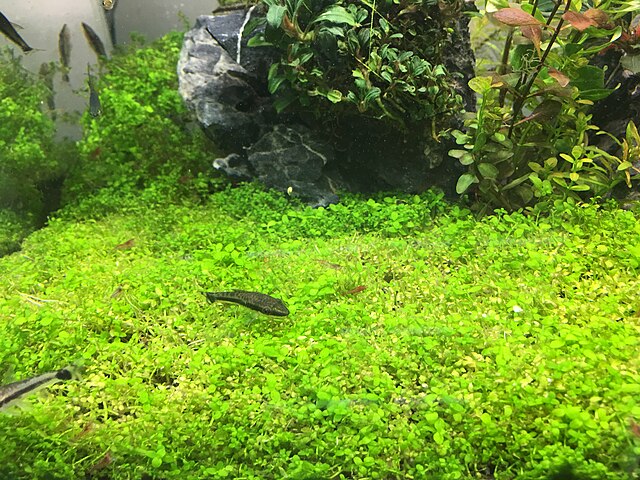
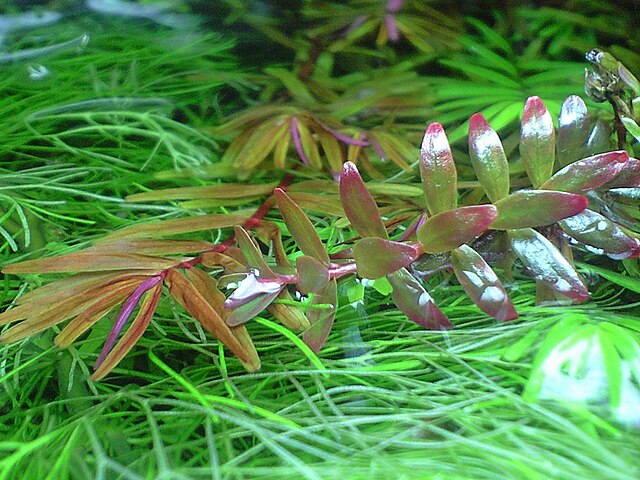
Wabi-kusa is a style of aquatic plant art in which aquatic plants are planted directly into a ball of aquasoil—essentially a moss-ball-like aquatic plant creation. It has become popular as a unique way to enjoy aquatic plants in both submerged and emersed forms: you can submerge it in an aquarium to accent your layout, or display it on a small dish as interior décor.
While commercially made wabi-kusa is available, the greatest appeal of creating your own from scratch is that no two are alike, and each one transforms as it grows. This article provides thorough guidance on everything from material selection to care methods, designed to help beginners avoid mistakes.
What Is Wabi-kusa? Its Appeal and Characteristics
Wabi-kusa is a DIY-style aquatic plant art derived from a layout technique popularized by the aquarium brand ADA (Aqua Design Amano). It involves planting emersed aquatic plant leaves into a sphere made from a mixture of aquasoil and clay-like soil, creating something that resembles a small island.
Ways to Enjoy Wabi-kusa
- Emersed care (terrarium-style): It can be enjoyed without an aquarium since it only requires maintaining humidity and light.
- Submerged care (aquascaping-style): Simply place it in an aquarium and you have an instant layout; you can also enjoy watching the aquatic plants transition to submerged leaves.
- The fascination of transition: Watching the same plant transform from emersed to submerged leaves is a major discovery for aquascaping beginners.
Its compact size makes it easy to place in a small apartment or on a desk, and more people are choosing to create wabi-kusa as an introduction to aquascaping. If you're planning to set up an aquarium, reading Beginner's Guide to Growing Aquatic Plants alongside this article will make the transition from wabi-kusa to submerged layouts smoother.
Material Selection Determines the Finish: Essential Items List
The materials needed for wabi-kusa creation are simple, but the quality and combination of each directly impacts the final result.
Essential Materials
- Aquatic plant soil (powder type): Finer particles are easier to plant into and provide more stable root development. Control soil and ADA's Amazonia are popular options.
- Clay soil: Highly adhesive, it functions as a binder to hold the soil together. Available at garden centers and aquarium shops.
- Emersed aquatic plant leaves: Rotala species, glossostigma, Cuban pearl grass, hairgrass, and others. Fast-growing species that densify easily are recommended.
- String/Thread: Use cotton thread (naturally biodegradable) or fishing line. Used to secure plants after planting.
Useful Tools to Have
- Tweezers (fine-tip type): Essential for inserting delicate aquatic plants.
- Spray bottle: For misting during care.
- Shallow glass container or dish: Base for emersed care.
- Scissors (fine-tip): For trimming.
The basic ratio of soil to clay soil is 7:3, but since viscosity changes depending on hand oils and room temperature, it's important to adjust by adding water gradually until you achieve a clay-like consistency.
How to Make Wabi-kusa: Step by Step
Once you have your materials gathered, you're ready to begin creation. The first time may take a while, but once you've learned the steps, you can complete one in 30 to 40 minutes.
Step 1: Create the Soil Ball
Mix soil and clay soil in a 7:3 ratio and add a small amount of water until you reach a clay-like consistency. When rolling with both hands, apply uniform pressure using your entire palm to create a sphere roughly 7–10 cm in diameter. If fine cracks appear on the surface, it's a sign of insufficient water—mist gently while adjusting the shape.
Step 2: Divide Aquatic Plants into Small Bundles
Divide the aquatic plants into small portions of 2–3 stems each. For fine-stemmed plants, grouping about 5 stems together makes them easier to insert. For large-leaved species, thin them out to avoid overcrowding.
Step 3: Insert Aquatic Plants into the Soil Ball
Using tweezers, insert the aquatic plants across the entire soil ball. Space portions about 1–2 cm apart, arranging them densely to avoid sparse spots. Planting from the center outward makes it easier to maintain overall balance.
Step 4: Secure with Thread and Finish
Once planting is complete, lightly wrap the entire wabi-kusa with thread to secure it. Focus on securing areas where plants were inserted shallowly or where the base is unstable. If you use cotton thread, it will naturally dissolve in a few weeks, saving you the effort of removing it.
Care Methods: Cultivation for Both Emersed and Submerged Environments
Wabi-kusa grows quite differently depending on your care environment. Choose a method that suits your lifestyle.
Tips for Emersed Care
Place the wabi-kusa on a shallow dish or glass container and maintain a slightly moist base.
- Light: A bright spot by a window (avoiding direct sun) or a plant LED light for 8–10 hours per day.
- Humidity: Ideal misting is 2–3 times per day. In high-humidity environments, covering with an acrylic case or lidded container makes care easier.
- Water changes: Replace the water in the dish every 2–3 days; address any cloudiness or odor promptly.
- Fertilizing: Diluting liquid fertilizer in the spray bottle promotes growth.
Tips for Submerged Care
Once you've grown it emersed for 3–4 weeks and the roots are stable, you can place it directly in an aquarium.
- CO₂ injection: While not necessary, adding CO₂ dramatically improves growth rate and the color of submerged leaves.
- Transition to submerged leaves: Emersed leaves gradually die off as submerged leaves begin to develop. This is normal adaptation, not a failure.
- Securing the soil: Strong water flow can cause the soil to break apart, so use a gentle flow rate or surround it with rocks or driftwood.
- Trimming: Once the plants become lush, trim them regularly to maintain the overall shape.
If you'd like to combine rhizophytic plants like Anubias after the wabi-kusa is established, Complete Guide to Anubias Varieties and Care is also helpful.
Summary: Discovering a New Way to Enjoy Aquatic Plants with Wabi-kusa
Wabi-kusa is a way to enjoy aquatic plants with a broad entry point—you can start without an aquarium and expand into submerged layouts as you gain experience. There's a unique satisfaction in creating the form with your own hands and observing daily changes that mass-produced versions can't provide.
The quality of aquatic plants used as materials determines the wabi-kusa's finish. At GrowerDirect, you can purchase directly from growers specializing in aquatic plants, allowing you to select high-quality materials such as emersed leaves and well-rooted plants. Beginners can look for bundle-purchase listings to try various species while getting a great deal.
Start your life with aquatic plants through the creation of wabi-kusa.