Bonsai Moss Application Techniques | Choosing Species and Tips for Successful Establishment
This guide explains the types of moss used in bonsai moss application, collection methods, application techniques, and management practices for successful establishment.
Key Takeaways
This guide explains the types of moss used in bonsai moss application, collection methods, application techniques, and management practices for successful establishment.
Related Species
The Effects and Role of Moss in Bonsai
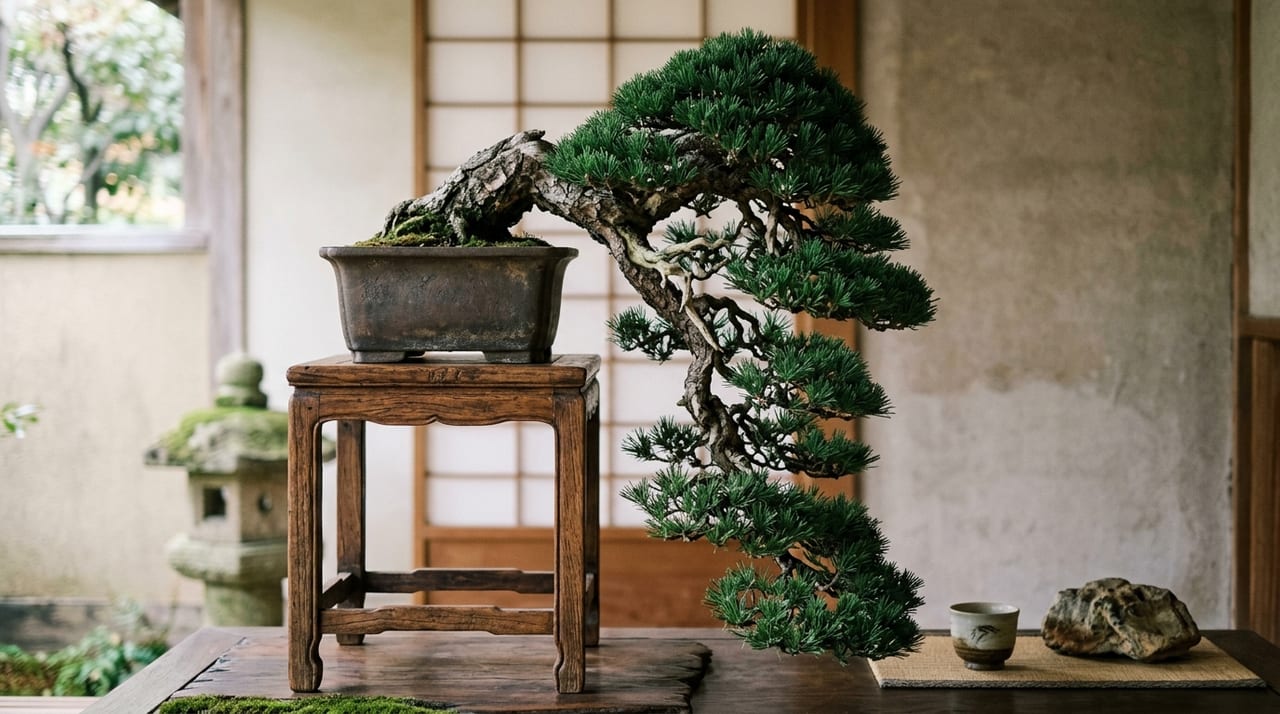
In bonsai, moss is not merely decoration but an important element that supports the tree's health. When moss covers the root base and soil surface of the pot, the visual completion of the entire work is significantly enhanced. At the same time, it serves the function of reducing soil dryness and stabilizing humidity around the roots. Particularly in direct sunlight during summer, pots without moss tend to dry rapidly on the surface, which can damage the roots easily. Moss acts as a buffer, preventing rapid fluctuations in temperature and moisture.
Moreover, in exhibitions and competitions, "moss-covered" is often one of the evaluation criteria. Aged moss over the years creates a natural aesthetic quality and enhances the overall sense of antiquity of the tree. For beginners, moss application is a high-impact improvement with a good cost-benefit ratio as an initial undertaking. When considered together with basic display stand and shelf decorating, the overall impression of the exhibition becomes much more refined.
Understanding Moss Species and Their Characteristics
Moss used in bonsai can be broadly classified into several types. Understanding each one's characteristics and using them appropriately is essential for maintaining them long-term.
- Sand Moss: Highly resistant to dryness and well-suited to sunny locations. Its fine, uniform grains create a beautiful finish when spread thinly on the pot surface. Easy for beginners to handle and readily available. However, it is susceptible to excessive moisture, so pair it with well-draining soil.
- Hair Moss: Prefers moisture and thrives in semi-shaded environments. Characterized by fine-textured leaves and vivid green color. Its shape makes it easy to fit into crevices and between rocks on rock-attached bonsai, making it well-suited to rock-over-root bonsai. Fast-growing, so regular trimming is necessary.
- Fine-Leaf Old Man Moss: Characterized by deep green color and high density. Growth is slow, but once established it becomes stable and creates a display-quality finish. Weak to direct sunlight, so bright shade management is fundamental. Pairs particularly well with high-altitude tree species and conifers.
- Spiky Moss, Jagoke Moss: Species that prefer moist environments. Suited for bonsai depicting water-edge landscapes and combinations with wetland plants. Maintenance difficulty is somewhat high, but the deep green luster and sheen are unique qualities not found in other mosses.
Preparation Before Application Determines Success or Failure
To increase the success rate of moss application, preparation before attachment is most important. It is not an overstatement to say that whether the moss will establish largely depends on this stage.
Preparing the Soil Surface
First, gently loosen the soil on the pot surface and roughen the surface. On a smooth, hard soil surface, moss rhizoids cannot grip and will easily fall off. Using a fine-pointed stick or chopstick to scratch the surface and create roughly 5-millimeter irregularities is the goal.
Adjusting Moisture Content
If you apply moss to dry soil, the moss will not absorb moisture and will dry out. Conversely, if the soil is excessively wet, the moss will float. Lightly mist the soil surface and, when touched by hand, a slight dampness where a bit of soil adheres to your fingertips is ideal.
Preparing the Moss
Remove old soil and dead leaves attached to the back of collected or purchased moss. If the back surface is dirty, air circulation becomes poor, leading to decay. Carefully peel away the backing layer and adjust the moss mat thickness to approximately 5–8 millimeters for easier application. To cut to uniform thickness in sheet form, gently thinning by hand rather than with scissors increases adhesion.
Practical Techniques for Application that Promotes Establishment
Start from the Pot Rim
Begin application at the rim (edge) of the pot. The rim is where the eye first falls, and straightening it here brings the entire composition together. Lay the moss mat along the curve of the pot, running it around the rim in a complete circuit.
Pressure When Pressing Down is Key
After placing the moss, press firmly with the flat of your thumb. This pressure allows rhizoids to make contact with the soil, initiating establishment. Simply laying it down lightly is insufficient. Particularly at the edges where moss tends to lift, staking with a bamboo skewer or toothpick at an angle is effective.
Handling Seams
When laying multiple pieces of moss, visible seams will compromise the finish. By cutting moss mats at an angle and laying them with overlap, seams become less noticeable. This technique is similar to the traditional Japanese "brush return" method.
Handling Around the Trunk Base
The area around the trunk base is the most difficult part. To fit moss along a curved trunk, cut it into small pieces and gradually embed them bit by bit. Carelessness in this area will reduce the overall quality of the work, so take time and be meticulous.
Management and Long-Term Maintenance After Establishment
The first 2–3 weeks after application is the most critical aftercare period. During this time, moss roots are attempting to penetrate the soil, so minimize environmental changes as much as possible.
Watering Method
Direct watering on the moss will cause it to float. Mist the entire moss surface with a spray bottle, then provide water through bottom watering or by distributing it finely with a watering can. Repeat the cycle of misting once the surface dries. After about two weeks when establishment is progressing, you can transition to standard watering practice.
Selecting the Location
Abrupt direct sunlight causes significant damage to moss before establishment. After application, manage it in bright shade, gradually acclimating it to sunlight. Once establishment is confirmed, move it to an environment suited to that tree species.
Fertilizer and Moss Relationship
Moss dislikes environments with excess fertilizer. If liquid fertilizer contacts the moss directly, it may cause discoloration or death. When fertilizing, place granular fertilizer on a moss-free area and apply liquid fertilizer away from the moss. Moss itself does not require fertilizing—it grows sufficiently on micronutrients in the soil.
Regular Trimming
Fast-growing species such as hair moss will lose air circulation if they become too thick. Trim the surface with scissors 2–3 times per year to maintain consistent thickness. Trimmed moss can be transplanted or propagated elsewhere.
Common Failures and How to Address Them
Moss Turns Brown
The most common problem. The cause is usually either dryness or root rot. If dryness is the cause, increase misting and observe. If root rot is suspected, remove the moss once, dry out the soil, and reapply. Even when moss turns brown, it is often not completely dead, and proper conditions can restore its green color in many cases.
Moss Falls Off Immediately
This indicates insufficient pressure or improper soil moisture balance. When reapplying, ensure pin fixation throughout and avoid moving the pot until establishment is complete.
Moss Turns Yellow-Green
This often signals excessive light. Review the location and adjust light levels with a shade cloth. Simply moving it to semi-shade can sometimes result in recovery.
Moss application, once mastered, is a technique that greatly elevates the completion level of bonsai. By carefully following the four stages of species selection, preparation, application, and aftercare, the success rate of establishment increases dramatically. Start with sand moss, build your sense of technique, and then try other species. If you want to experience the world of moss more easily, it may also be helpful to refer to how to make kokedama (moss ball).