How to Create Stone-Attached Bonsai | Techniques for Wrapping Roots Around Rock
Stone-attached bonsai is a style where roots are wrapped around rock to recreate the appearance of an old tree clinging to a cliff face in a pot. Stone-attached, stone-attached, and rock-attached are all the same style, while root-exposed is a different technique. This explains the difference between stone-top tree and stone-embracing styles, how to choose porous rock that roots can grip into, and the procedure for the optimal season (mid-March to early April).
Key Takeaways
Stone-attached bonsai is a style where roots are wrapped around rock to recreate the appearance of an old tree clinging to a cliff face in a pot. Stone-attached, stone-attached, and rock-attached are all the same style, while root-exposed is a different technique. This explains the difference between stone-top tree and stone-embracing styles, how to choose porous rock that roots can grip into, and the procedure for the optimal season (mid-March to early April).
Related Species
What is Stone-Attached Bonsai?
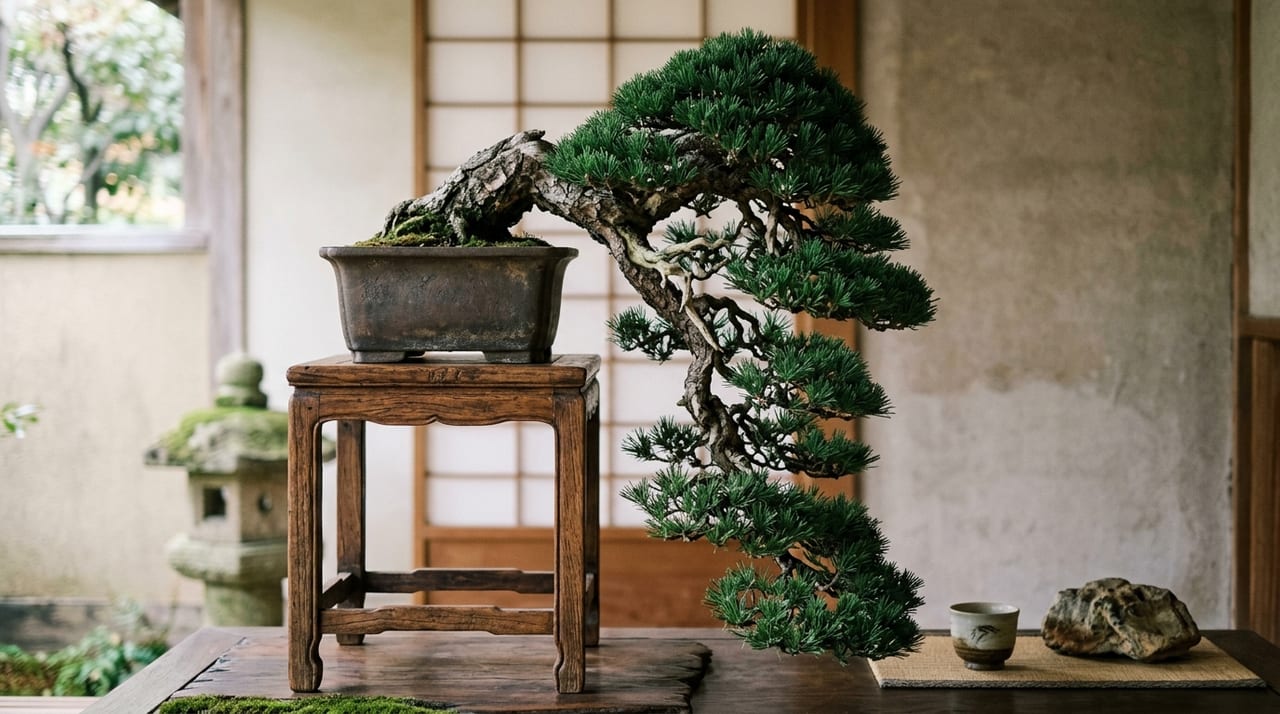
Stone-attached bonsai is a style that pursues aesthetic beauty above all by growing trees with their roots wrapped around the surface and crevices of rock. It condenses the appearance of old trees whose roots grasp a cliff face deep in the mountains, or trees clinging to rocky gorge walls, expressed in miniature on a pot.
There are broadly two styles of stone-attached bonsai. One is "stone-top tree," where soil is mounded on top of the rock and the tree is planted on it. The other is "stone-embracing," where the roots firmly embrace the rock and the stone is placed in the pot as a whole. Both mimic the harsh environment of nature, and the finished form conveys a distinctive strength and weight of time.
Multiple names exist for this style. "Stone-attached," "stone-attached," "rock-attached," and "rock bonsai" all refer to the same style with varying orthography, and the older character form is sometimes seen in historical texts or exhibition labels. You can expect to find the same technique regardless of which spelling you search for.
However, note that "root-exposed" is a different style from stone-attached. Root-exposed involves gradually removing soil to expose the roots themselves to the ground, displaying the roots' form. Because it doesn't use rock, both technique and care differ from stone-attached bonsai, which wraps roots around rock. The two can appear similar in that both "display roots," leading to confusion, but if you aim for stone-attached bonsai, you must start with selecting your rock.
I recommend beginners start with the stone-top tree style. Root establishment on the rock is relatively easy to manage, and the risk of failure is low. If you've already grasped the fundamentals of bonsai form (Selecting Bonsai Species), the next step to tackle stone-attached bonsai will be more accessible.
Choosing Rock and Tree Species
The first element that determines the quality of a finished stone-attached bonsai is the combination of rock and tree species.
Selecting Rock
The rock must have texture and crevices where roots can grip easily—this is an essential requirement. Lava rock has a porous surface that roots can easily penetrate, making it ideal for beginners. Sandstone and tuff are also soft and easy to work with, so they are manageable materials. Granite, on the other hand, is hard and roots don't grip well, so it's best to avoid it.
Choose a rock with three-dimensional form suggesting a mountain ridge, or one that creates a sense of depth when viewed from the front. Observe the rock from multiple angles, rotating it, and determine your desired composition—which face will be the front—before beginning work. This is important.
Selecting Tree Species
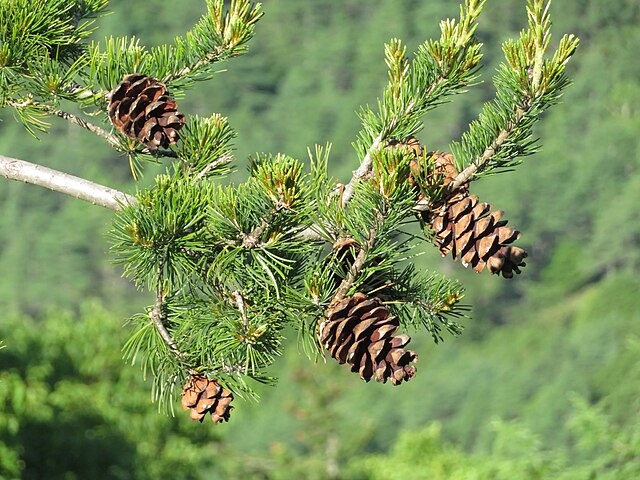
Tree species with strong root extension and many fine roots are best suited to stone-attached bonsai. Representative examples include, among conifers: five-needle pine, black pine, and shimpaku; and among deciduous trees: zelkova, Japanese maple, and stewartia.
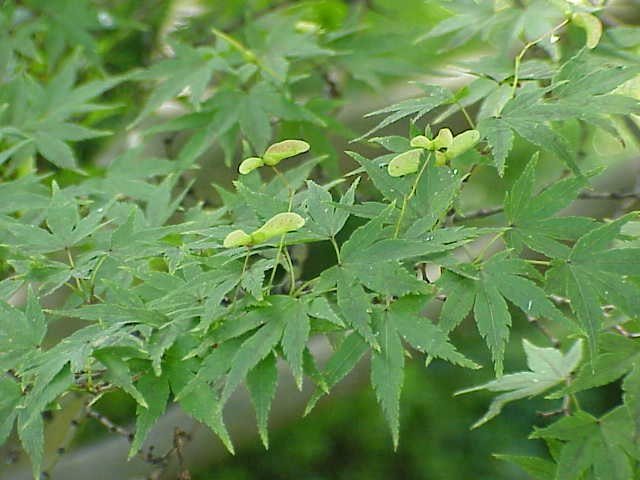
Japanese maple is particularly popular as a stone-attachment species because it grows vigorously and has flexible root movement, making it easy to wrap around rock. Five-needle pine, with its slower growth, offers stable form over the long term. If you lack confidence in conifer care, first study the fundamentals including shari and jin techniques in the Shimpaku and Juniper Bonsai Care Guide, and the transition to stone-attached bonsai will be smoother.
Preparing Tools and Materials
Prepare the following materials before work:
- Aluminum or copper wire (1–2 mm): used to secure roots to rock
- Root-wrapping tape or sphagnum moss: covers roots and protects against drying
- Akadama soil (fine grain) + Kiryu sand mixed 1:1
- Clay mixed with water or "adhesive essence" (commercial root-affixing promoter for bonsai)
- Toothbrush or stiff brush: removes surface dirt from the rock
Always scrub the rock with a toothbrush before use, removing fine sand and moss from depressions so roots can grip easily. Soaking the rock in water overnight also imparts gentle moisture, easing stress on the roots. If you're uncertain about soil mixtures, see the Guide to Bonsai Soil Selection and Mixing.
Procedure for Wrapping Roots Around Rock
This is the core procedure of stone-attached bonsai. Work should be done just before spring bud break (mid-March to early April)—this is the optimal time. During this period, roots begin their active phase, and adaptation to the new environment is at its peak.
Step 1: Loosen the tree's roots
Remove the tree from its pot and gently remove soil from the root ball. Using chopsticks or a root rake, slowly loosen the soil without injuring the roots. Make sure to retain as many fine roots as possible rather than coarse roots. Keep the roots from drying by covering them with a damp towel as you work.
Step 2: Align roots to the rock's composition
Face the rock forward and visualize which roots will fit into which grooves or depressions. Guide thick roots along the rock's large crevices and spread fine roots thinly across the surface. At this stage, decide on the rough placement of roots and temporarily secure them with wire—this makes the work easier.
Step 3: Secure roots with clay
Spread a thin layer of water-softened clay into the rock's depressions and press the roots into it. Clay increases water retention and helps roots bond to the rock. Although the clay naturally peels away once roots are fully established on the rock, it is very effective for initial fixation.
Step 4: Cover roots with sphagnum moss
Cover all roots with damp sphagnum moss and wrap it firmly with wire. Sphagnum moss provides both moisture retention and protection, shielding roots from drying as they adjust to the new environment. Don't wrap too tightly—leave adequate gaps to prevent root suffocation. This is important.
Step 5: Place in the pot
Position the rock in the center-back area of the pot, arranging it so the root tips reach the pot's bottom. Using a shallow "flat pot" or "water tray" makes the rock's presence stand out. Carefully work the prepared soil into gaps between roots, using a bamboo skewer to release air pockets as you firm it down.
Care and Cultivation After Establishment
The beauty of a finished stone-attached bonsai depends on care after establishment.
Watering
Roots on the rock have extensive exposed areas, making them very susceptible to drought. During the growing season (spring through autumn), water twice daily (morning and evening). In summer especially, the rock heats up easily, so water abundantly as if cooling the entire rock. If using sphagnum moss, keep it constantly moist. For more careful watering practices, also check the Complete Bonsai Watering Guide for peace of mind.
Location
Bright outdoor conditions with direct sunlight are the standard. However, summer afternoon sun can make the rock too hot, so move it to partial shade in the afternoon or use shade cloth. In winter, protect it from frost and freezing by moving it under an eave or into a simple coldframe.
Time for roots to establish on rock
From initial work to complete establishment, plan for approximately 2–3 years. During the first year, prioritize keeping the tree alive above all else; from the second year onward, begin adjusting form and removing unnecessary roots.
Timing for removing sphagnum moss
In the second spring, when new buds begin to move, gradually peel away the sphagnum moss. If roots have penetrated the rock, that's a sign of success. Forcing removal can injure roots, so proceed carefully while observing root condition.
Common Mistakes and Solutions
Here are common pitfalls that befall first-time stone-attached bonsai makers:
Roots fail to establish on rock
This is the most common mistake. The cause is usually insufficient root-to-rock contact or drying. If clay fixation is weak, increase the number of wires and re-wrap with thicker moss. Also, overfeeding before establishment can cause roots to move away from the rock, so use fertilizer sparingly in year one.
Moss doesn't grow on the rock
If moss that enhances the character of stone-attached bonsai fails to grow, enthusiasts know a technique: brush diluted fermented milk drink or rice-rinsing water on the rock surface to encourage moss growth. Placing it in a partially shaded, humid environment also promotes moss establishment. For detailed information on selecting and applying moss, see Bonsai Moss Covering and Accent Plant Selection.
Poor tree growth
The constrained environment of the rock tends to limit nutrition. During the growing season (May–September), dilute liquid fertilizer to half strength and apply it about once weekly to maintain vigor while preventing excessive shoot elongation.
Stone-attached bonsai requires many years to complete, but with each passing year, roots penetrate deeper into the rock and the work gains greater presence. The true pleasure of stone-attached bonsai lies in patiently enjoying the dialogue between tree and rock. Once you become comfortable with the stone-top tree style, try stepping up to the more challenging cascade style, which will expand your expressive range even further.