Complete Guide to Repotting Caudex Plants | Optimal Timing, Methods, and Soil Selection
A detailed guide to caudex plant repotting methods. Includes criteria for choosing between size-up potting and complete repotting, a table of root-condition-specific treatments (white roots, brown roots, black roots, rotted roots, circling roots), differences in assessing newly rooted vs. established plants, steps for root rot rescue, and a post-repotting observation checklist from day 1 to 1 month.
Key Takeaways
A detailed guide to caudex plant repotting methods. Includes criteria for choosing between size-up potting and complete repotting, a table of root-condition-specific treatments (white roots, brown roots, black roots, rotted roots, circling roots), differences in assessing newly rooted vs. established plants, steps for root rot rescue, and a post-repotting observation checklist from day 1 to 1 month.
Related Species
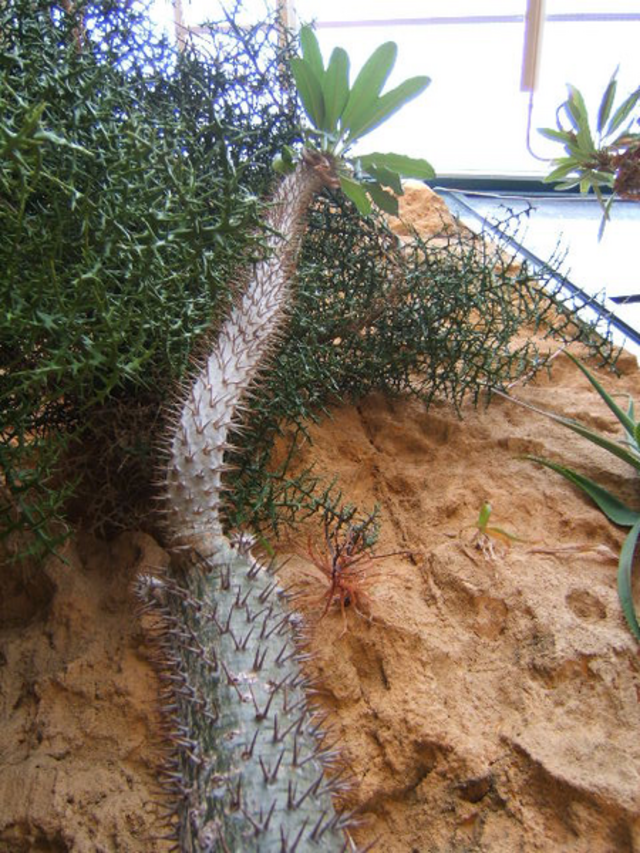
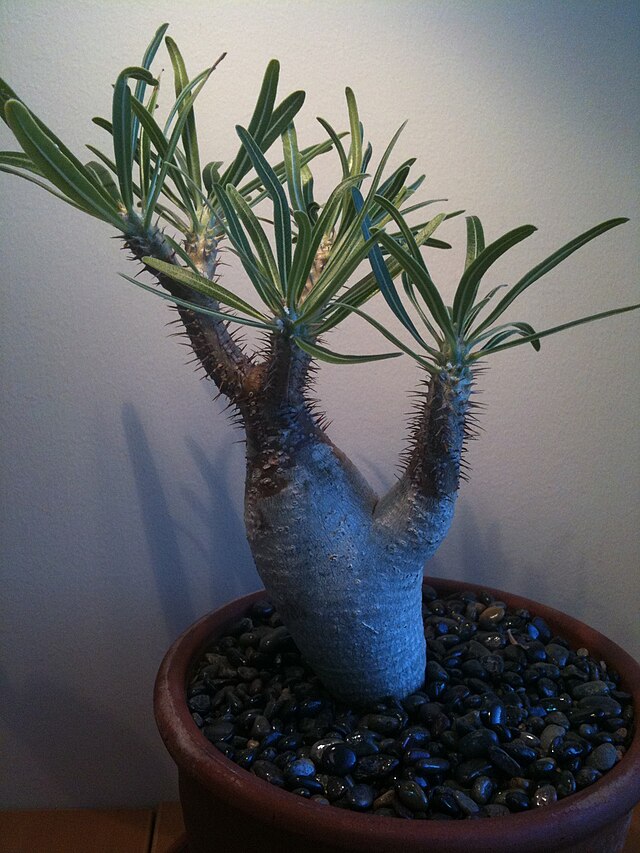
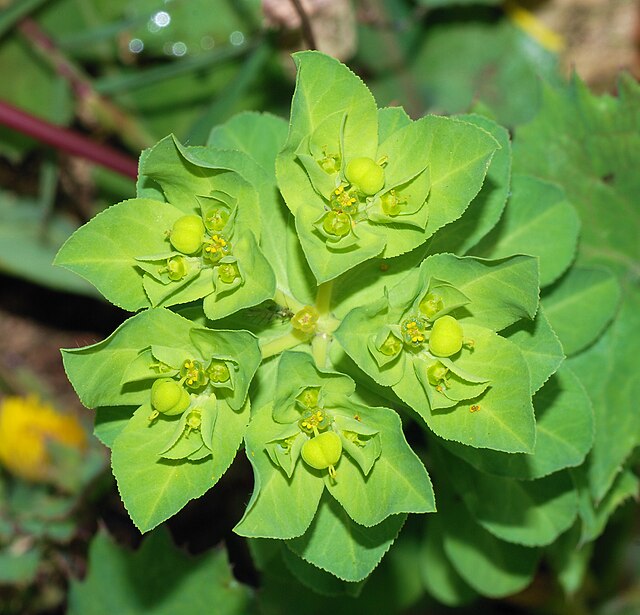
Repotting caudex plants is an essential task for promoting plant growth and maintaining root health. However, caudex plants are more delicate than typical houseplants, and repotting at the wrong time or using incorrect methods risks damaging the plant. In particular, repotting valuable imported specimens or carefully cultivated plants should be done with proper knowledge and care. This guide provides a detailed explanation of caudex plant repotting.
Signs That Repotting Is Needed and Assessment Criteria
Caudex plants typically need repotting once every 1-2 years, but timing should be based on assessing the plant's condition.
Signs of root-bound conditions include roots emerging from drainage holes, water taking longer to absorb into the soil after watering, and noticeably slowed growth. When you observe these symptoms, it's time to repot.
Soil deterioration is another important assessment criterion. Soil containing organic matter breaks down over 1-2 years, reducing drainage. If water takes noticeably longer to dry out after watering than when the plant was first potted, the soil needs to be replaced. For detailed guidance on soil selection, see the soil mix guide.
Conversely, there are cases where repotting should be postponed. Plants in poor condition (except when root rot is evident), those in autumn-winter after the growing season, and newly imported plants still establishing roots should not be forcibly repotted, as this adds unnecessary stress to the plant.
Choosing Between Size-Up Potting and Complete Repotting
There are two repotting approaches—"size-up potting" and "complete repotting"—and the choice depends on the plant's condition. When in doubt, ask yourself: "Do I need to examine the roots?" If the roots are healthy and only size is the issue, use size-up potting. If you need to check, clean up, or refresh the soil, use complete repotting.
Size-Up Potting (Potting Up)
This method involves moving the root ball without breaking it apart into a slightly larger pot.
Best for:
- Roots are in good condition and size increase is the only goal
- Rapid successive repotting during the growing season of seedlings
- Delicate species like Pachypodium gracilius where minimal stress is needed
- Emergency repotting outside the ideal season (midsummer, early autumn, etc.)
Specific steps: Add a small amount of fresh soil to the new pot, place the intact root ball inside, and fill around the edges with new soil. Since root disturbance is minimal, water restriction after repotting is brief (2-3 days), and growth continues without interruption.
Caution: Old soil remains in the pot, so drainage-degraded soil persists. Circling roots that caused the root-bound condition are also retained. After 2-3 cycles of size-up potting, the next step should be complete repotting to reset the soil and roots.
Complete Repotting
This method involves removing old soil, cleaning up the roots, and replanting in fresh soil.
Best for:
- Regular maintenance (every 1-2 years)
- When soil has deteriorated (akadama breaking down into mud, etc.)
- When root condition needs checking and treatment
- Root rot rescue (perform immediately regardless of season)
Caution: Root disturbance is significant, so recovery time is needed. Choosing the right season (early spring when growth begins) is important; complete repotting just before dormancy risks incomplete recovery and lasting damage.
Differences in Repotting Decisions: Newly Rooted vs. Established Plants
Newly Rooted Plants (Bare Root / Pre-Rooted Stock)
It may seem wise to pot newly rooted plants into regular soil immediately after root emergence, but repotting newly rooted plants is high-risk and should be avoided.
- After confirming root emergence, maintain the high-drainage root-establishment setup (with bottom heat) for at least 1-3 months
- Only consider repotting once roots fill the container and white, vigorous root tips are visible
- Since newly rooting plants have extremely delicate roots, avoid complete repotting that would break apart the root ball; instead use size-up potting methods
- If the extent of rooting is unclear, gently tip the pot to check if the plant is firmly anchored. If it doesn't shift, roots are established
For detailed root-establishment fundamentals, see the root-establishment guide.
Established Plants (Domestic Seedlings / Already Rooted Stock)
Established plants are repotted on schedule when repotting signs align with ideal timing. Seedlings often have roots emerging from drainage holes during the growing season; proceed with size-up potting without hesitation, sometimes 2-3 times per season. Mature specimens follow a basic 1-2 year complete repotting cycle.
Root Condition-Specific Treatments
After removing the plant from the pot, always inspect the roots. Refer to the table below and provide appropriate treatment.
| Root Condition | Appearance | Touch / Smell Characteristics | Treatment |
|---|---|---|---|
| White roots (healthy) | White to cream-colored | Firm and elastic. Odorless | Leave as is |
| Brown roots (mild decline) | Light brown | Elastic and unlikely to break | Leave as is (still functional) |
| Black roots (dead) | Darkened color | Dry and hollow; skin peels off if pulled | Remove with scissors |
| Rotted roots | Black and soft | Contains moisture, mushy feel, foul odor | Trim back to healthy tissue + apply fungicide to cut |
| Circling roots | Wrapped around pot perimeter | Healthy but structurally problematic | Remove outer portions or loosen and spread |
Sterilize the scissors used for cutting by briefly passing through a lighter flame or wiping with alcohol before use to prevent transferring pathogens between plants. After cutting, apply wound sealant (such as Topsin M paste) or sulfur powder to the cut, allow to dry, and then pot. Skipping this disinfection risks root rot spreading through the wound.
If uncertain, use this test: gently pull the root. If the skin peels off easily, the root is dead. If there is resistance and it doesn't break, the root is alive and should be retained.
Steps for Root Rot Rescue Repotting
Plants with root rot require immediate treatment without waiting for the ideal repotting season. Early detection and removal of rotted roots greatly increase survival chances.
- Remove the plant from the pot: Do not work while the soil is wet; if possible, hold off watering for 1-2 days. However, if rot is advancing rapidly, prioritize immediate treatment
- Remove all old soil: Rinse under water while inspecting roots thoroughly. Do not reuse soil that contacted rotted roots
- Complete removal of rotted roots: Remove all blackened, soft portions. Do not leave rotting parts to save material—it will recur. Cut back until the cross-section exposes white or cream-colored healthy tissue. If rot has spread to the caudex itself, use a spoon or knife to scrape away discolored areas until healthy tissue is exposed
- Disinfect and dry the cut: Apply fungicide to all cut surfaces and air-dry in a bright, shaded location for 24-48 hours. If large areas were removed, extend drying to 3-5 days
- Repot in ultra-high-drainage mix: Plant in a highly draining mix of pumice, perlite, and similar materials, and restrict watering for a period
- Recovery management: Place in bright shade at 25-28°C. Bottom heat accelerates recovery. Resume light watering after 1-2 weeks
Plants with almost no remaining roots essentially restart the root-establishment process. Watch patiently over months. For severe cases, the root rot rescue guide is also helpful.
Optimal Repotting Timing by Species
Quick Reference by Growth Type
| Growth Type | Representative Species | Ideal Repotting Window |
|---|---|---|
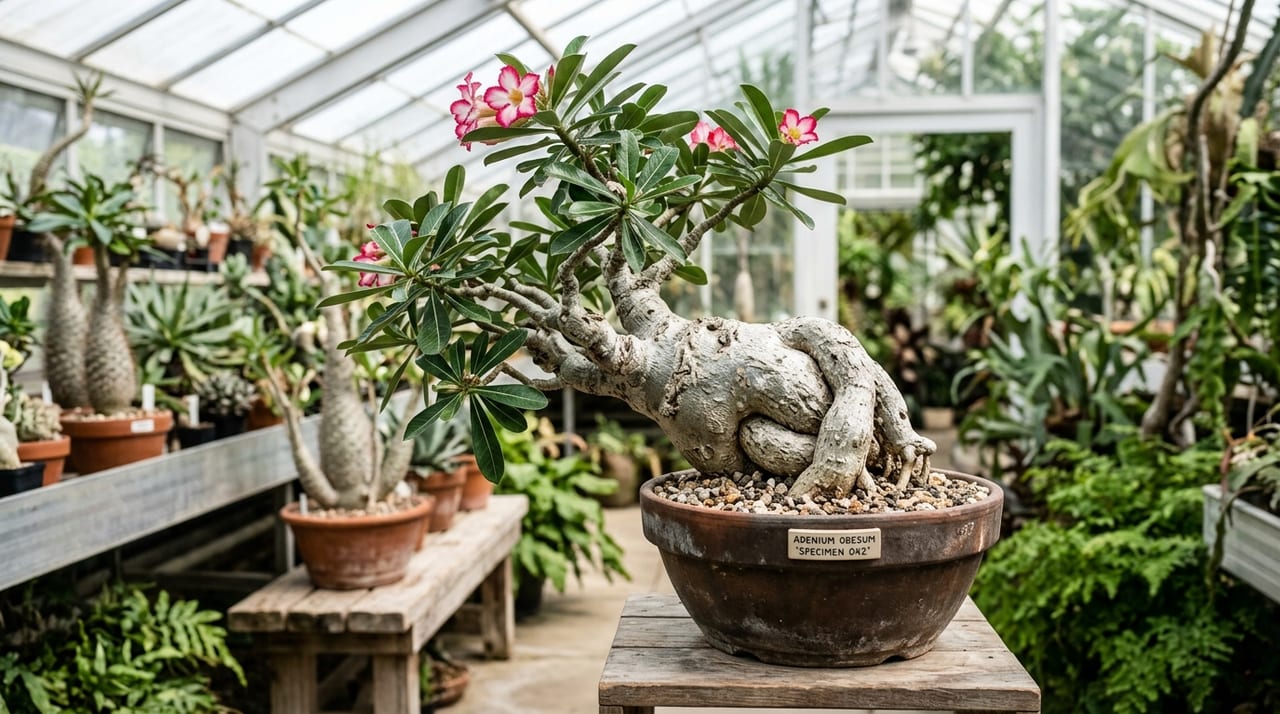
| Summer growers | Pachypodium gracilius, Adenium obesum, Euphorbia | Spring (April-May, nighttime temps consistently above 15°C) |
| Winter growers | Tylecodon, Sarcocaulon, Othonna | Autumn (September-October) |
| Year-round growers | Stephania, some Fockea | Spring to early summer |
For summer growers (Pachypodium, Adenium, Euphorbia, etc.), spring (April-May) is ideal. Once nighttime lows consistently exceed 15°C, it's time to repot. For winter growers (Tylecodon, Sarcocaulon, Othonna, etc.), autumn (September-October) is the window. Repotting in spring risks damaging plants entering dormancy.
Repotting Steps
Beginning 3-5 days before repotting, withhold water to dry the soil. Working with wet soil increases root damage and pathogen infection risk.
To remove the plant from the pot, gently tap the sides to loosen soil, then carefully extract the plant. If roots are stuck to the pot, use a bamboo stick or similar tool to loosen the edges before removing. Avoid yanking, which breaks roots—work patiently and carefully.
Remove old soil by gently loosening soil between roots with your hands, then assess root condition and apply the appropriate treatment from the table above.
Place 2-3 cm of pot shards in the bottom of the new pot, add soil, and position the plant. Adjust the caudex height and spread roots evenly as you add soil. Use a stick to work soil into root gaps, but avoid compacting too firmly.
Post-Repotting Observation Checklist
Immediately after repotting, plants are under stress. Check status at the following intervals.
Day 1
- Location: Bright shade (avoid direct sun)
- Watering: None (wait for wounds to dry)
- Check: Inspect caudex and stem for wrinkling or abnormalities. If the plant is loose, secure temporarily with a stake
Day 3
- Watering: Not yet (especially if roots were removed)
- Check: Assess soil dryness. Visually inspect cut areas for darkening or mold. If present, dig up and disinfect again
Week 1
- Watering: First light watering (about one-third of normal amount)
- Check: Watch for leaf wilting or drop. Some wilting is normal stress response; don't panic
- Location: Begin gradually moving back to normal management location
Month 1
- Watering: Return to normal management
- Check: Look for signs of new root activity (new leaf emergence, firmer caudex, improved plant stability)
- Fertilizer: Once recovery is evident, begin with dilute liquid fertilizer. Consult the fertilizer schedule guide for detailed feeding plans
Leaf wilting or drop after repotting is a temporary stress response. Resist the urge to flood with water; maintain normal care instead. After 2-4 weeks, new roots emerge and recovery follows. Only if wilting continues after a month should you check roots again.
Pot Selection and Sizing Strategy
The basic sizing rule is choosing a pot with 2-3 finger widths of space beyond the caudex diameter. Oversized pots retain moisture in areas without roots, increasing root rot risk.
Slit pots are the most functional option. Air enters through the side slits, promoting root growth and preventing circling roots. For aesthetic preference, the "double-pot" method—placing a slit pot inside a decorative pot—is recommended.
Prestera pots are angular and space-efficient, fitting neatly on shelves for collectors with many plants. Their depth relative to base area suits Pachypodium gracilius's deep taproot growth. For detailed pot guidance, see the pot selection guide.
Caudex plant repotting improves with experience. At GrowerDirect, you can consult directly with growers about repotting timing and soil mixes. Especially for valuable plants, expert advice builds confidence in tackling the task.