Complete Root Rot Control for Caudex Plants | Early Detection, Emergency Treatment, and Recovery Process
A comprehensive guide to reviving root rot in caudex plants such as Pachypodium rosulatum var. gracilius. Learn to distinguish initial symptoms like mushiness, blackening, and foul odors; perform emergency removal of decayed tissue and sterilization and drying; manage root development through recovery; and understand root rot risk by species.
Key Takeaways
A comprehensive guide to reviving root rot in caudex plants such as Pachypodium rosulatum var. gracilius. Learn to distinguish initial symptoms like mushiness, blackening, and foul odors; perform emergency removal of decayed tissue and sterilization and drying; manage root development through recovery; and understand root rot risk by species.
Related Species

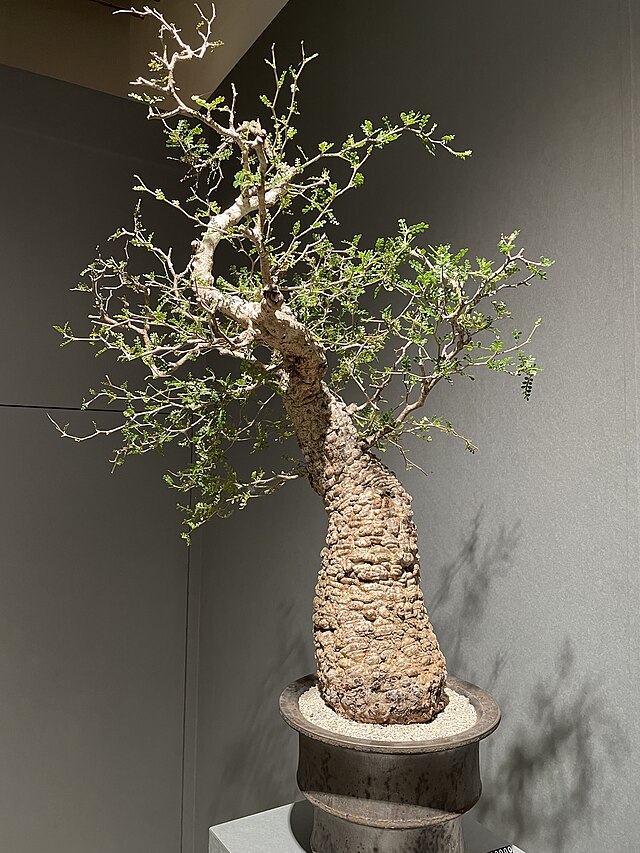
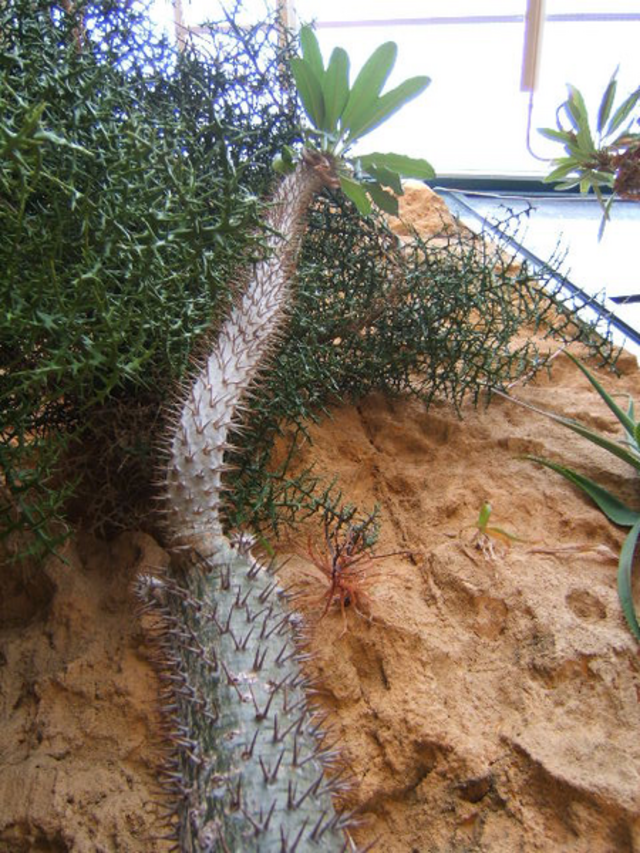
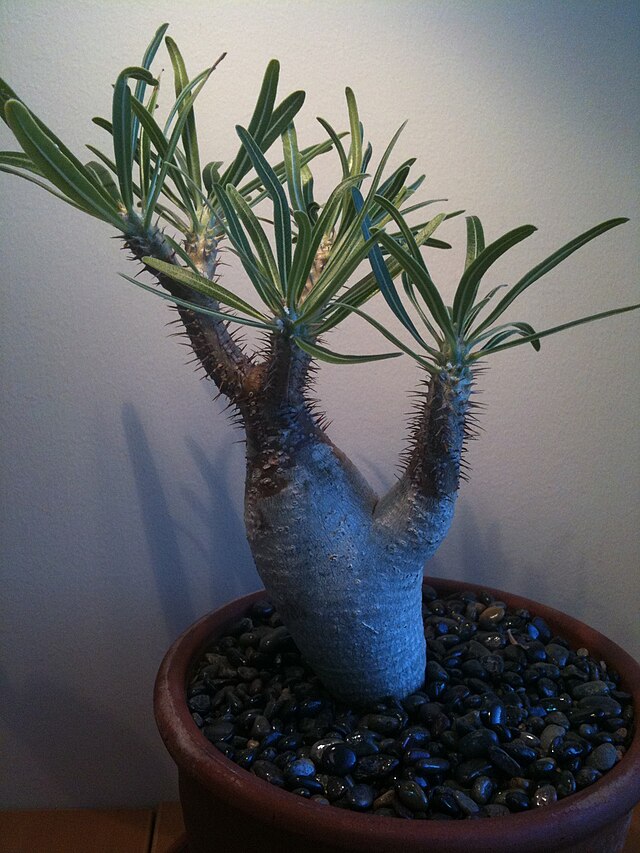
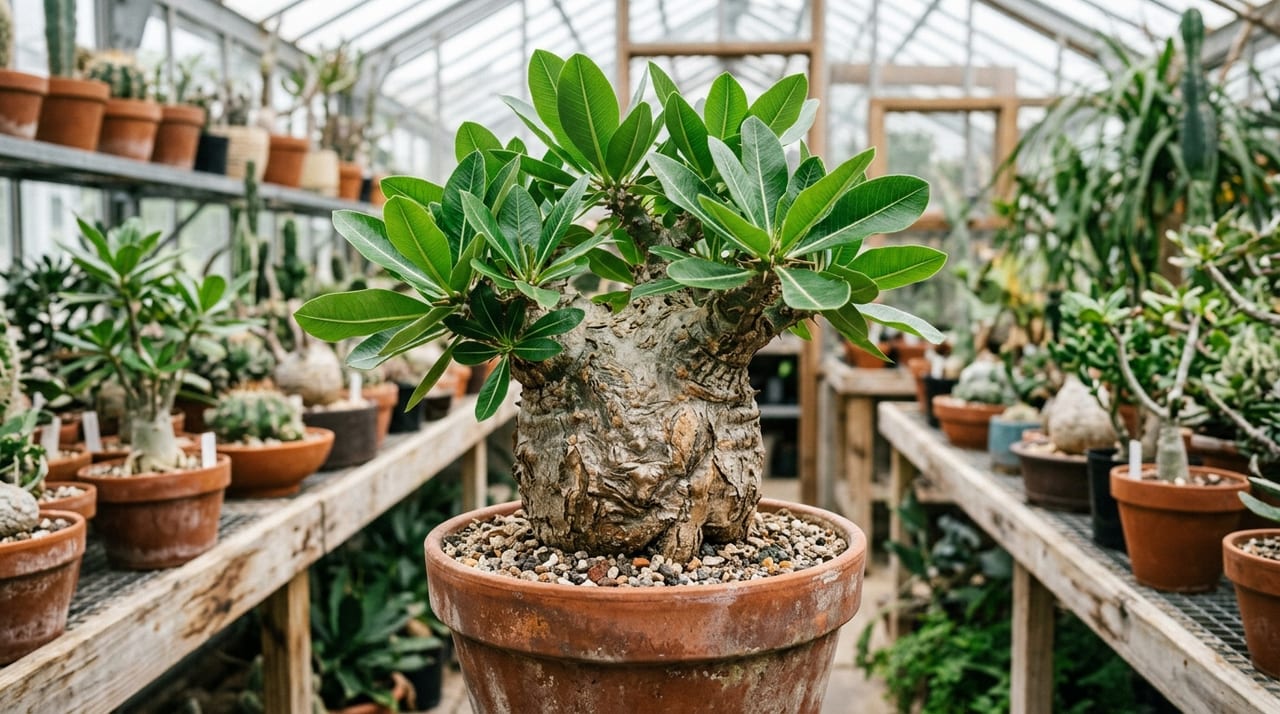
When cultivating caudex plants (caudiciform plants), the most feared problem is root rot. Particularly with high-value wild-collected specimens like Pachypodium rosulatum var. gracilius, root rot during propagation management can be fatal, and early detection of initial symptoms can mean the difference between life and death. The characteristic of storing large amounts of moisture in the swollen caudex, conversely, means that once rot begins, it progresses rapidly through the interior. However, if detected at an early stage and proper treatment is applied, the probability of recovery is far from low.
This article systematically explains the causes of root rot, how to identify initial symptoms, emergency treatment procedures, and root development management for recovery.
Causes of Root Rot
Root rot is not caused solely by overwatering. It occurs when multiple factors combine.
Prolonged waterlogged conditions
This is the most common cause. When soil remains wet for several days or more after watering, roots enter an oxygen-deprived state, anaerobic bacteria proliferate, and rot begins. Particularly during the rainy season and autumn monsoons, rainwater tends to accumulate in pots when plants are kept outdoors, requiring careful attention.
Poor drainage in the substrate
In substrate with excessive water retention (such as when ornamental plant soil is used as-is), drainage after watering is slow, and water tends to pool at the pot bottom. Cases are frequently seen where aged akadama deteriorates and increased fine particles significantly reduce drainage capability.
Watering during dormancy
Most caudex plants enter dormancy in winter, and water uptake through roots nearly ceases. Watering normally during this period leaves water in the pot that is not absorbed, becoming a direct cause of root rot.
Low temperature environments
When temperatures fall below 15°C, metabolism in most caudex plants declines and root activity slows. Damp soil in low temperatures is an ideal condition for rot-causing fungi. Care is needed even in winter indoor management regarding chilling near windows.
Insufficient ventilation at pot bottom
Leaving water pooled in saucers, pot drainage holes that are small or few in number, and other cases of insufficient pot-bottom ventilation also increase risk.
Initial Symptoms of Root Rot and How to Distinguish Them
Since root rot begins underground, when symptoms appear in the upper portions, the condition is sometimes already substantially progressed. It is important not to miss the following signs in daily observation.
Stage 1: Foliage abnormalities
- Leaf yellowing: Lower leaves gradually turn yellow and eventually fall. The difference from natural leaf drop is that multiple leaves change color simultaneously in a short period.
- Leaf wilting: Despite watering, leaves lack firmness. Roots are not functioning and cannot absorb water.
- Soft leaves: Normally firm leaves become mushy and soft.
Stage 2: Stem and caudex abnormalities
- Stem softening: Indents when pressed with a finger; lacks resilience. A healthy caudex should be stone-hard normally.
- Discoloration of outer skin: The stem darkens in spots or changes to a brownish color.
- Foul odor: As rot progresses, a sour fermented smell may emanate from the pot.
Root rot by stage: Signs and response
| Stage | Main signs | Response |
|---|---|---|
| 1 (foliage) | Lower leaves yellow, wilt, and soften simultaneously | Stop watering and observe |
| 2 (stem, caudex) | Indents when pressed; darkening; fermented smell | Remove from pot and inspect roots |
| 3 (roots) | Roots black to charred-brown and crumbling; foul odor | Emergency removal → sterilization → drying → root development management |
Stage 3: Remove and inspect
When in doubt, remove the plant from the pot to directly assess root condition.
- Healthy roots: White to pale cream-colored with moderate resilience.
- Rotted roots: Darkened to charred-brown and easily crumble when touched. Strong foul odor is present.
Emergency Treatment Procedure
Upon discovering root rot, promptly follow these steps. Time is critical.
Step 1: Remove from pot
Carefully remove the plant from the pot and remove all old soil from the roots. Rinsing with water makes root condition easier to assess.
Step 2: Removal of decayed tissue
Using a sterilized knife or utility knife, remove the decayed portions. Key points for removal are as follows:
- Always cut until healthy tissue is visible: If the cut surface is brown or black, rot remains. Continue cutting until a white to pale green healthy tissue surface appears.
- Cut away a bit extra: Rot often extends beyond visible range, so it is safe to remove an additional 5–10 mm beyond apparently healthy tissue.
- Sterilize the blade: Disinfect the blade with alcohol or flame after each cut to prevent spread of rot-causing fungi.
Step 3: Sterilization
Apply sterilizing agent to the cut surface.
- Topsin M paste: Apply directly to the cut. This is the most common method.
- Daconil and Benlate: Separate products (Daconil contains TPN; Benlate contains benomyl as active ingredient) with no label recommendations for applying or soaking cut surfaces on caudex plants.
- Sulfur powder: Dust onto the cut surface. An old method but effective.
- Cinnamon powder: Has natural antimicrobial action and is simple to use.
Step 4: Drying
After sterilization, thoroughly dry the cut surface in a shaded, well-ventilated location.
- Drying period guide: Depends on cut size, but small cuts require 3–5 days; large cuts require 1–2 weeks.
- Using a fan: Applying a light breeze accelerates drying. Avoid direct sunlight.
- Completion criterion: Drying is complete when the cut surface forms a complete scab-like callus.
Root Development Management for Recovery
Once drying is complete, transition to root development management to generate new roots.
Root development in substrate
This is the most common method.
- Prepare substrate with extremely high drainage such as fine-grade Kanuma soil or 100% perlite.
- Fill a small pot with substrate and plant the specimen. Depth need only be sufficient for stability.
- Lightly dampen the substrate and place in bright shade.
- Subsequently, water only after the substrate has completely dried, then wait an additional 2–3 days.
Hydroponic root development
When the base has been cut nearly to the root, hydroponic propagation may promote rooting more readily.
- Fill a clean glass container with water and set the plant so the cut surface barely touches the water surface.
- Change water daily to every 2 days.
- Once roots extend 1–2 cm, switch to substrate management.
Root development promotion points
- Temperature management: Maintain 25–30°C. Using a heat mat is effective.
- Root promotion agent: Applying Rooton (auxin-type) to the cut surface increases rooting rate. Pay attention to the order when combining with sterilizing agents (sterilization → drying → root promotion agent, in order).
- Patience: Time to root development varies by species and plant condition, ranging from 2 weeks to 3 months. The most important thing is not to increase watering out of impatience.
Root Rot Risk and Response by Species
Pachypodium rosulatum var. gracilius
Relatively susceptible to root rot. Wild-collected imports carry especially high risk, with rot often beginning during post-arrival propagation management. Specimens with soft stems are best avoided at purchase.
Adenium (desert rose)
With a large caudex holding abundant moisture, rot progresses rapidly once begun. However, it is a species with strong vitality and relatively high recovery probability even after bold removal.
Operculicarya pachypus
An exceptionally costly species, making root rot damage significant both financially and emotionally. Unrooted imports shortly after arrival should receive minimal watering, with normal management beginning only after root confirmation.
Stephania
Characterized by a spherical caudex, but quite susceptible to excess moisture. Complete watering suspension is standard during dormancy (autumn–spring). If the caudex becomes mushy, immediately remove from the pot and dry.
Dioscorea (elephant's foot)
The tortoise-shell-patterned caudex is protected by a hard outer shell, but rot sometimes begins at the base. Regularly check the bottom surface and monitor for discoloration or softening.
Daily Management to Prevent Root Rot
Prevention is more important than treatment. Incorporate the following habits into daily practice.
Watering rules
- Water only after substrate is completely dry: Insert a finger or bamboo stick to check moisture at the center.
- During dormancy, suspend watering or mist once monthly: Become familiar with dormancy patterns for each species.
- Check the weather forecast: Postpone watering if rain is forecast to continue on following days.
Substrate and pot selection
- Prioritize drainage: Formulations based on akadama, Hinoki soil, and pumice. Keep organic matter at 10% or below.
- Use clay pots: High porosity and moisture loss through pot walls reduce waterlogging.
- Use pot-bottom stone: Lay pumice or netting at the pot bottom to ensure drainage.
Environmental management
- Ensure air circulation: Airflow speeds substrate drying and inhibits mold and bacterial proliferation.
- Temperature management: Below 15°C, greatly reduce watering frequency. Even with heat equipment, guard against excess moisture.
- Periodic plant checks: Form a habit of checking stem firmness once monthly.
Summary
Root rot in caudex plants is a condition where early detection and prompt treatment significantly influence survival rates. Should something seem amiss, do not hesitate to remove the pot and inspect. And remove decayed tissue boldly until healthy tissue is visible. These two points are most critical.
For prevention, strict adherence to basics—high-drainage substrate, appropriate watering cycles, and ensured air circulation—substantially lowers root rot risk. Manage high-value specimens with greater care, and never neglect daily observation.