Houseplant Repotting Guide | Timing, Steps & Pot Selection
Learn when and how to repot houseplants. We explain repotting frequency, signs of root-bound plants, pot sizing, drainage materials, soil composition, and post-repotting care.
Key Takeaways
Learn when and how to repot houseplants. We explain repotting frequency, signs of root-bound plants, pot sizing, drainage materials, soil composition, and post-repotting care.
Related Species
To grow houseplants healthily and keep them thriving long-term, regular "repotting" is essential. When roots spread throughout the entire pot, the plant can no longer absorb enough water and nutrients, causing growth to slow and leaves to turn yellow—a variety of problems can emerge. But many people feel anxious, thinking "repotting seems difficult" or "what if I mess up?"
In fact, repotting is not as difficult as it seems if you understand the basic steps and timing. This guide explains in detail how to identify when repotting is needed, the best time to do it, the correct procedure, and how to choose a pot—so even beginners can follow along and succeed.
Don't Miss the Signs Your Houseplant Needs Repotting
Houseplants can't tell you "I'm cramped," so it's important to closely observe your plant's condition and catch signs that repotting is needed as early as possible.
Visual Signs
- Roots protruding from drainage holes: This is the clearest sign. Roots have nowhere to go and are growing out of the pot, requiring immediate attention.
- Roots visible on the soil surface: If soil is being pushed up by roots and white roots are exposed, the plant is becoming root-bound.
- Pot feels unusually heavy when lifted: Roots occupy most of the soil, and its water-retention capacity has decreased.
Signs in Plant Growth
- Soil dries quickly after watering: Roots occupy almost all the soil space, so water is not retained and drains away quickly.
- Growth suddenly stops or leaves become smaller: When roots have nowhere to expand, growth above ground also stops.
- Leaves turn yellow or leaf drop increases: Continued poor absorption of nutrients and water causes plants to shed older leaves first.
Signs Based on Time
Even if visually everything looks fine, plants that have been in the same pot for 2–3 years or more benefit from regular repotting. Over time, soil particles break down, reducing aeration and drainage. In many cases, simply refreshing old soil improves growth.
The Best Time to Repot
Repotting is somewhat stressful for plants. By repotting at the right time, you can maximize the plant's recovery potential.
Spring (April–June) is Ideal
Spring is when most houseplants resume active growth. Temperatures begin rising steadily, and plants recover quickly from the stress of repotting. Timing it around when new growth begins is ideal.
Autumn (September–October) is Also Suitable
If you miss spring, autumn repotting is also effective. After summer heat subsides but before winter arrives, you can stabilize the roots. The key is to finish before temperatures drop significantly.
Generally Avoid Summer and Winter
- Summer (July–August): High temperatures and intense transpiration make recovery from repotting difficult. If absolutely necessary, work in the cool early morning and keep the plant out of direct sunlight.
- Winter (December–February): Most houseplants enter dormancy and root activity slows. Repotting during this period can easily damage roots and recovery takes a very long time.
Repotting Steps | 7 Steps to Success
Gather everything you need before you start. You're all set with a new pot, drainage material, houseplant potting mix, clean scissors, and newspaper or a sheet to lay on your work surface.
Step 1: Skip Watering the Day Before
When soil is moderately dry, the root ball holds together better when removed from the pot. Conversely, overly wet soil is heavy and roots are more easily damaged.
Step 2: Remove the Plant from the Pot
Tip the pot to the side and gently tap the pot's sides while carefully pulling the plant out. With plastic pots, gently flex the sides to make removal easier. Avoid pulling forcefully, as this can damage roots.
Step 3: Remove Old Soil and Damaged Roots
Remove about one-third of the old soil from the outside of the root ball. Cut away any black or brown mushy roots (rotted roots) with clean scissors. Healthy roots are white to light brown and firm. Sterilize your scissors after cutting for safety.
Step 4: Add Drainage Material to the Bottom of the New Pot
Spread 2–3 cm of drainage material (such as pumice or perlite) on the pot bottom to improve drainage and aeration. Using it with a pot screen also prevents soil from washing out.
Step 5: Add Soil and Plant
Add a layer of potting mix on top of the drainage material, position the plant in the center, and check the height. Adjust so the plant base is 2–3 cm below the pot rim, then fill in soil around the edges. Gently tamp with a stick or chopstick to fill gaps around the roots.
Step 6: Water Thoroughly
After planting, water generously to settle the soil. Water until it drains from the pot bottom.
Step 7: Acclimate in the Right Location
Immediately after repotting, keep the plant in bright shade away from direct sunlight for 1–2 weeks. Once roots are stable, return it to its normal location.
Choosing a Pot | Size and Material Considerations
Repotting isn't just about moving to a larger pot. Choosing the right pot significantly affects future growth.
Selecting the Right Size
Choose a pot that is 1–2 sizes larger (3–5 cm wider in diameter) than the current one. A pot that's too large allows water to accumulate before roots fill the soil, causing root rot.
- Vigorous growers (Monstera, Pothos, etc.): Upsize every 2–3 years
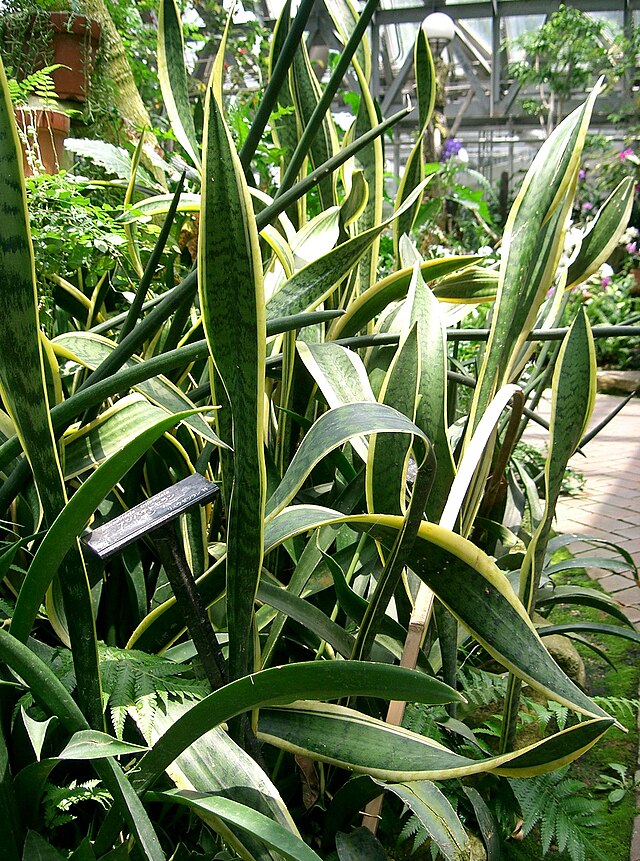
- Small or slow-growing plants (Sansevieria, Cane plants, etc.): Repot once every 3–5 years, or maintain in the same pot
Material Characteristics and Best Uses
| Material | Aeration | Water Retention | Notes |
|---|---|---|---|
| Terracotta | High | Low | Resists root rot. Requires more frequent watering |
| Plastic | Low | High | Lightweight and easy to manage. Reduces watering frequency |
| Ceramic | Low | Moderate | High design appeal. Heavy and stable |
| Wood/Basket | Moderate | Low | Natural appearance. Usually paired with an inner pot |
Plastic pots suit beginners who want less frequent watering. Terracotta works best in humid environments or for succulent-type houseplants.
Post-Repotting Care and Precautions
Care after repotting is equally important. The few weeks it takes for roots to adjust to their new environment are critical to repotting success.
Location and Light Management
Right after repotting, roots are damaged, so strong direct sunlight causes additional stress. Keep the plant in bright shade or away from windows for 1–2 weeks, then gradually acclimate it to its normal environment.
Watering Adjustments
For a while after repotting, roots' water-absorption capacity is reduced. Wait until the soil surface dries before watering and watch for root rot from overwatering.
Fertilize After 1 Month
Fertilizer directly on damaged roots causes "fertilizer burn," further damaging them. Skip fertilizer for about 1 month after repotting, then begin applying dilute liquid fertilizer or slow-release fertilizer once the plant settles.
Soil Selection and Mixes
Good houseplant soil must drain well, retain an appropriate amount of water, and maintain good aeration.
Commercial houseplant soil is the easiest option for beginners and works for most houseplants. Quality varies by brand, so check the smell when you open it and avoid any that smell rotten.
Basic homemade mix composition:
- Akadama soil (small to medium grain): 30–40% (base, balances water retention and drainage)
- Leaf mold: 20–30% (water retention, nutrient retention, and microbial source)
- Perlite: 10–20% (improves drainage and aeration)
- Vermiculite: 10% (aids water and nutrient retention)
Adjustments based on plant type matter too. Aroids like Monstera, Pothos, and Philodendron are prone to root rot, so increase perlite ratio to about 30% of the mix. For drought-preferring plants like Sansevieria, Agave, and caudex plants, increase akadama ratio and add river sand or pumice to enhance drainage. For ferns and Calathea that prefer moisture, increase the leaf mold proportion to boost water retention. If you also want to review your annual fertilizing plan alongside soil, see the Complete Houseplant Fertilizer Guide.
Line the pot bottom with 2–3 cm of pumice or large-grain Kanuma soil to create a drainage layer and prevent root rot.
Find Healthy Houseplants on GrowerDirect
To repot houseplants successfully, it's also important to start with a healthy plant. Weak plants recover poorly from repotting.
GrowerDirect's houseplant category features healthy plants grown with care by experienced growers and sold directly. Many plants are listed during optimal repotting times, so you can find specimens ready to repot right after purchase.
Another major advantage is the ability to message growers directly with questions like "When is the best time to repot this plant?" or "What soil would work best?" You get information from the people who grew the plants—knowledge you won't find in reference books or articles.
To enjoy houseplants for years to come, start by getting a healthy plant.