Succulent Arrangement Design Guide | Color Coordination and Layering Techniques
Succulent arrangement design techniques. Introducing tips on color coordination, layering, container selection, and seasonal arrangement adjustments.
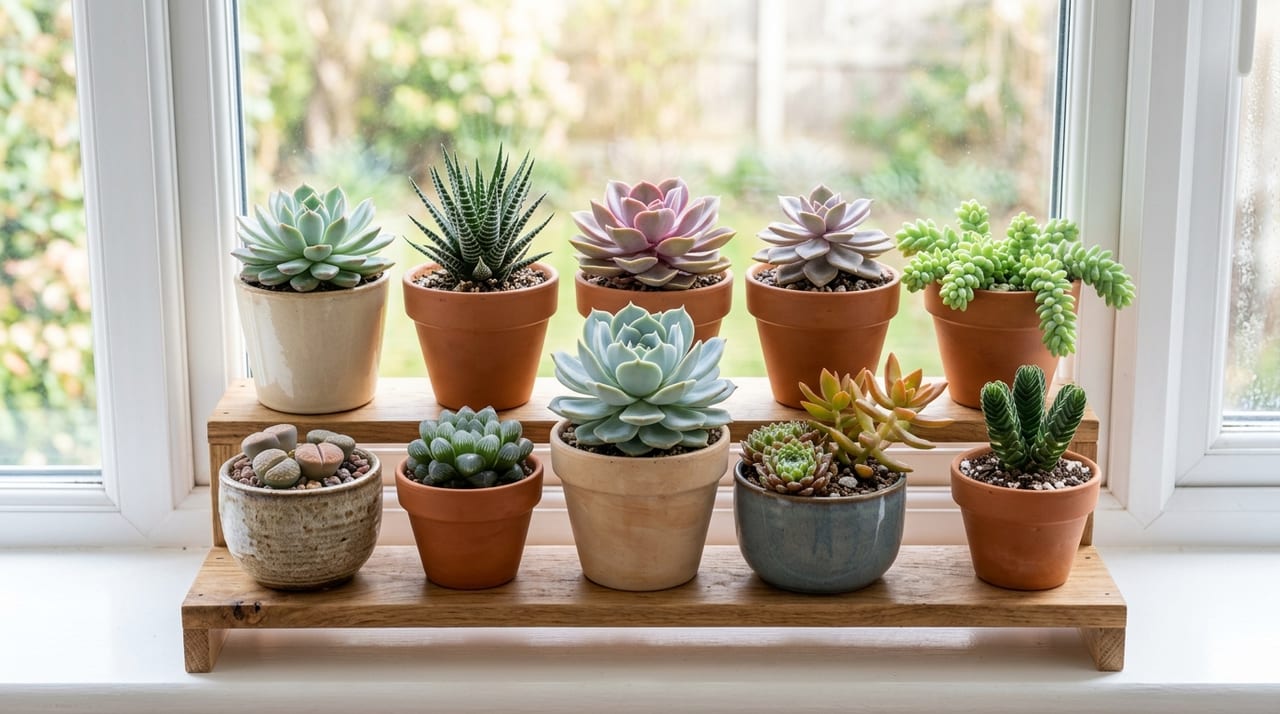
Key Takeaways
Succulent arrangement design techniques. Introducing tips on color coordination, layering, container selection, and seasonal arrangement adjustments.
Related Species
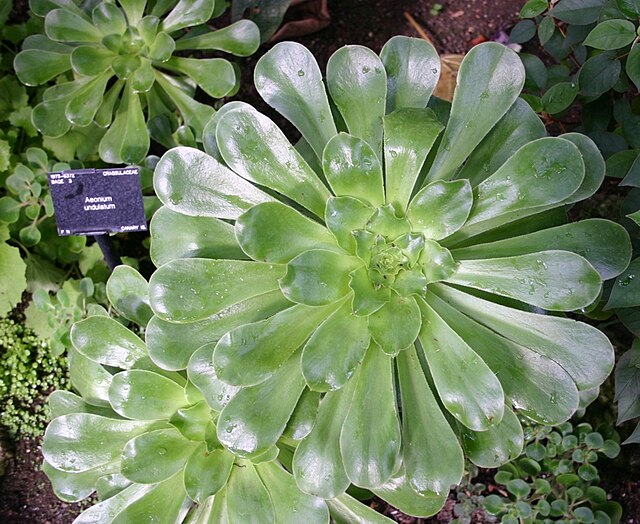
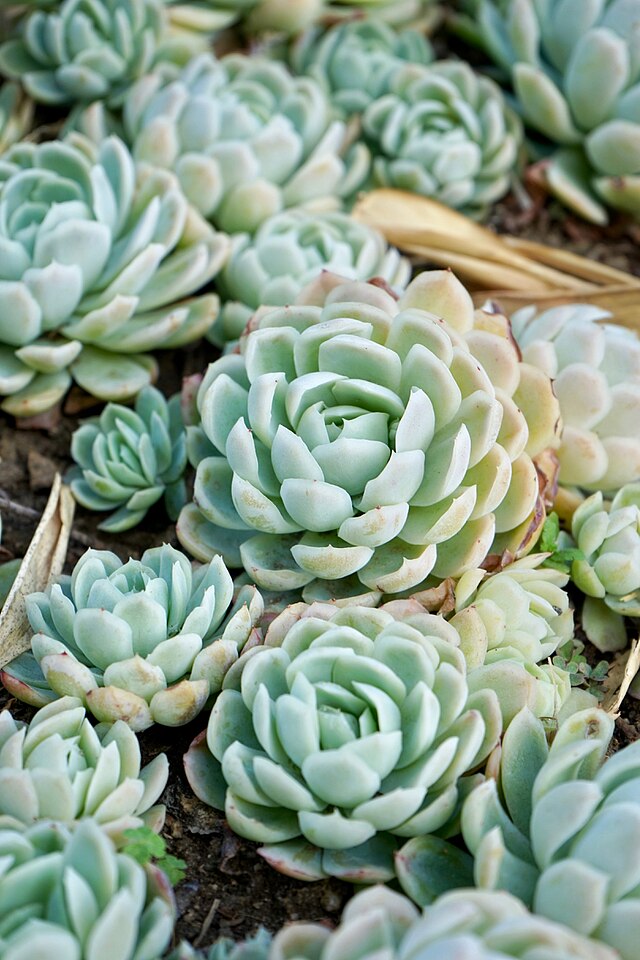
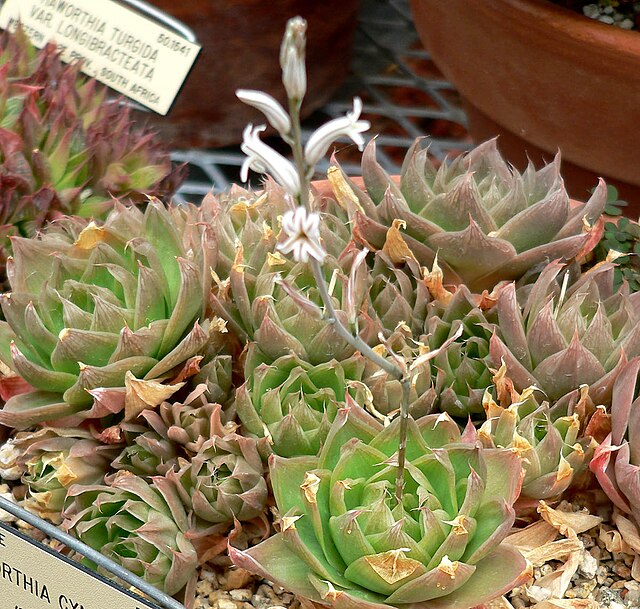
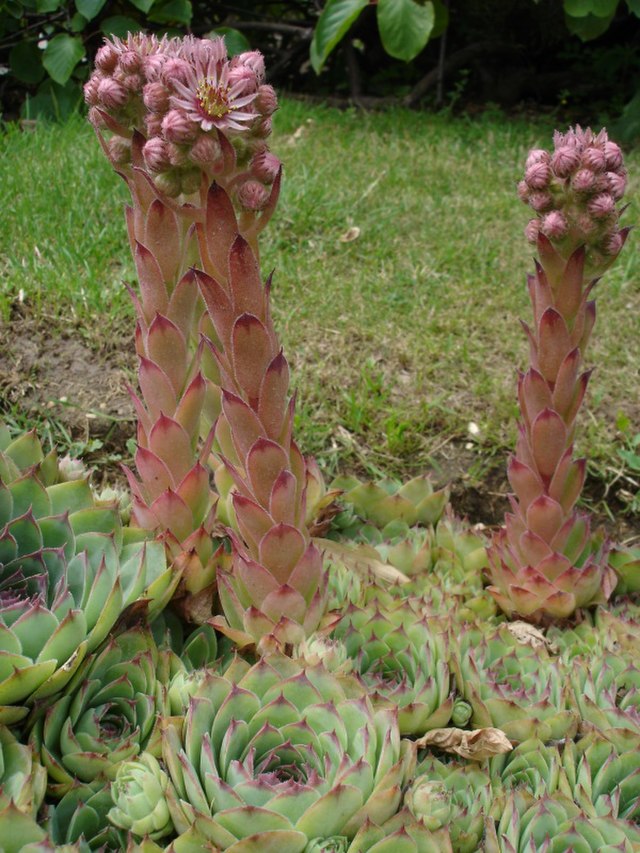
A succulent arrangement is a composition that brings together multiple varieties in a single pot. By combining varieties with different colors and forms, it creates vibrant displays that cannot be achieved with individual plants. Here we explain the fundamentals of design through to practical techniques.
Basic Rules for Arrangements
There are fundamental rules you should keep in mind first when creating beautiful arrangements.
- Combine varieties with similar growing conditions This is the most important rule. If you plant varieties together that require different watering frequency or sunlight, one may thrive while the other struggles. For example, combining sedums with haworthias is best avoided because their sunlight requirements differ greatly.
- Consider growth speed Pairing varieties with extremely fast growth against very slow growers will cause the fast-growing variety to overwhelm and throw off the balance. Since sedum types grow particularly quickly, they work well as a focal point or positioned at the edges to cascade, which allows the arrangement to remain balanced over time.
Color Coordination Techniques
Color combinations are a crucial element that determines the overall impression of an arrangement.
- Monochromatic coordination Creating arrangements within a single color family—such as green gradations or pink-to-purple gradations—gives an elegant, unified finish. Beginners are recommended to start with monochromatic schemes.
- Using complementary colors Complementary pairings like green and red, or purple and yellow, make each color stand out and create a vibrant impression. However, overuse can feel jarring, so the trick is to introduce just one or two complementary accents.
- Spacing with white or silver Placing white-powdered varieties (such as Lola or Lilacina) or silver-leaved varieties between colors prevents clashing and creates cohesion. In design circles, this technique is called a "separator color."
- Coordinating with autumn color changes Including varieties that display autumn and winter color changes creates a dynamic arrangement that shifts with the seasons. By imagining their colors after color change and positioning them thoughtfully, you create an arrangement enjoyable year-round.
Creating Layering
Arrangements with three-dimensional depth have far better visual impact than flat compositions.
- Three-tier structure: background, middle, and foreground The basic composition places tall varieties like sempervivums or aeoniums at the back of the pot, rosette-shaped types like echeveria in the center, and spreading varieties like sedum at the front in a three-tier arrangement.
- Creating depth with stones and driftwood Positioning small stones or driftwood in the soil creates topographical variation. Arranging sedums to creep over stones or tucking small varieties into driftwood gaps creates a natural landscape effect.
- Using container shape Shallow, wide containers suit horizontal spread, while deep containers work well with cascading varieties. Wall-mounted frame pots create arrangements that resemble framed artwork.
Container Selection
Choosing the right container also influences your arrangement design.
| Container Type | Characteristics |
|---|---|
| Unglazed terra cotta | Excellent drainage and unbeatable compatibility with succulents. Terra cotta's natural finish complements any variety. |
| Tin cans and repurposed cans | Popular for their vintage aesthetic. Requires drilling drainage holes, but creates highly original pieces. |
| Wooden boxes and wine crates | Perfect for country-style arrangements. Requires waterproofing the interior (lining with vinyl) and drilling drainage holes. |
| Ceramic and decorative pots | Ideal when coordinating with modern interiors. Always verify drainage holes are present. |
Planting Steps
- Plan your design Before planting, arrange succulents on top of the container to decide your layout. At this stage, check your balance and color coordination.
- Add soil Place a mesh screen and drainage stones at the pot bottom, then add succulent soil. If creating layering, mound soil higher at the back.
- Plant large varieties first Start with the main focal varieties. Use a wooden stick or tweezers to make holes and plant the roots.
- Fill gaps Fill spaces between main varieties with cut propagations or sedums. Slightly crowded planting looks fuller immediately after completion.
- Finishing touches Adding decorative sand or fine gravel to the surface improves appearance and prevents soil splash.
Post-Planting Care
After planting, hold off watering for about a week and keep the arrangement in bright, indirect light. Once roots are established, transition to normal care. When watering, pour slowly at the base using a watering can, and take care to prevent water from pooling in the center of rosettes.
Seasonal Maintenance and Development Ideas
An arrangement is not merely a finished product, but something that grows and changes over time. During spring growth, side shoots emerge, and autumn brings color shifts. To fully enjoy these changes, regular maintenance is essential.
Leggy shoots can be cut and propagated, becoming material for new arrangements. Conversely, when small plants grow large, transplant them as focal specimens in a separate pot. This cycle—where one arrangement becomes the material for the next piece—is the true joy of working as a succulent grower.
For sales and gift development, consider running seasonal series with changing themes (spring fresh green arrangement, autumn color-change arrangement, etc.), which can build a loyal customer base. When sharing on social media, before-and-after process shots generate high engagement and strengthen your brand. If you want to prioritize the quality of your source plants, GrowerDirect's succulent category (/succulent) also lets you hand-pick healthy specimens directly from growers.
Finding Succulents for Arrangements on GrowerDirect
GrowerDirect offers cut propagation sets for arrangements and a colorful variety of species available for direct purchase from specialty growers. You can even consult with growers on color pairing, making it a helpful resource for bringing your ideal arrangement to life.