A Guide to Propagating Succulents | Leaf Propagation, Stem Cuttings, and Division Methods
Explains leaf propagation, stem cuttings, and division methods for propagating succulents by type. Compiled information on appropriate timing, drying periods for cut surfaces, management until root formation, and points for increasing success rates.
Key Takeaways
Explains leaf propagation, stem cuttings, and division methods for propagating succulents by type. Compiled information on appropriate timing, drying periods for cut surfaces, management until root formation, and points for increasing success rates.
Related Species
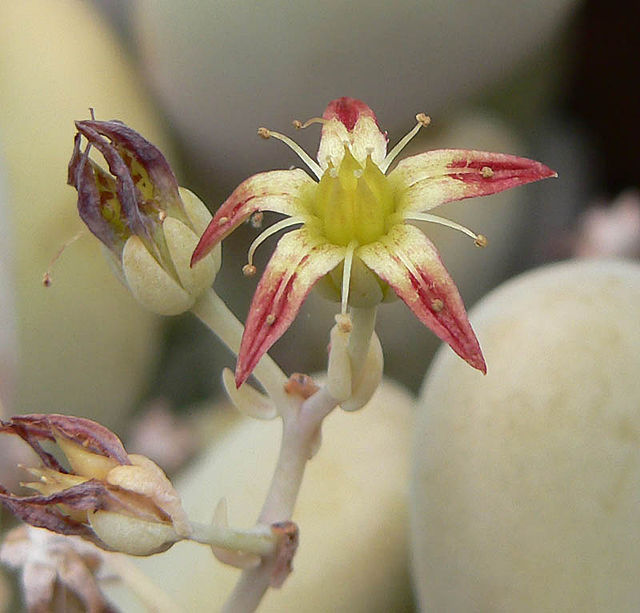
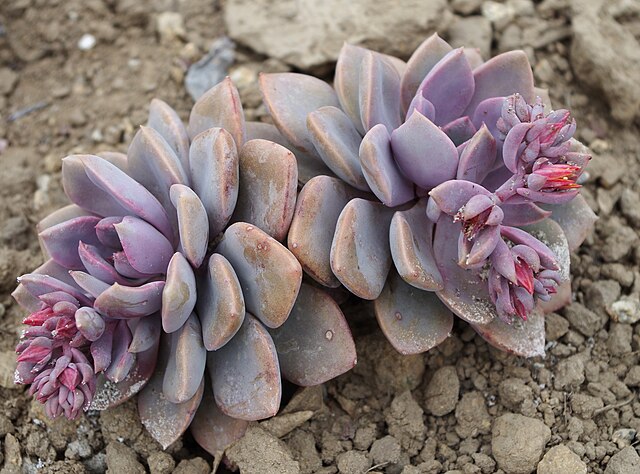
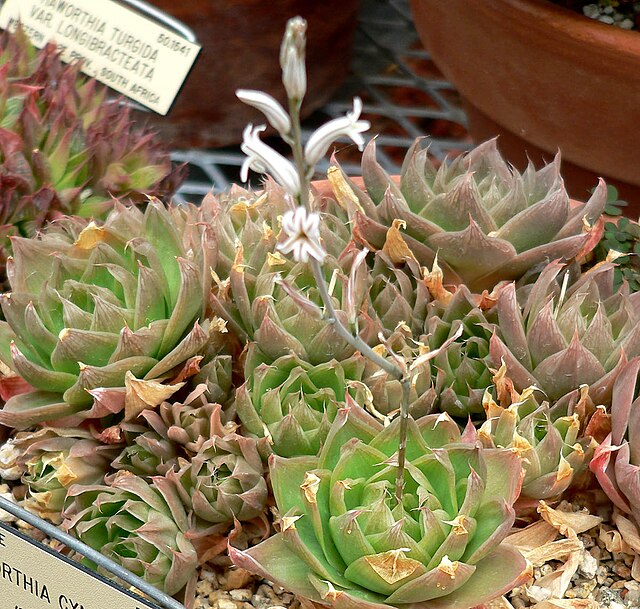
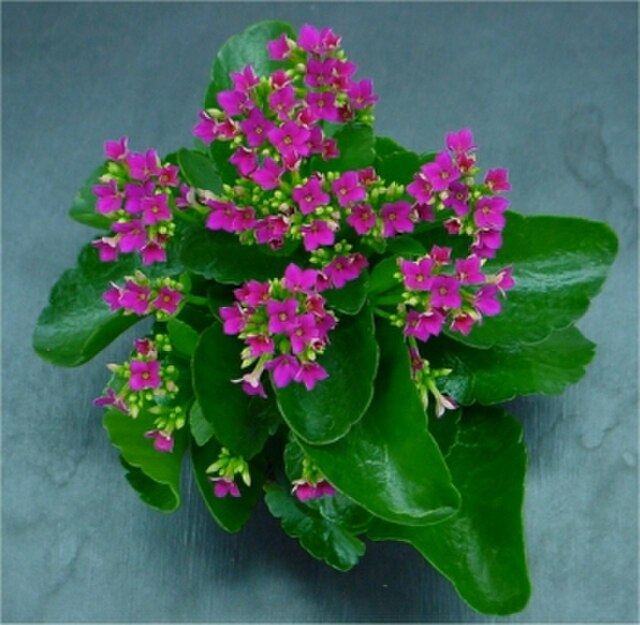
One of the charms of succulents is the "joy of propagation." The process of watching a collection that started with a single plant gradually grow into multiple adorable specimens is a unique delight of succulents. We will explain in detail the three main propagation methods—leaf propagation, stem cuttings, and division—so that even beginners can practice them with confidence.
Season and Basic Approach for Propagation
The key to maximizing success with succulent propagation is timing it with the plant's active growth period. Spring (March–May) and autumn (September–November) are the most suitable seasons, with stable temperatures around 15–25°C being ideal.
Summer's high heat and humidity cause cut surfaces to rot easily, while winter's low temperatures slow root formation dramatically. Avoid propagation work in mid-summer and mid-winter, and make good use of seasonal transitions.
Cleanliness of tools is also important. Disinfecting scissors and tweezers with alcohol or hot water before use prevents bacterial rot. Always choose well-draining soil formulated specifically for succulents and cacti.
Leaf Propagation (Leaf Cuttings) | The Most Popular Propagation Method
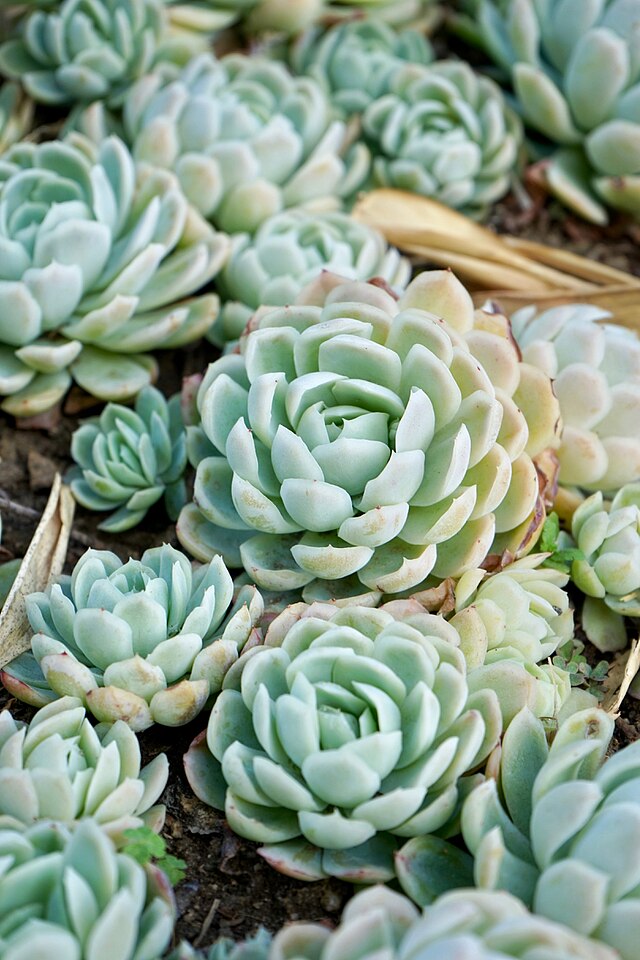
Leaf propagation is a method of growing new plants from a single leaf. It is particularly suited to rosette-form varieties or those with thick fleshy leaves, such as Echeveria, Sedum, Graptopetalum, and Graptoveria. It is popular among collectors because successful propagation yields a large number of plants.
Steps
- Remove the leaf: Select a healthy leaf from the parent plant and gently rock it side to side, then pull it away cleanly from the base. If the leaf breaks partway, it will not sprout, so it is essential that it separates completely at the base.
- Dry the leaf: Arrange the removed leaves on a clean tray and allow the base to dry thoroughly for 2–3 days. A bright location without direct sunlight is ideal.
- Arrange on soil: Place the leaf on dry succulent soil at a slight angle or simply lay it flat. There is no need to bury it deep in the soil.
- Manage: Place in bright, indirect light, and once the soil is completely dry, mist it lightly. After several weeks, small shoots and roots will begin to emerge from the base of the leaf.
- Repot: Once the shoots and roots are well established, repot into individual containers as the parent leaf naturally dries up.
Tips for Success
- If any part of the base remains when removing the leaf, it will prevent sprouting.
- Overwatering is the main enemy. Start with misting only, and switch to regular watering once roots have developed somewhat.
- Direct sunlight damages the leaves and prevents sprouting, so keep them strictly in bright, indirect light.
- It can take several weeks to two months for sprouts to appear. Patience is key.
Stem Cuttings (Cuttings) | A Versatile Method That Also Revives Leggy Plants
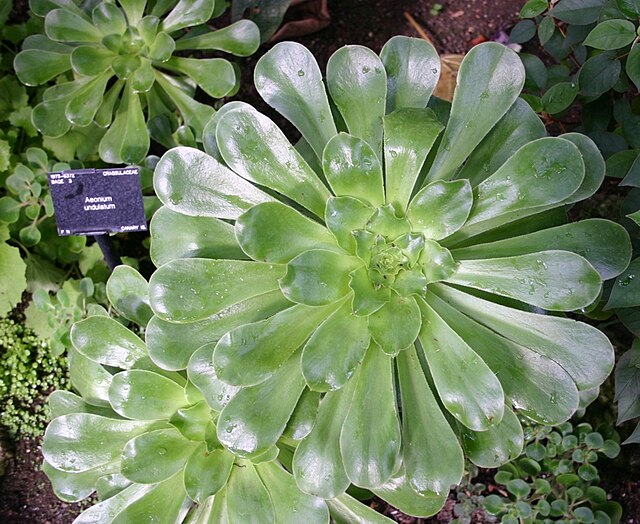
Stem cuttings involve taking a section of the stem and growing it as a new plant. This method can also be used to rejuvenate "leggy" plants whose stems have become overly elongated, and works well with varieties that have sturdy stems, such as Aeonium, Senecio, and Kalanchoe.
Steps
- Cut the stem: Cut the stem with clean scissors. An angled cut reduces water accumulation and prevents rot. The cutting should be about 5–10 cm long.
- Remove lower leaves: Remove leaves from the lower 2–3 cm of the stem to create the insertion point.
- Dry thoroughly: This is the most critical step. Dry for 5–7 days until the cut surface forms a protective callus. If the cutting is inserted into soil without sufficient drying, it will rot at the cut surface and fail.
- Insert into soil: Insert the cutting into dry succulent soil at an angle or upright, ensuring stability.
- Wait for root formation: Do not water for the first week, then gradually introduce small amounts of water to encourage rooting. Light resistance when gently tugged indicates roots are forming.
Tips for Success
- Shortening the drying period significantly increases the failure rate. It is better to dry for another 2–3 days even after thinking it seems dry enough.
- Avoid strong direct sunlight until roots form, and keep the cutting in bright, indirect light.
- Cutting back leggy stems for propagation also encourages side shoots on the parent plant, improving its appearance—two benefits in one.
Division (Offsets) | A Natural Propagation Method for Separating Baby Plants
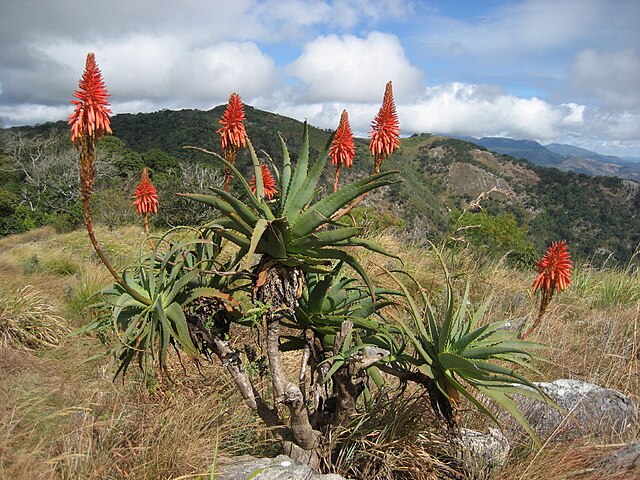
Division involves separating "offsets" (baby plants) that grow at the base of the parent plant and establishing them as independent plants. This method works particularly well with varieties that produce abundant offsets, such as Haworthia, Aloe, and Agave.
Steps
- Check the offset's condition: Confirm that the offset has roots. Although offsets without roots can be propagated like stem cuttings, those with roots have a higher success rate. Ideally, divide when the offset reaches about one-third the size of the parent plant.
- Separate: Remove the parent plant from its pot and carefully cut away the offset with a knife or scissors, taking care not to damage the roots.
- Dry the cut surface: Allow the cut surface to dry for 1–2 days to form a callus.
- Plant: Pot in succulent soil and keep in indirect light until established.
- Begin watering: Start watering lightly 2–3 days after planting.
Tips for Success
- Offsets that are too small may weaken after separation. Wait until they reach an adequate size.
- If roots are damaged, allow the wound to dry before planting to aid recovery.
- The parent plant, if managed normally after division, will produce new offsets.
Head Cutting (Beheading) | A Clever Technique for Rejuvenating Leggy Plants
This is a method for reviving plants like Echeveria and Graptoveria whose stems have become elongated due to insufficient light or seasonal changes. It is a clever technique that resets the plant's appearance while simultaneously propagating it.
Steps
- Decide where to cut: Cut the stem below the rosette (the part where leaves spread radially). Use the compact, attractive rosette portion as the upper section.
- Dry the top section: Allow the cut surface to dry for 2–3 days, then insert into dry soil once a callus forms.
- Manage the bottom section: Do not discard the remaining stem and root portion (lower section). Place it in bright, indirect light, where multiple new shoots will emerge from the nodes, providing additional propagation material.
It is even possible to combine multiple propagation methods from a single plant: the rosette top, shoots from the bottom section, and leaves for leaf propagation.
Conclusion | The Joy of Propagation Expands the World of Succulents
Once you become familiar with it, succulent propagation requires no special equipment and is easy to enjoy at home. Regardless of which method you choose—leaf propagation, stem cuttings, or division—following the simple principles of "dry first," "limit water," and "keep in bright, indirect light" is the key to success.
The first step to successful propagation is selecting a healthy, vigorous parent plant. Poor or weakened plants have lower rooting rates and are more prone to failure. On GrowerDirect, you can source high-quality succulents directly from growers. Since you can ask sellers directly about variety characteristics and care methods, even beginners can purchase with confidence. Try browsing GrowerDirect to find a base plant of the variety you'd like to propagate and enjoy.