Agave Pup Management Guide | Extraction, Rooting, and Planting Steps
Explains how to skillfully utilize pups produced by agave to increase plants. Details extraction timing for pups, rooting management, planting procedures, and troubleshooting when rooting fails.
Key Takeaways
Explains how to skillfully utilize pups produced by agave to increase plants. Details extraction timing for pups, rooting management, planting procedures, and troubleshooting when rooting fails.
Related Species
What are Pups? | Understanding Agave Propagation Mechanisms
Agave naturally propagates by producing pups (small plants) from the base of the parent plant. Pups emerge from the roots or base of the stem of the parent plant and are genetically identical to the parent plant. In other words, this is the most reliable propagation method for reliably increasing rare varieties or high-quality specimens. While the method of artificially removing the apical meristem to encourage pup production is covered in Agave Growth Point Management | Basics of Decapitation and Pup Promotion, this article focuses specifically on management from extraction to rooting and planting of naturally produced pups.
Conditions favorable to pup production include a mature parent plant with accumulated reserves, a good growing environment with adequate watering and light, and offset formation when the parent plant dies after flowering (the post-flowering stage of so-called "century plant" type). Conversely, young plants recently potted or plants under stress such as insufficient light or root-bound conditions tend to produce fewer pups.
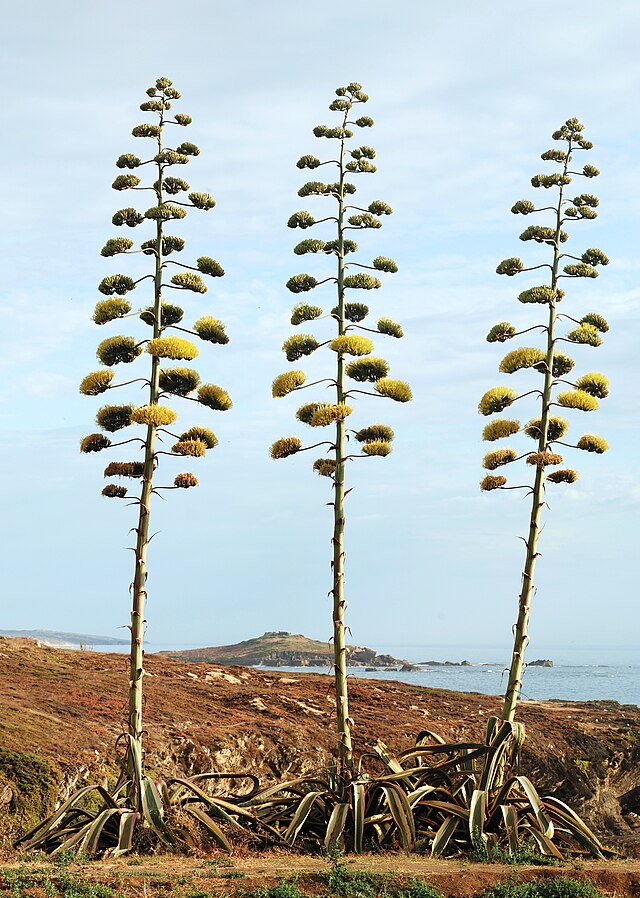
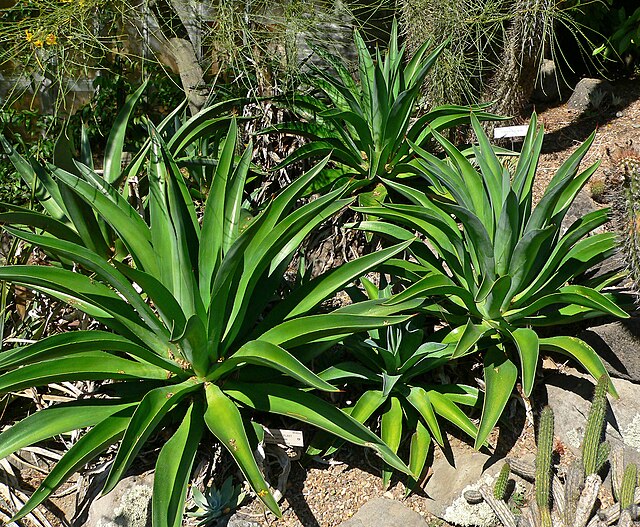
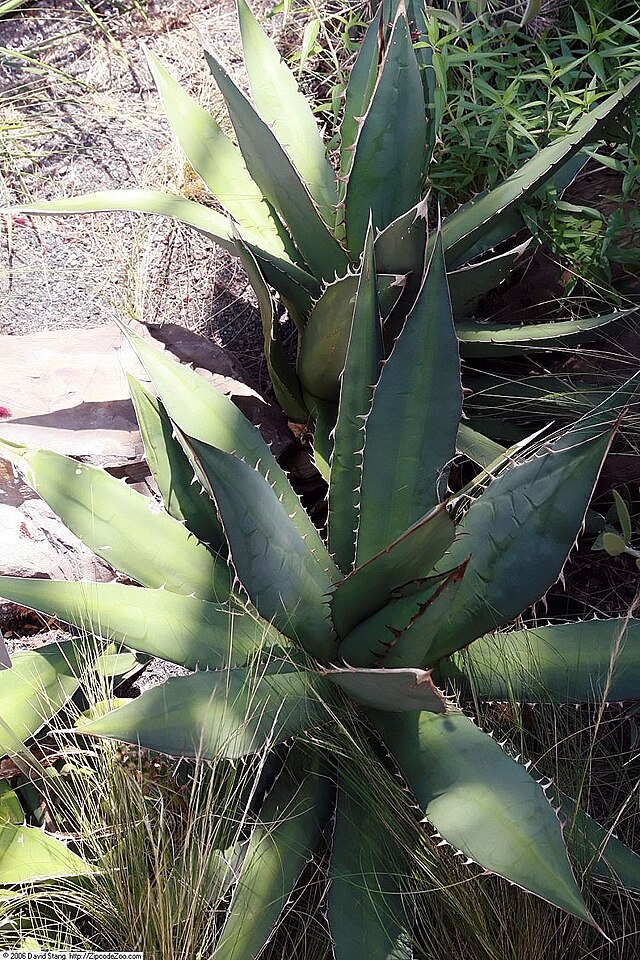
Pup production frequency varies significantly by variety. Agave americana and Agave desmettiana produce pups readily, but popular ornamental varieties such as Agave titanota and Agave potrerum produce relatively few pups, making careful handling important when they do appear. For variety-specific characteristics, refer to Agave Identification Guide: 100 Popular Varieties | Complete Explanation of Titanota, Holida, Parry, and Geminiflora.
Optimal Extraction Timing and How to Determine It
When to extract pups directly affects rooting rate and survival rate. Extracting too early when pups are small increases failure risk, while delaying extraction too long depletes the parent plant's reserves.
Size Guidelines
Consider extracting when pups reach about one-third to one-quarter the leaf width of the parent plant. It is also important that 6 or more leaves have unfurled and the pup has some firmness and turgidity.
Seasonal Timing
The best extraction times are spring (March–May) through early summer, or autumn (September–October), when agave is in active growth. Temperatures are stable around 20–30°C during these periods, resulting in faster rooting and higher success rates. Extraction during midsummer (over 35°C) causes excessive stress to the plant, while rooting is extremely slow in winter (below 15°C), so these periods should be avoided when possible.
Checking for Roots Before Extraction
Before extraction, gently dig around the base of the parent plant to check if the pup has developed its own roots. If white roots are already visible, the pup can be potted immediately, significantly increasing success rate.
Detailed Extraction Procedure
Tool cleanliness is key to preventing problems. Disinfect blades with alcohol or sterilize them with flame before use. For detailed procedures and blade handling techniques, see Complete Agave Pup Separation Guide | Timing, Methods, and Grower Tips for Success.
- Carefully excavate the soil around the parent plant to expose the connection point between the pup and parent plant (an underground stem called a stolon)
- Cut the connection point as close to the parent plant as possible with sterilized scissors or a knife (leaving a longer cut on the pup side promotes rooting)
- Apply cinnamon powder to the cut surface
- Allow the cut surface to dry completely for 1–3 days in a shaded, well-ventilated location
- Similarly treat the wound on the parent plant's side; applying fungicide lightly to the soil surface reduces rot risk
Proceed to the next step only after confirming that the cut surface is completely dry and callus (scab-like protective tissue) has formed.
Rooting Methods and Environment Setup
Soil-Based Rooting (Standard Method)
Use well-draining, fertilizer-free soil made from a mix of fine Kanuma soil, perlite, and river sand. Place the pup on top of the soil or bury it shallowly so the cut surface barely touches near the soil surface. Water minimally; only apply a small amount of bottom watering after the soil has completely dried out.
Hydroponic Rooting (Visually Verifiable Method)
Place the pup in a container of clean water (distilled water or aged tap water) so the cut surface just barely touches the water surface. Since you can visually confirm root emergence, this method provides confidence for beginners. However, overwetting can cause the cut to rot, so water level management is critical. After roots emerge, switch to soil-based rooting. For more certain hydroponic rooting techniques, see Agave Hydroponic Rooting Techniques | Methods to Ensure Bare Root Rooting. To compare soil-based, hydroponic, and wet methods, refer to Agave Rooting Management Guide | Comparison of Methods and Tips to Increase Success Rate.
Environmental Conditions
Place rooting pups in bright shade (approximately 30–50% shade) away from direct sunlight. The ideal temperature range is 25–30°C; rooting typically occurs within 2–4 weeks at this temperature. Excessive dryness delays rooting, so if managing indoors, maintaining some humidity with a humidifier or covered container is effective.
Post-Planting Management and Growth Promotion
Once roots are confirmed, pot the pup into its permanent container. Recommended soil is a well-draining mix suited for agave (approximately red loam : Kanuma soil : perlite = 5:3:2).
Withhold water for the first week after planting to allow the pup to establish in the soil. Afterward, follow the same watering cycle as mature plants (water thoroughly until it drains from the bottom after the soil has completely dried). It is safest to begin fertilizing only after one month has passed since planting and new leaf growth is visible, using diluted liquid fertilizer.
Select a pot size approximately 1.2–1.5 times the pup's crown diameter; avoiding an oversized pot from the start is key to preventing root rot.
Rooting Problems: Causes and Solutions
No Rooting After Two Months
Excavate and inspect the cut surface. If it has turned brown to black, rot may be progressing. Completely remove the rotted portion with a sterilized knife, repeat the drying process, then switch to hydroponic rooting.
When Leaves Wilt
Before rooting develops, the pup cannot absorb water, so leaves may wilt slightly as they consume internal moisture. This is normal; however, if excessive drying occurs, lightly mist the leaf surface to supplement moisture.
When Rot Keeps Occurring
Drainage in your soil or container may be inadequate. Switch to completely dry soil and use a breathable container such as terracotta to improve conditions.
Summary
Agave pup management can be successfully performed even by beginners when three elements are in place: correct extraction timing, clean handling, and appropriate rooting environment. Extraction during the growing season and complete drying of the cut surface are the most critical factors for minimizing failure. When rare variety pups appear, please refer to these procedures and manage them carefully. Pups that root and grow well will develop into beautiful specimens rivaling the parent plant.