Tissue Culture Aquatic Plant Transition Guide | Steps from Gel Removal to Establishment
A guide to transitioning tissue culture aquatic plants to water. Learn gel cleaning methods, planting techniques, and acclimation management.
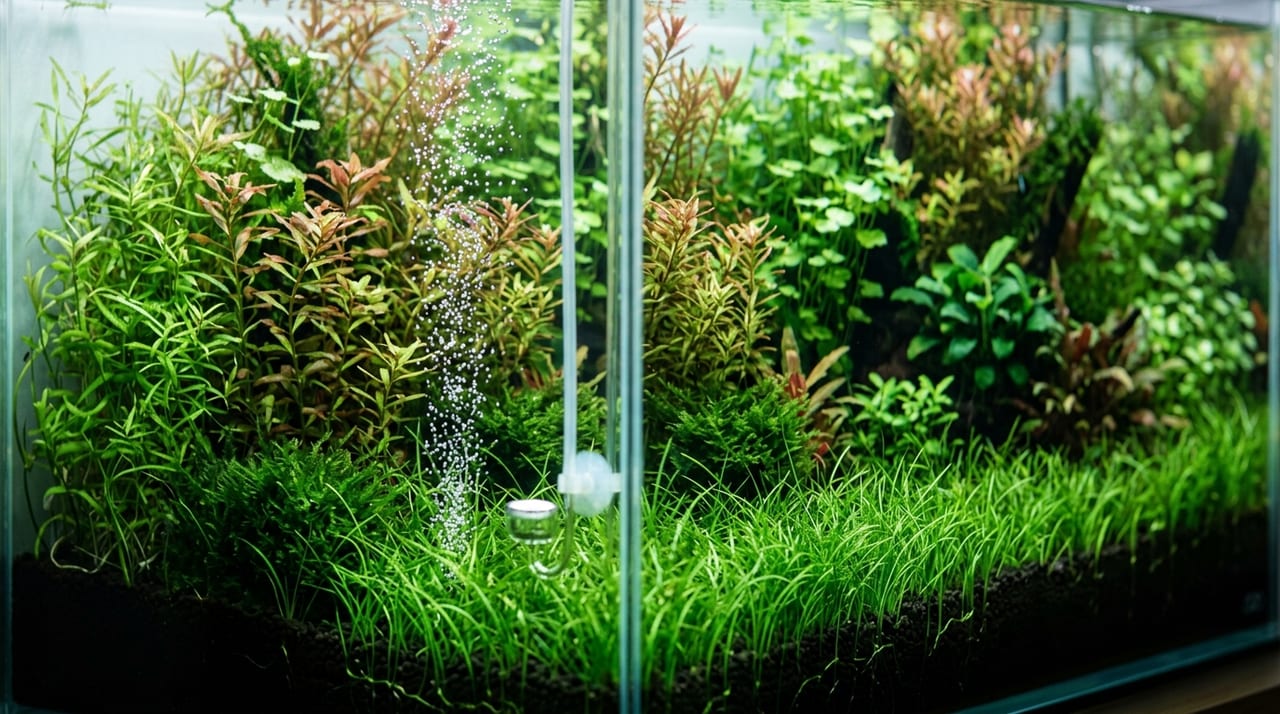
Key Takeaways
A guide to transitioning tissue culture aquatic plants to water. Learn gel cleaning methods, planting techniques, and acclimation management.
Related Species
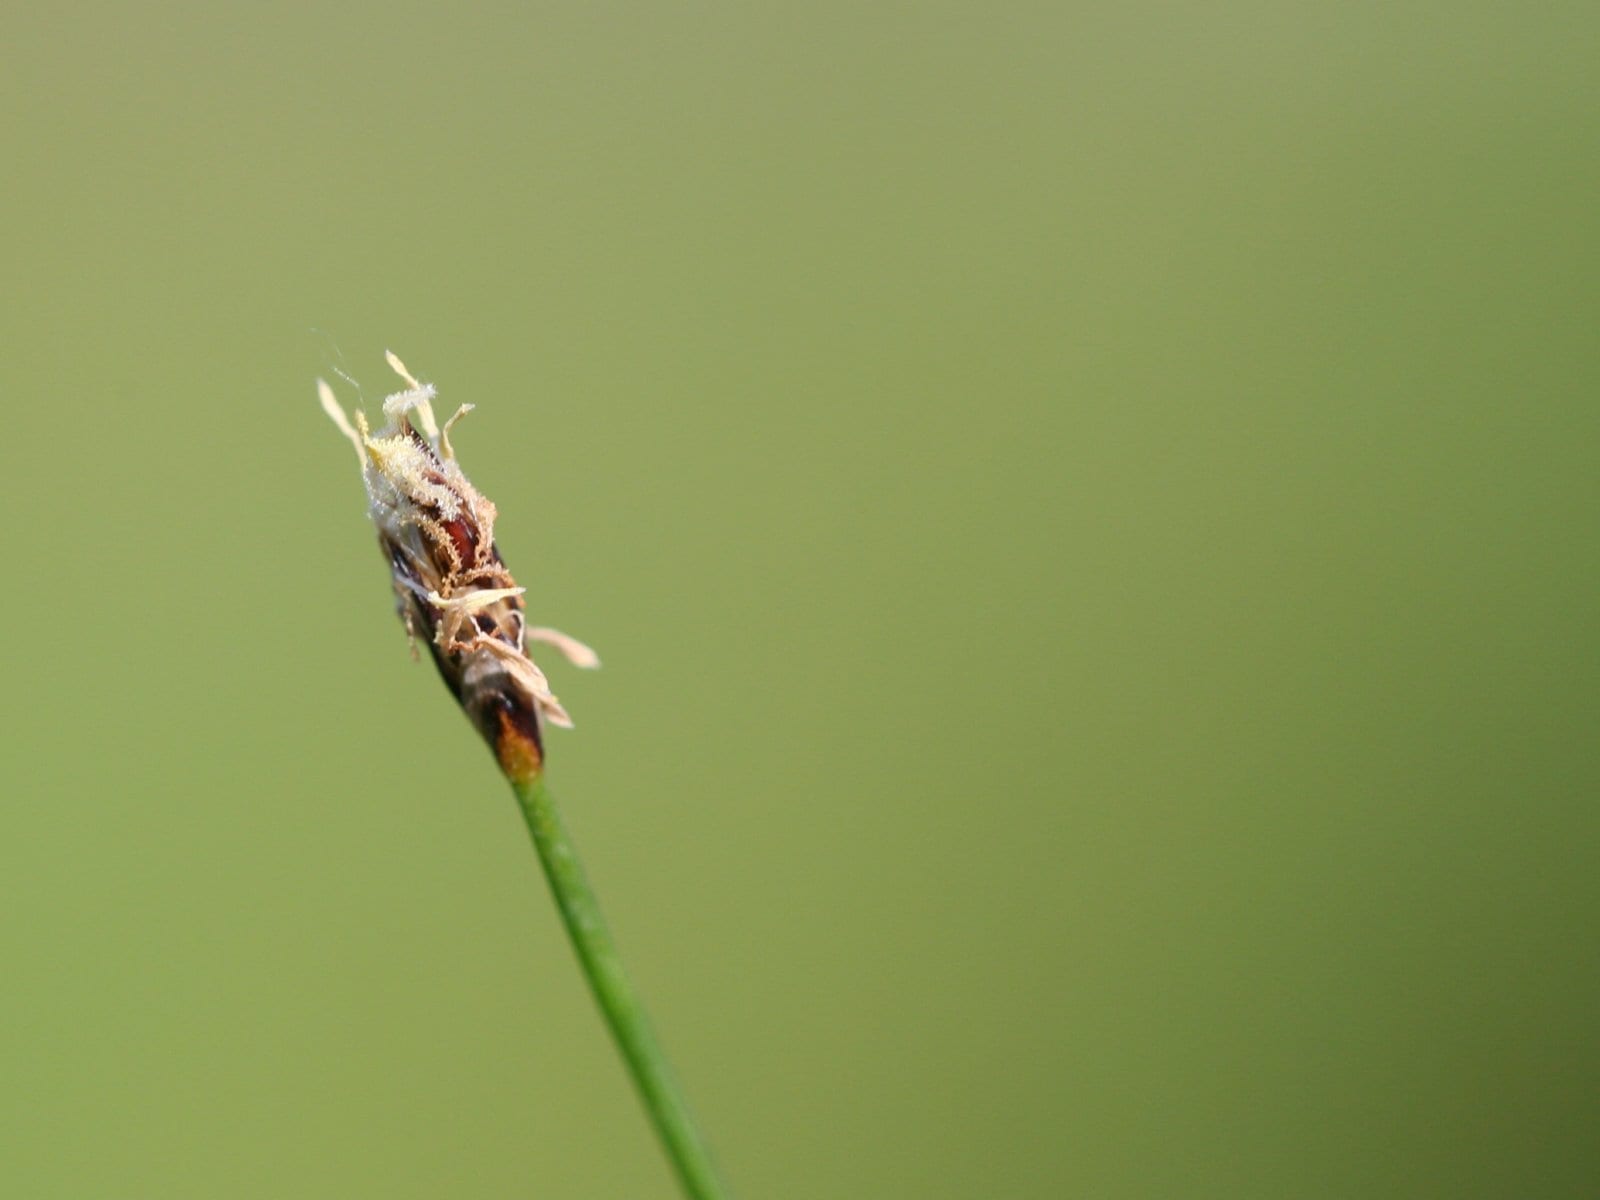
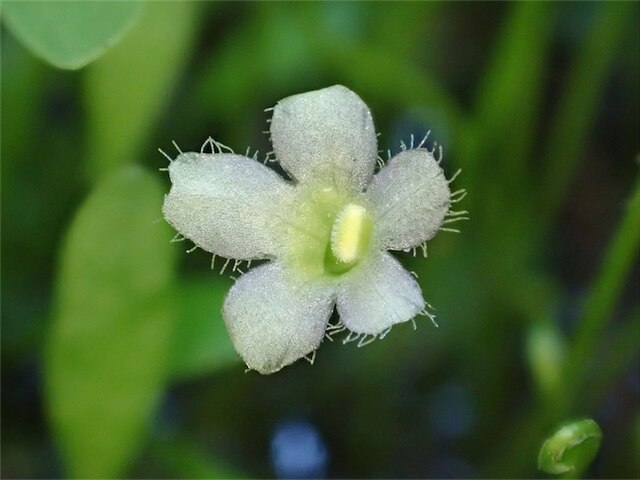
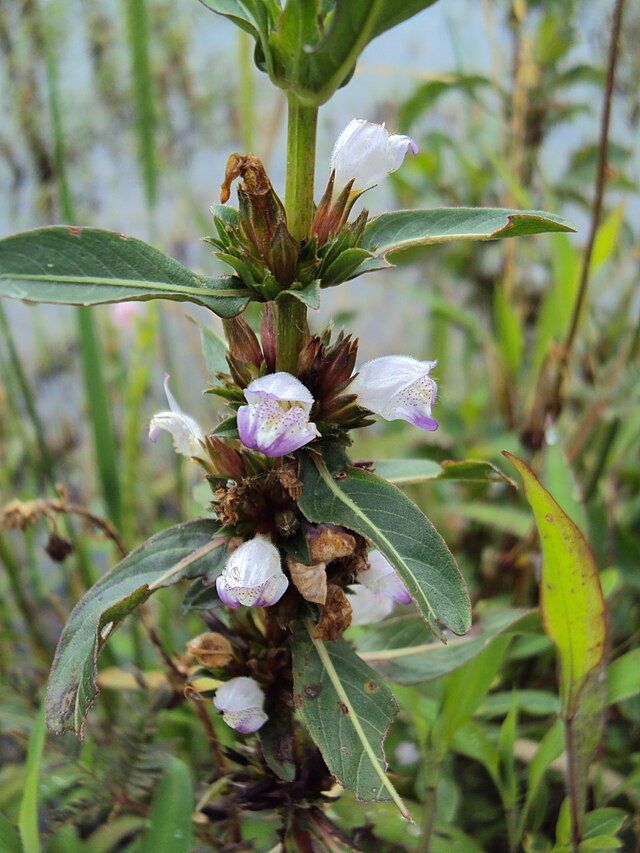
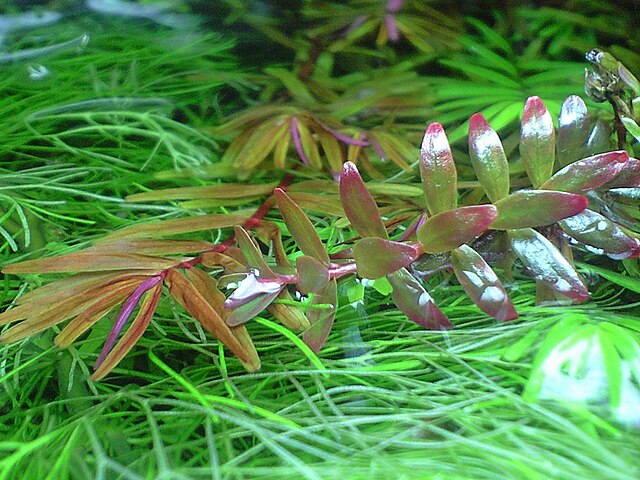
What Are Tissue Culture Aquatic Plants? Their Appeal and Features
In recent years, tissue culture (TC) aquatic plants have become increasingly standard for enjoying aquascaped tanks. Unlike ordinary aquatic plants, they are cultivated in sterile gel (growth medium) and sealed in small cups, becoming widely available at aquarium specialty shops and online retailers.
The greatest feature of tissue culture aquatic plants is that they are completely pesticide-free and sterile. Ordinary aquatic plants are cultivated in farms or ponds, so they carry risks of pesticide residue, pests, and snails (gastropods) contamination. However, tissue culture aquatic plants are cultivated in near-clean-room environments, so such risks are virtually zero.
The specific benefits are summarized as follows.
- Pesticide-free: Safe to introduce even into tanks housing shrimp (such as Yamato shrimp and cherry shrimp)
- Zero risk of pests and parasitic snails: Prevents contamination from snails, planaria, and hydra
- Uniform quality: Unlike conventional aquatic plants whose quality varies by origin and season even within the same variety, consistent quality is guaranteed
- Long-term storage possible: Unopened cups can be stored in a refrigerator (10–15°C) for several weeks, allowing you to choose the timing of introduction
For those looking to enjoy "shrimp-plant tanks" with both shrimp and aquatic plants, or those aspiring to Nature Aquarium, tissue culture aquatic plants are a highly reliable option. If safety for shrimp is a priority, also checking Safe aquatic plants and fertilizer considerations for shrimp will reduce selection mistakes.
Essential Before Planting! How to Remove the Gel
When you remove tissue culture aquatic plants from the cup, transparent gel (agar medium) adheres to the roots and leaves. Since this gel can degrade water quality or become a nutrient source for algae when introduced into the tank, it is important to remove it before planting.
Steps for Gel Removal
- Remove the cup's lid and carefully remove the aquatic plant
- Fill a clean bowl or container with tap water (dechlorination is not necessary)
- While submerging the plant in water, gently rinse away the gel using your fingers or a soft toothbrush
- If gel remains, change the water and repeat 2–3 times
- Once the gel is completely removed, divide the plant into small bundles (portions) of 2–3 stems each
Since the gel is slimy, it may feel difficult to remove at first, but working gently with massaging motions in water will remove it efficiently. While taking care not to forcefully pull the roots, handle it gently so that leaves and stems don't become damaged.
Planting Tips and Placement Points
Now that the gel has been removed, it's time to plant the aquatic plant into the aquarium's substrate or sand. The work done here greatly affects rooting success and initial growth.
Basic Planting Steps
- Use tweezers: Using fine-tipped tweezers designed for aquatic plants makes it easier to insert them deep into the substrate
- Plant shallow at the base: If the growth point (apical meristem) becomes buried in substrate, it may suffocate and die. Bury only the base of the roots and keep most of the stem submerged in water
- Plant in small bundles: By planting portions (2–3 stems each) at regular intervals in multiple locations, you achieve uniform coverage across the tank
- Reduce water flow immediately after planting: Temporarily lower the filter or pump flow so the plant doesn't get uprooted before the roots establish
For foreground plants (such as hair grass and glossostigma), planting them finely divided is the shortcut to growing them as a carpet. Although they may appear sparse at first, once roots establish, they'll send out runners (stolons) and naturally spread. If you're unsure about overall layout composition, also refer to Aquatic Plant Layouts for Beginners | Foreground, Midground, and Background Placement Techniques.
How to Handle "Melting" That Occurs During the Transition Period
Shortly after planting tissue culture aquatic plants, "melting" may occur where old leaves turn yellow and dissolve. This is not a disease or management failure, but a natural phenomenon that occurs during the adaptation from the cultivation environment to the tank environment.
The inside of a cultivation cup is a special environment with high humidity, low light, and stable temperature. When moved to the completely different environment of a tank, old leaves (emersed leaves) cannot adapt to the environmental change and will melt. However, if the roots remain healthy, new leaves called "submerged leaves" will eventually unfold.
Key Points for Melt Prevention
- Remove melted leaves promptly: Leaving them in place will cause them to decay underwater, leading to water quality deterioration and algae growth
- CO₂ supplementation aids the transition: Adding CO₂ tends to accelerate photosynthesis in the plant and speed up the unfurling of new submerged leaves
- Avoid over-fertilizing: During the transition period, algae tends to grow easily, so add liquid fertilizer only after roots begin to establish, observing conditions
- Patience is key for the first two weeks: As long as the roots remain alive, the plant will recover even if melting progresses. It's important not to pull it out prematurely out of concern over appearance
Melting is particularly common in stem plants such as rotala and hygrophila, but foreground plants and mosses may also experience it. Even experienced aquarists often struggle with melting—melting is not a sign of failure. It's best to view it as a positive sign that the plant is adapting to its new environment.
Creating the Right Water Quality, Light, and CO₂ Environment
To grow healthy tissue culture aquatic plants, setting up the tank environment is also essential. While common to all aquatic plants, the following three factors are key to growth.
Light Intensity
While the required light intensity varies by plant type, most tissue culture plants prefer medium to high light. When using LED lighting, it's ideal to select products labeled "suitable for plant growth" and manage them with a timer for 8–10 hours per day.
CO₂ Supplementation
While not essential, adding CO₂ dramatically increases plant growth speed. The effect is particularly noticeable in carpet plants and red-colored stem plants. You can choose from fermentation-type systems (low-cost yeast-based method) or small cylinder systems, depending on your budget and tank size.
Water Quality (Soft Water, pH)
Most aquatic plants prefer slightly acidic to neutral water (pH 6.0–7.0) and soft water. Using substrate soil (whether absorbent or nutrient-based) naturally brings the water quality closer to this range. If you want to propagate plants further after they establish, checking The Complete Guide to Multiplying Aquatic Plants for trimming and division techniques will help you expand your collection efficiently.
Shop with Confidence for Tissue Culture Aquatic Plants on GrowerDirect
On GrowerDirect, you can purchase tissue culture aquatic plants directly from growers and aquatic plant specialists who manage them with care.
The greatest benefit of the direct sales model without middlemen is "freshness". Aquatic plants that pass through wholesalers and retailers can have cups degrade or plants weaken during transport and storage, but on GrowerDirect, since products come directly from growers, they arrive in fresh condition.
Additionally, since you can message sellers directly, you can get thoughtful answers to individual questions such as "Will this plant grow without CO₂?" and "Is it suitable for shrimp tanks?" From beginners to advanced aquarists, GrowerDirect provides a reliable environment to enjoy aquatic plant layouts.
Take the first step in creating a beautiful aquatic plant aquarium using tissue culture plants with GrowerDirect.