Caudex Plants from Seed: A Guide | Techniques for Thickening Caudexes from Seed
A guide to growing caudex plants from seed. Explains sowing procedures, germination management, and cultivation techniques for thickening caudexes.
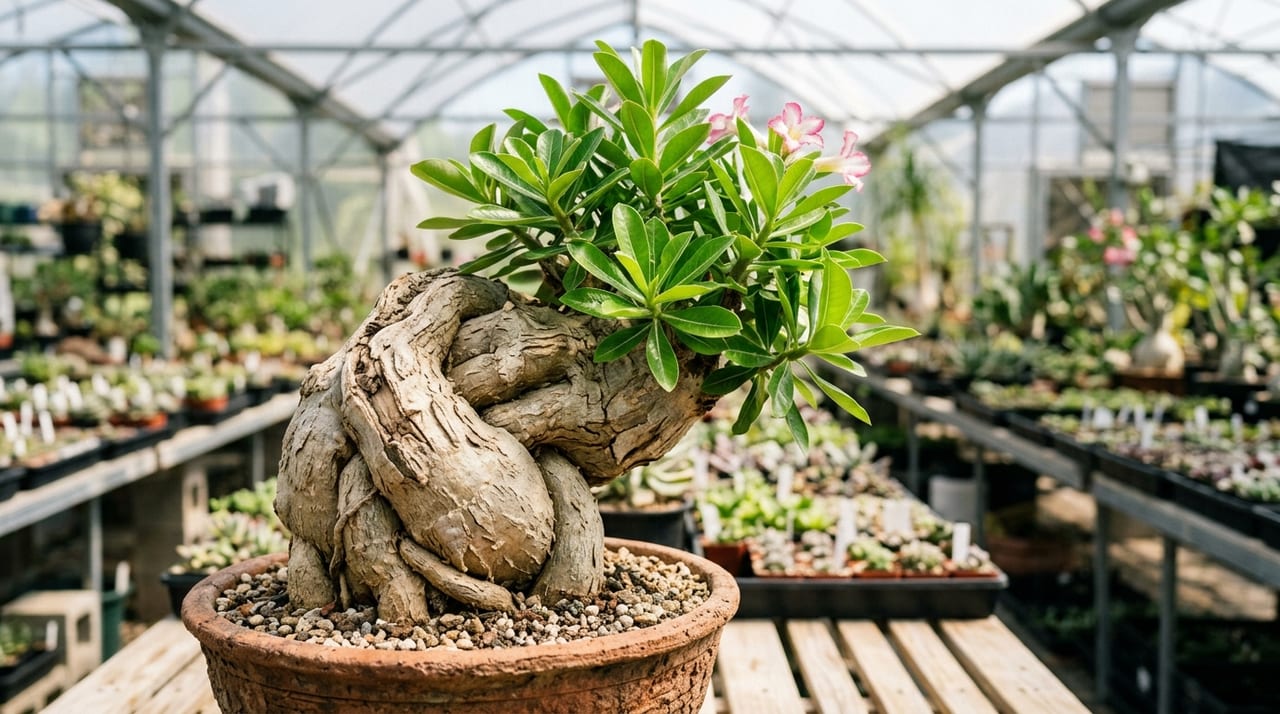
Key Takeaways
A guide to growing caudex plants from seed. Explains sowing procedures, germination management, and cultivation techniques for thickening caudexes.
Related Species
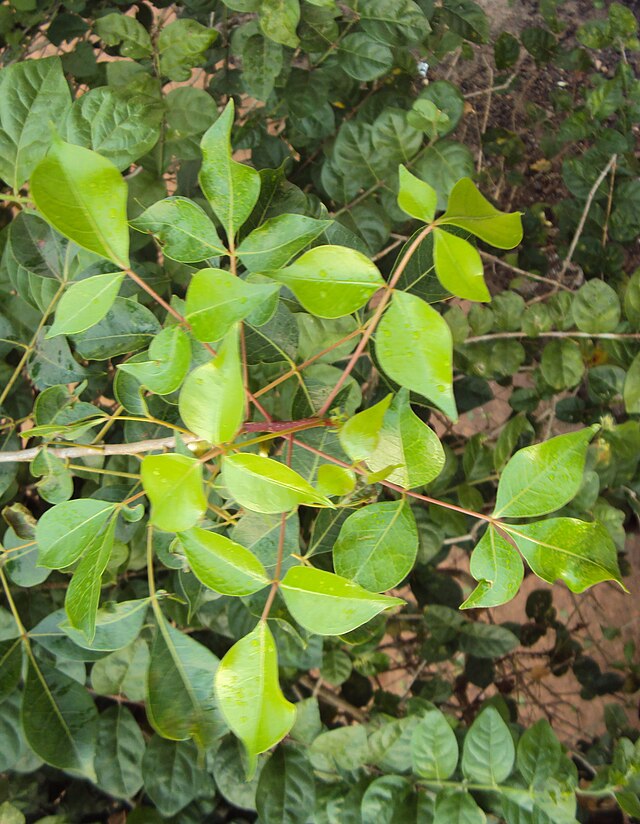
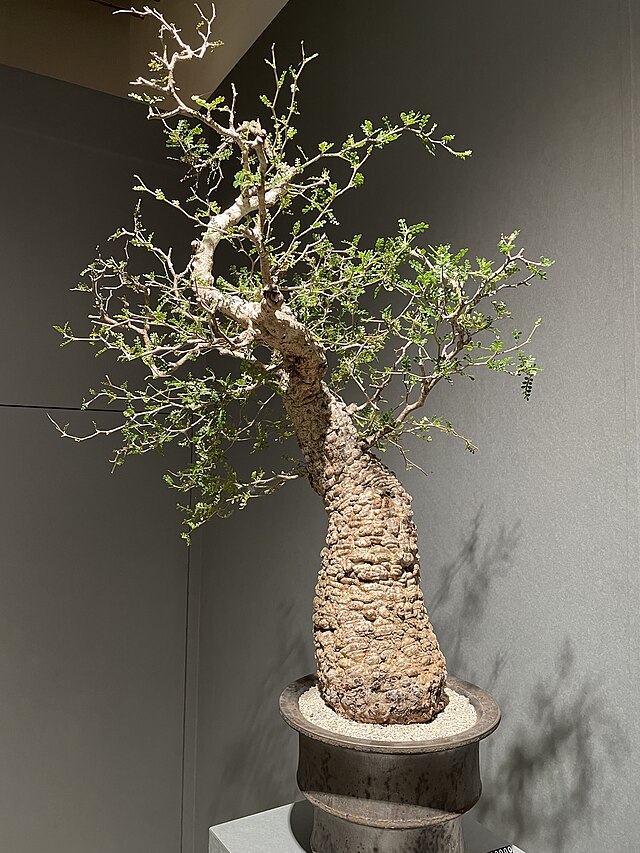
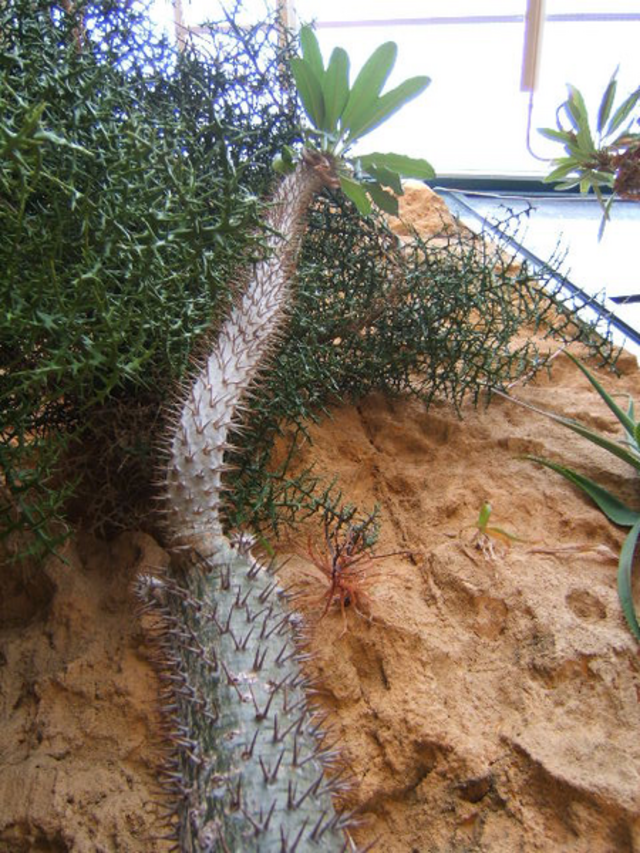
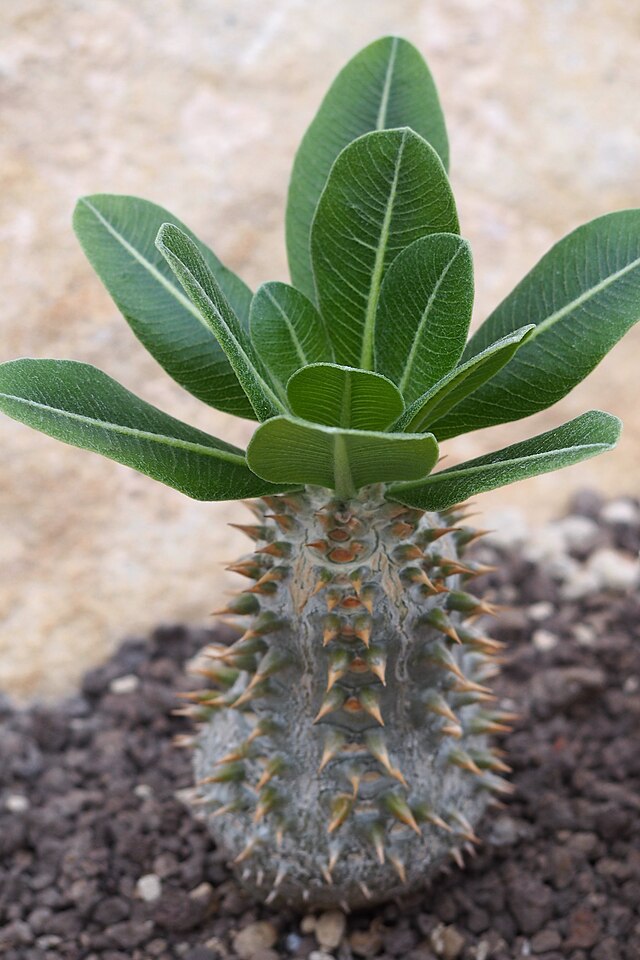
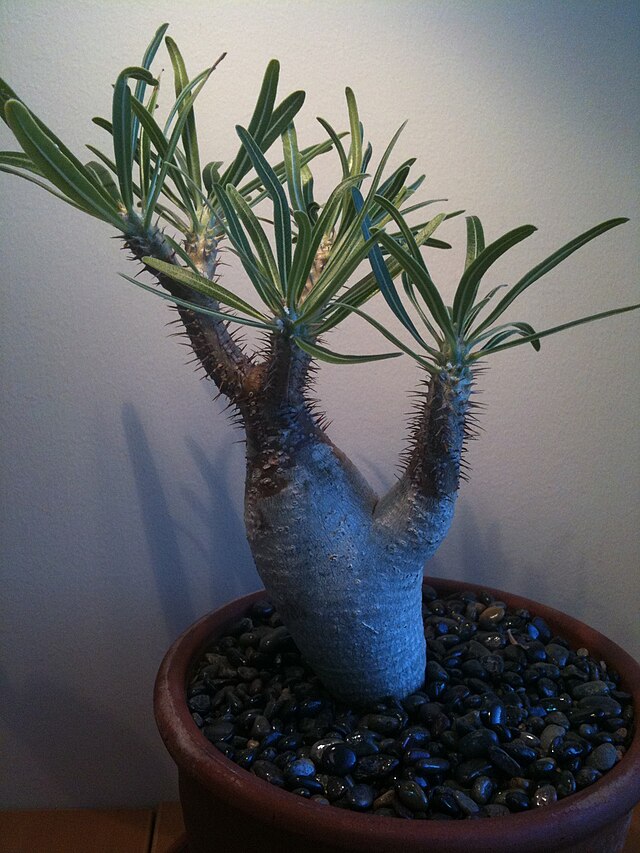
Growing caudex plants from seed has become increasingly popular in recent years. As wild-collected specimens have become harder to find, seed-grown plants are now an important option for sustainably enjoying caudex plants. Seed-grown plants adapt to Japanese conditions from the start, making them easier to care for, and there is the joy of growing a plant that is uniquely your own. Here we explain techniques for growing caudex plants from seed.
Caudex Plant Varieties Suited to Seed Propagation
Not all caudex plants are suitable for growing from seed.
| Difficulty | Variety | Characteristics |
|---|---|---|
| Beginner | Adenium obesum (Desert Rose) | Has an extremely high germination rate and grows quickly. Germinates within one week of sowing, and the caudex visibly thickens within one year |
| Beginner | Pachypodium lamerei | Has a relatively high germination rate and moderate to fast growth speed |
| Intermediate | Pachypodium gracilis | Highly popular and frequently propagated from seed, though germination rates are slightly lower than Adenium. Growth is slower, but after 2–3 years from seed the plant develops a characteristic caudex form |
| Intermediate | Pachypodium ebreneum | A popular variety for seed propagation |
| Advanced | Operculicarya pachypus | Obtaining seeds is difficult and germination rates are low—suitable only for advanced growers. Even if seeds germinate, growth is extremely slow, and it can take over 10 years for the caudex to thicken |
| Advanced | Boswellia and Commiphora species | Similarly difficult varieties |
Preparation and Sowing Procedure
The key to successful seed propagation is preparation before sowing.
- Checking Seed Freshness: Seed freshness is critical for caudex plants. Seeds collected within 3 months have the highest germination rate, with viability dropping sharply after 6 months. When purchasing, always check the collection date.
- Seed Pre-treatment: To prevent seed rot from fungal infection, seed coating with Orthocide 80 WP (registered for flowers and ornamental foliage plants) applied at 0.2–0.4% by weight of the seed is effective. (Soaking seeds in diluted Benlate or Daconil is not recommended on product labels.) Pachypodium seeds sometimes have feathery cotton attached; remove this before treatment.
- Soil Preparation: The basic mix consists of equal parts fine-grain akadama, fine-grain kanuma soil, and vermiculite. The soil must be sterilized with boiling water or heated in a microwave. Inadequate sterilization risks fungal growth and total seed loss.
- Sowing Method: Fill a container with sterilized soil and moisten it thoroughly. Place seeds on the soil surface and cover lightly so approximately half the seed is covered. Then cover with plastic wrap or a clear lid to maintain high humidity.
Source: MAFF Pesticide Registration Database (Orthocide 80 WP)
Post-Germination Care
Management after germination determines caudex development.
- Time to Germination: Adenium typically germinates in 3–7 days; Pachypodium species germinate in 1–3 weeks. Lower temperatures delay germination, so use a heating mat to maintain 25–30°C.
- Removing the Lid: Once seeds have germinated, gradually open the lid to acclimate seedlings to open air. Removing the lid suddenly causes a sudden humidity drop that can damage seedlings. Gradually increase ventilation over 2–3 days.
- Light Management: Light is needed immediately after germination. Provide 12–16 hours of LED lighting or keep in a bright window. However, direct sunlight is too intense for seedlings, so provide 30–50% shade initially.
- Watering: During the seedling stage, water before the soil dries completely. Bottom watering (capillary watering) is effective for uniform moisture. Continue capillary watering until 3–4 true leaves have developed, then gradually transition to regular watering.
Techniques for Thickening Caudexes
The joy of seed propagation is watching the caudex develop and thicken.
- Gradual Exposure: Initially plant normally, but with each repotting gradually lift and expose more of the caudex. This allows the caudex to harden and thicken as it receives light.
- Proper Watering Cycle: Constantly wet soil prevents caudex thickening and promotes thin root growth. A cycle of drying between waterings—allowing soil to dry completely—promotes caudex development. However, avoid extreme drying during the seedling stage.
- Pot Size Management: Smaller pots promote compact, well-formed caudexes. Oversized pots encourage vertical root growth and hinder caudex thickening. Choose pots proportionate to plant size and repot once yearly.
- Light and Air: Strong light and adequate airflow promote caudex expansion. Growing outdoors with some natural stress encourages robust caudex development.
Differences Between Seed-Grown and Wild-Collected Plants
Seed-grown and wild-collected plants each have distinct characteristics.
- Advantages of Seed-Grown Plants: Adapted to Japanese conditions from the start, they are easier to manage. They have low risk of root rot and stable growth. They are also more affordable than wild-collected plants.
- Appeal of Wild-Collected Plants: The unique caudex forms developed over many years are difficult to replicate in seed-grown plants. The character of plants grown in their natural habitat is a charm unique to wild-collected specimens.
- Enjoying Both: Gain experience growing seed-propagated plants while awaiting the day you encounter an ideal wild-collected specimen. Enjoying both types is the true essence of caudex plant cultivation.
GrowerDirect features seed-grown specimens from growers specializing in caudex propagation. Many growers share information about parent plants and growth records from seed, providing valuable reference for seed propagation.