Grafting Techniques for Caudex Plants | How to Choose Rootstocks and Scions for Adeniums
Explains grafting methods for caudex plants. Introduces how to select rootstocks and scions optimal for Adenium grafting, procedures for cleft grafting and approach grafting, and temperature and humidity management methods to increase graft success rates.
Key Takeaways
Explains grafting methods for caudex plants. Introduces how to select rootstocks and scions optimal for Adenium grafting, procedures for cleft grafting and approach grafting, and temperature and humidity management methods to increase graft success rates.
Related Species

Why Grafting Changes Caudex Plant Cultivation
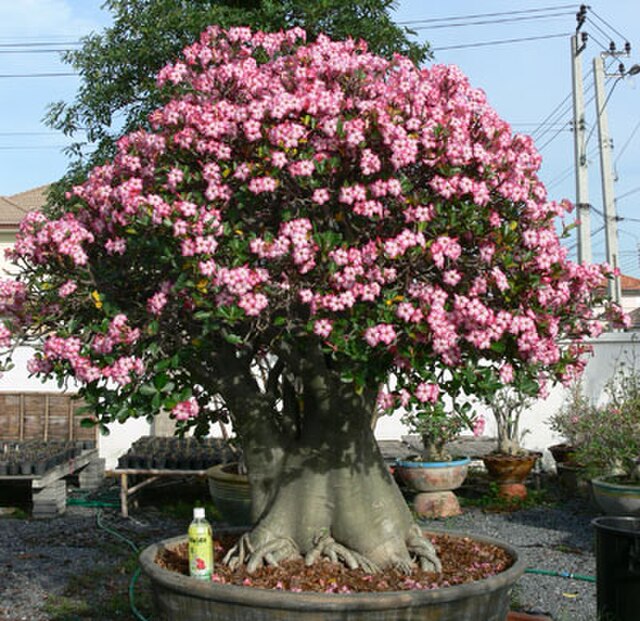
In caudex plant cultivation, grafting is positioned as an advanced technique that goes far beyond being merely a propagation method. In particular, with Adeniums (Desert Roses), grafting can achieve growth rates 3-5 times faster than seed-grown plants, and this method is adopted by collectors worldwide as a means to efficiently multiply rare varieties like Adenium socotranum and expensive hybrid cultivars.
The essence of grafting lies in combining the vigorous root system of the rootstock with the superior traits of the scion. By supplying the scion with the rootstock's strong water and nutrient absorption capacity, growth that would normally take several years on a scion alone can be achieved in a single season. Additionally, by assigning pest and disease resistance to the rootstock side, even delicate varieties can be cultivated stably. When raising the rootstock itself from a bare-root stock, mastering the fundamentals of rooting by consulting Complete Manual for Adenium Rooting Management will increase the success rate of grafting.
How to Choose Rootstocks and Suitable Varieties
The following species are primarily selected as rootstocks for Adenium grafting.
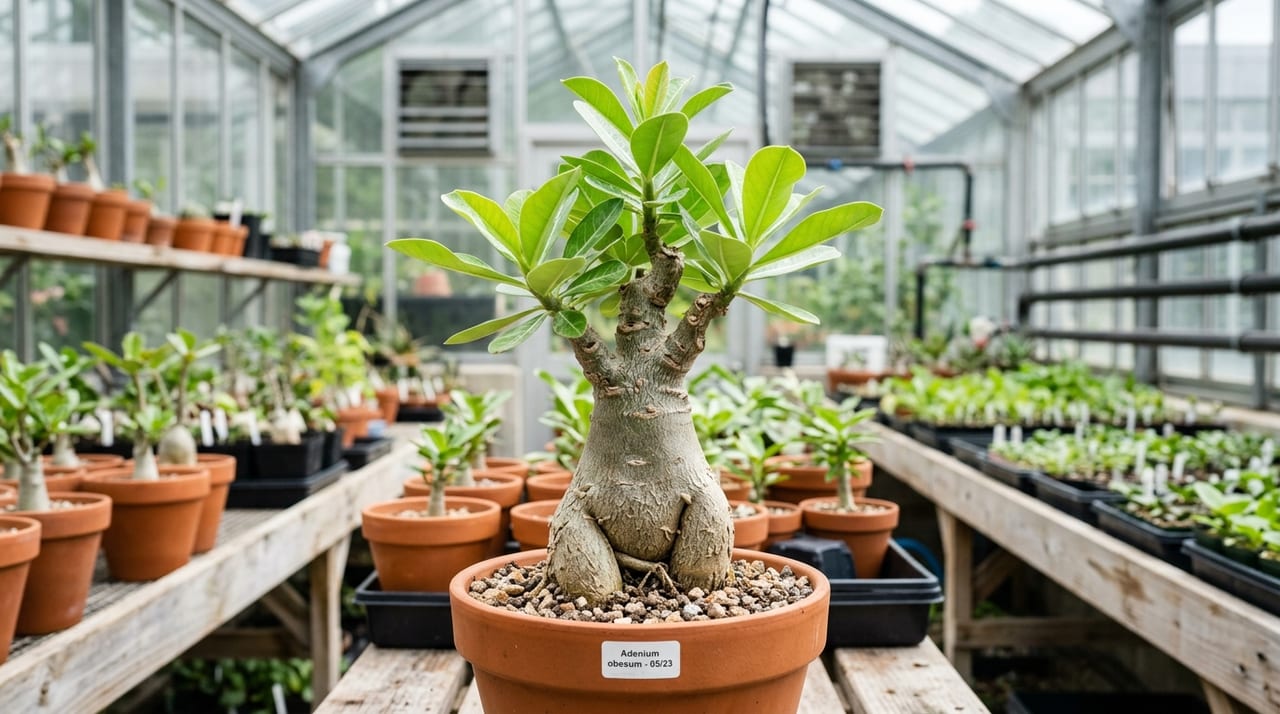
Adenium obesum is the most popular rootstock candidate. It is easy to obtain, grows vigorously, and develops a strong root system. However, as it grows, the rootstock's caudex develops, which in some cases raises concerns about the appearance of the graft union. It is ideal as a rootstock for beginners.
Adenium arabicum exhibits extremely rapid root and stem thickening and easily forms thick caudices. While it has a strong growth-promoting effect on the scion, the rootstock itself requires significant water, making watering management critical. Best suited for advanced growers.
The basic approach is to prepare Adeniums for use as rootstocks that are robust seedlings approximately 1-2 cm in diameter. Rootstocks that are too thin lack the strength to support the scion, while those that are too thick make it difficult to maximize the contact area of the vascular bundle. It is important to continue proper watering starting 2-3 weeks before grafting to ensure the rootstock accumulates sufficient vigor.
The health status of the rootstock greatly affects grafting success rate. Avoid any showing signs of root rot or leaves with yellowing or spotting. Ideally, on the day before grafting, you can lightly check the base of the rootstock and visually confirm that white, plump roots are present.
How to Choose Scions and Optimal Harvest Timing
The quality of the scion determines the traits of the plant after grafting. Select branches from the variety you wish to propagate that meet the following conditions.
- Stem firmness: Semi-hardwood is optimal—not too soft and not excessively lignified. The target state is when you gently bend it with your finger and it has elasticity without breaking.
- Compact internodes: Avoid elongated branches. Select branches with short intervals between nodes and robust buds.
- Absence of pests and diseases: Carefully verify there are no traces of aphids or scale insects.
Harvesting is ideally done in the morning on a sunny day. This is when temperature is rising and the plant contains abundant water and sugars. After harvesting, proceed to grafting promptly without allowing the cut to dry. If you cannot use it immediately, wrap the cut in moist paper towels and temporarily store in a cool, dark place (use within 24 hours).
A scion length of 3-5 cm is most manageable. If too long, the burden on the rootstock increases and the risk of the scion wilting from water stress before establishment increases.
Grafting Procedure and Precautions
The optimal time for grafting is late May to mid-August. During periods of vigorous growth with temperatures of 25-35°C, callus formation is promoted and graft success rates increase.
Necessary tools:
- Clean utility knife or grafting knife
- Alcohol (for sterilizing blades)
- Grafting tape or grafting clips
- Plastic bags (for humidity retention)
Steps:
- Sterilize the knife with alcohol and make a clean, single horizontal cut at the top of the rootstock. Sawing motions are strictly forbidden as they rough up the cut surface.
- Make a vertical cut 1-1.5 cm deep in the center of the rootstock's cut surface (for cleft grafting).
- Shave the lower end of the scion into a wedge shape. Ensure the angles on both sides are symmetrical. Maintain 1-1.5 cm of shaved surface.
- Insert the wedge portion of the scion into the rootstock's cut. At this point, adjust the position so that the cambium layer (the thin green layer) aligns with at least one of the rootstock or scion.
- Wrap and secure with grafting tape from top to bottom. Not too tight, not too loose.
- Cover the entire graft with a plastic bag to maintain high humidity. Place in bright shade, avoiding direct sunlight.
Post-Graft Management and Timing for Rootstock Removal
If new growth appears on the scion 10-20 days after grafting, it is a sign that the graft has established. Once new buds are visible, gradually open the plastic bag to acclimate to external air (avoid abrupt drying).
After the graft establishes, lateral and auxiliary buds will still emerge from the rootstock. Remove these promptly. If rootstock buds are left in place, nutrients are diverted to the rootstock side and scion growth is severely delayed. After removal, protect the wound by applying a fungicide such as Topsin M paste.
Remove the grafting tape approximately 2-3 weeks after the graft establishes. Leaving tape in place for extended periods can cause it to cut into the tissue as it swells, potentially causing growth problems.
After callus formation at the graft union is complete (approximately 2-3 months later), decide whether to continue growing in the "high graft" style using the rootstock's root system fully, or transition to "separated cultivation" by promoting the scion's own rooting before separating from the rootstock. The former is chosen when you want to maintain growth rate, while the latter is selected when you want to eventually develop the scion's own caudex beauty. How much flowering improves after the graft establishes is also explained in How to Grow Adeniums and Tips for Blooming, so please refer to that as well if your goal is flowering.
Common Failure Points and Countermeasures
Grafting failures follow common patterns.
Drying of cut surfaces: Minimize the time between cutting the rootstock and scion and joining them. Simulate the procedure multiple times beforehand, and perform the actual operation decisively and quickly.
Cambium misalignment: The most common cause of failure. Beginners often make the rootstock cut too shallow, preventing the scion wedge from reaching the cambium. Be conscious of matching the cut depth with the scion's wedge length.
Rot from high heat and humidity: Humidity retention is necessary, but continuing to seal the plastic bag in temperatures exceeding 35°C causes excessive moisture and rot. It is effective to maintain humidity while gently circulating air with a fan.
Inadequate watering of the rootstock: Some people stop watering the rootstock during the establishment period, but the rootstock is a living plant requiring continuous water. However, excess moisture can lead to root rot, so maintain the basic practice of watering only after the soil dries.
Grafting is a skill refined through repeated attempts. For your first several tries, focus on becoming familiar with cleft grafting precision and identifying the cambium layer. Once you exceed a 50% success rate, progress to advanced techniques. Careful tool maintenance and keeping a clean work environment lead to long-term improvements in success rate.