Pachypodium Seed Propagation Guide | From Sowing to Germination and Growth
This guide explains how to grow Pachypodium from seed. We cover everything from sourcing seeds and sowing to managing germination, caring for seedlings, and the unique joys of seed propagation.
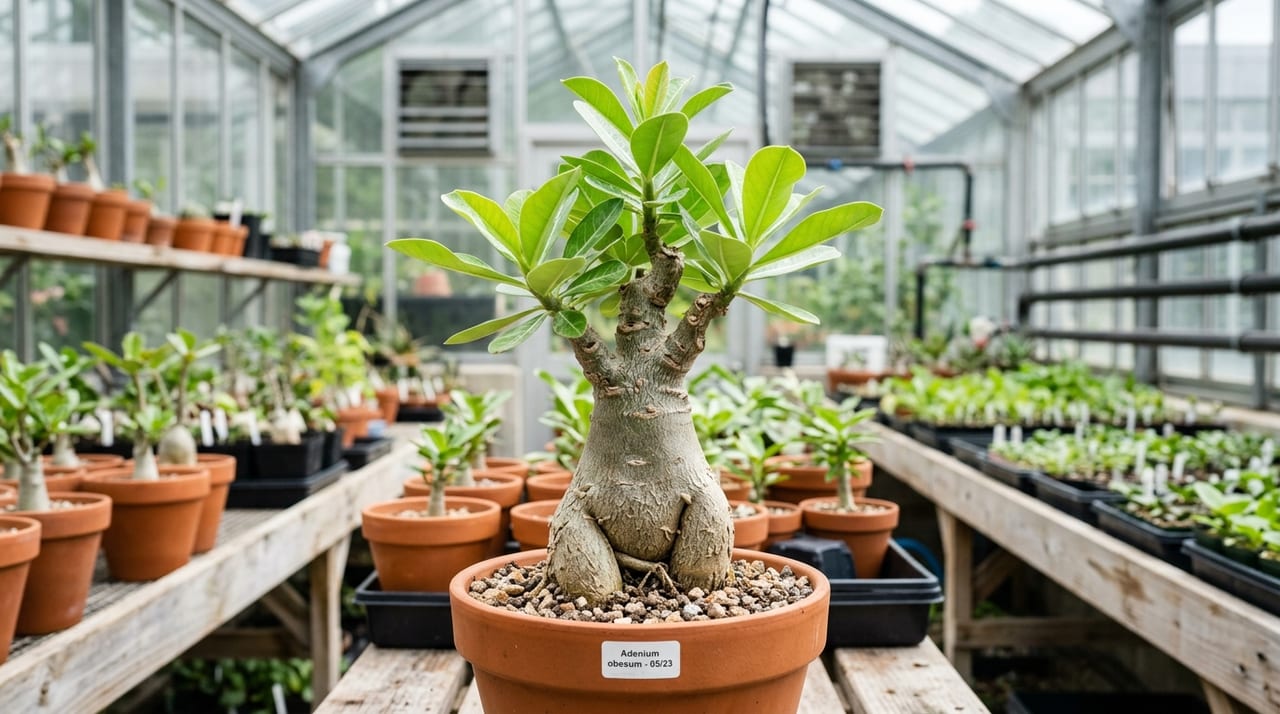
Key Takeaways
This guide explains how to grow Pachypodium from seed. We cover everything from sourcing seeds and sowing to managing germination, caring for seedlings, and the unique joys of seed propagation.
Related Species
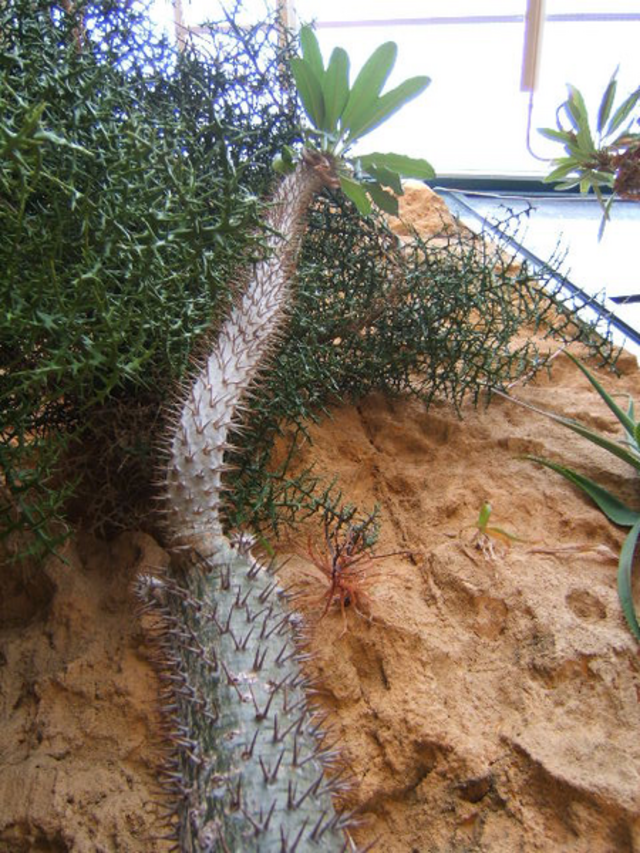
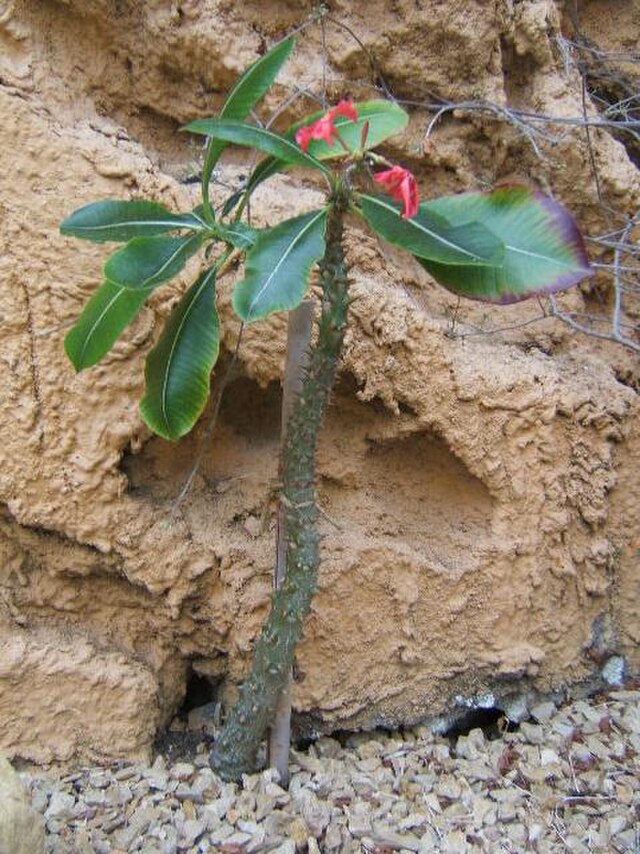
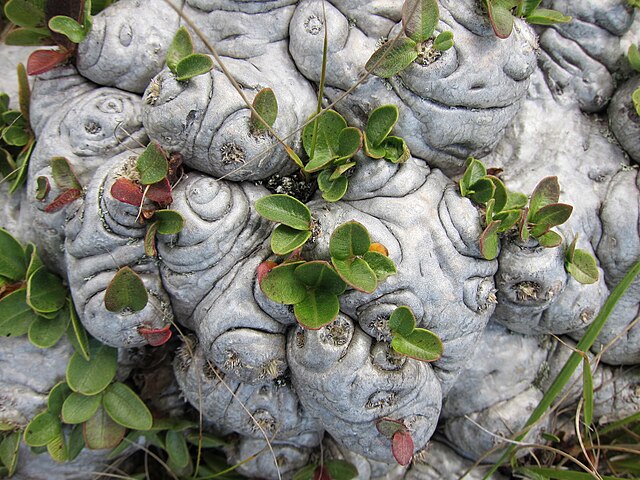
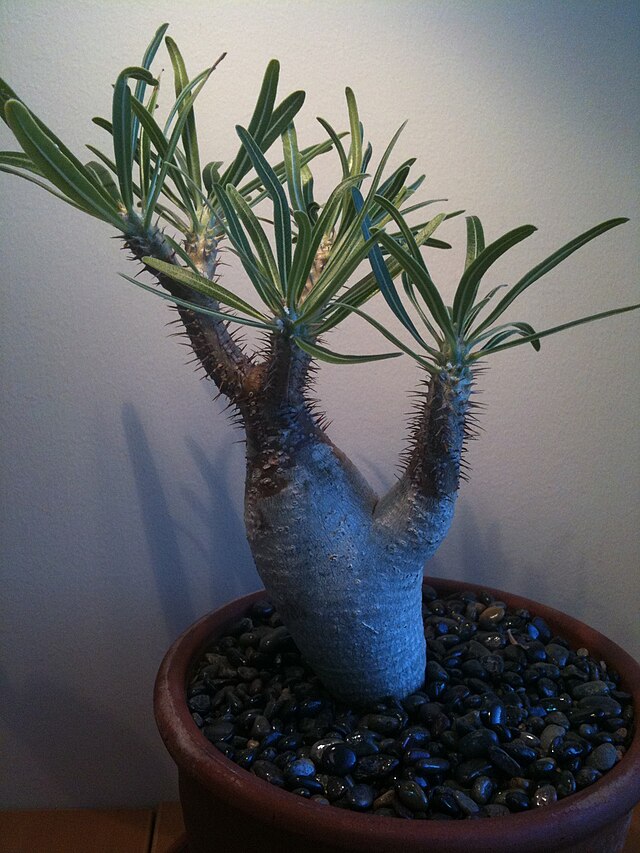
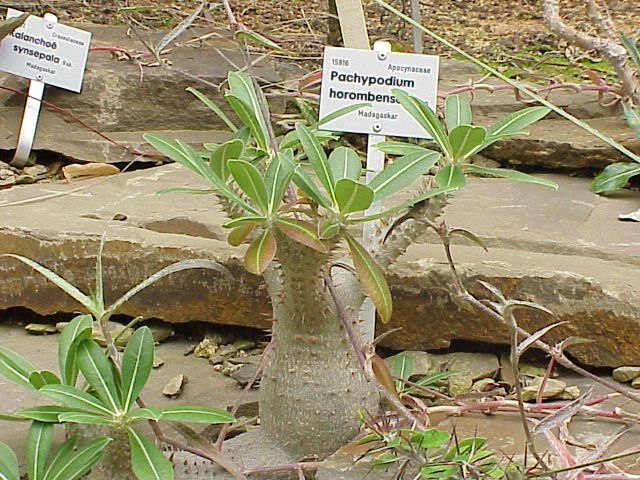
Growing Pachypodium from seed is a deeply rewarding way to experience the joy of cultivating your own unique plant from a single seed. Compared to imported specimens, plants grown from seed adapt more easily to Japanese conditions and offer the greatest appeal of fostering attachment from the seedling stage onward.
The Appeal and Benefits of Seed Propagation
There are many reasons to grow Pachypodium from seed.
- Plants that adapt to the Japanese climate: Plants grown from seed in Japan acclimate to Japanese temperature and humidity from the seedling stage, developing into individuals that are highly resistant to environmental stress
- The pleasure of growing your own unique individual: Even from the same seed batch, each seedling develops a unique form, allowing you to cultivate a one-of-a-kind plant
- Cost savings: While large imported specimens are expensive, seeds can be obtained relatively inexpensively
- Enjoying the growth process: There is joy in observing daily changes
- No CITES concerns: Seed-grown plants are domestically propagated specimens and are not subject to CITES restrictions
How to Source and Select Seeds
Obtaining quality seeds is the first step to success.
Sources
- Domestic specialty shops and online retailers
- Seed exchanges among enthusiasts
- Direct-sales platforms such as GrowerDirect
Seed Freshness Is Critical Pachypodium seeds are only as good as their freshness. Germination rates decline over time after harvest. When purchasing, confirm the harvest date and choose the freshest seeds available. Ideally, seeds should be no more than 3 months old from harvest.
Popular Varieties for Seed Propagation
- Pachypodium gracilis: Known for its rounded caudex; relatively easy to grow from seed
- Pachypodium horombense: Features a thick caudex; growth is somewhat slow but well-suited to seed propagation
- Pachypodium brevicaule (Ebisu-warai): Distinguished by its flattened caudex; germination is somewhat challenging
- Pachypodium baronii: Attractive for its vigorous form; germination rate is relatively high
Seed Sowing: Preparation and Method
Soil Preparation
- Mix fine-grain akadama and fine-grain Hinata soil in a 1:1 ratio
- Adding a small amount of vermiculite improves water retention
- Sterilize the soil in advance using boiling water or microwave heating
Containers
- Plastic cell trays or shallow pots are suitable
- Use containers with drainage holes and employ bottom-watering (capillary watering)
Sowing Steps
- Soak seeds for 24 hours in lukewarm water (around 30°C). Dissolving a small amount of fungicide (such as benomyl) helps prevent mold
- Place sterilized soil in containers and moisten thoroughly
- Place seeds on the soil surface and press gently (use minimal covering soil, just enough to conceal the seed)
- Set up bottom-watering and cover with plastic wrap or a lid to maintain high humidity
- Place in a warm location (25–30°C)
Post-Germination Care
Germination Period Depending on the variety, germination typically occurs within 3 days to 2 weeks. Pachypodium gracilis germinates relatively quickly, often sprouting within 3–7 days.
Precautions Immediately After Germination
- Begin opening the lid gradually to ensure air circulation
- Removing the lid abruptly can cause sudden humidity loss and seedling death, so acclimate over several days
- Avoid direct sunlight and manage in bright, indirect light
- If mold appears, apply fungicide and remove affected portions
Watering During the Seedling Stage
- Continue bottom-watering but keep water level to about 1 cm from the container base
- Maintain soil surface in a consistently moist state
- Once 3–4 true leaves develop, gradually reduce bottom-watering and switch to conventional watering
Key Points for Seedling Development
Light Adjustment Acclimate seedlings gradually to light. About one month after germination, begin exposing them to soft morning sunlight. When using LED grow lights, start with low intensity and increase to normal levels over 2–3 weeks.
Timing for Potting Up
- When 4–6 true leaves have developed and the caudex begins to swell, pot each seedling individually
- Handle roots carefully to avoid damage
- After potting, withhold water for about a week and recover in partial shade
Fertilizer
- Once true leaves develop, apply dilute liquid fertilizer (about 1/4 strength) once every two weeks
- Excess nitrogen causes leggy growth, so choose a fertilizer with balanced phosphorus and potassium
Growth Targets for Year One
For Pachypodium gracilis
- 3 months after sowing: caudex diameter 1–2 cm, height 3–5 cm
- 6 months after sowing: caudex diameter 2–3 cm, height 5–8 cm
- 1 year after sowing: caudex diameter 3–5 cm, height 8–12 cm
Growth rates vary among individuals. Avoid rushing and manage according to your plant's pace.
Year Two and Beyond: Care Management
From year two onward, transition to standard caudex plant care.
Seasonal Watering Strategy
- Water generously during the growing season (spring–autumn) and reduce watering during dormancy (winter)
- Seed-grown plants have more robust root systems than imported specimens, making watering easier to manage
- During the growing season, repeat the cycle of watering thoroughly once soil dries out
Tips for Thickening the Caudex
- Ensure adequate light (direct sunlight is fine during the growing season)
- Apply balanced fertilizer; aim for liquid fertilizer once or twice monthly during the growing season
- Avoid oversized pots. Use a pot that fits the root ball snugly, then move to the next size up once roots are well-developed
- Maximize the summer growing season. The critical period is May–September when daylight is long
Common Issues in Seed Propagation
- Mold on seeds: Prevent through thorough sterilization and ensuring air circulation. Remove moldy seeds immediately
- Seeds fail to germinate: Caused by low seed viability or insufficient temperature. Maintain 25–30°C
- Leggy growth: Caused by insufficient light. Add LED grow lights or relocate to a brighter spot
- Seedling rot: Caused by overwatering or excessive heat and humidity. Improve air circulation and adjust watering levels
Tips for Maximizing Propagation Success Rate
To maximize propagation success, keep the following points in mind.
Choosing the right season is most important. Spring through early summer (April–June) offers the best balance of temperature and sunlight, achieving the highest rooting and germination rates. Autumn is possible but has slightly lower success rates due to shorter growing time before winter. Avoid mid-summer (high heat and humidity increase rot risk) and mid-winter (low temperatures inhibit rooting).
Maintaining clean tools and environment is also key to success. Sterilize scissors and knives beforehand with alcohol or flame, and use fresh, clean soil. Reused soil may harbor pathogens.
Humidity and temperature management determine rooting success. The ideal environment is stable temperatures of 20–30°C and moderate humidity (around 60–70%). Sealed containers or plastic wrap can maintain humidity, but watch for mold; ventilate once daily.
Keeping records is also valuable. Document the work date, growing medium used, temperature conditions, and days to rooting. This information helps with future propagations. Analyzing success and failure patterns reveals your own best practices.
Enjoying Seed Propagation with GrowerDirect
At GrowerDirect, you can purchase Pachypodium seedlings and fresh seeds grown by seed-propagation specialists. A key benefit is being able to get direct advice from experienced growers on germination rates and growth characteristics for each variety. We encourage you to experience the joy of growing your own unique Pachypodium from seed.