Succulent Seed Propagation Guide | How to Grow Echeveria from Seed
Explains the method of seed propagation for succulents. Introduces Echeveria cross-pollination and seed collection, seed-starting soil composition, water-wicking management, thinning and transplanting after germination, and a growth schedule for seedling plants.
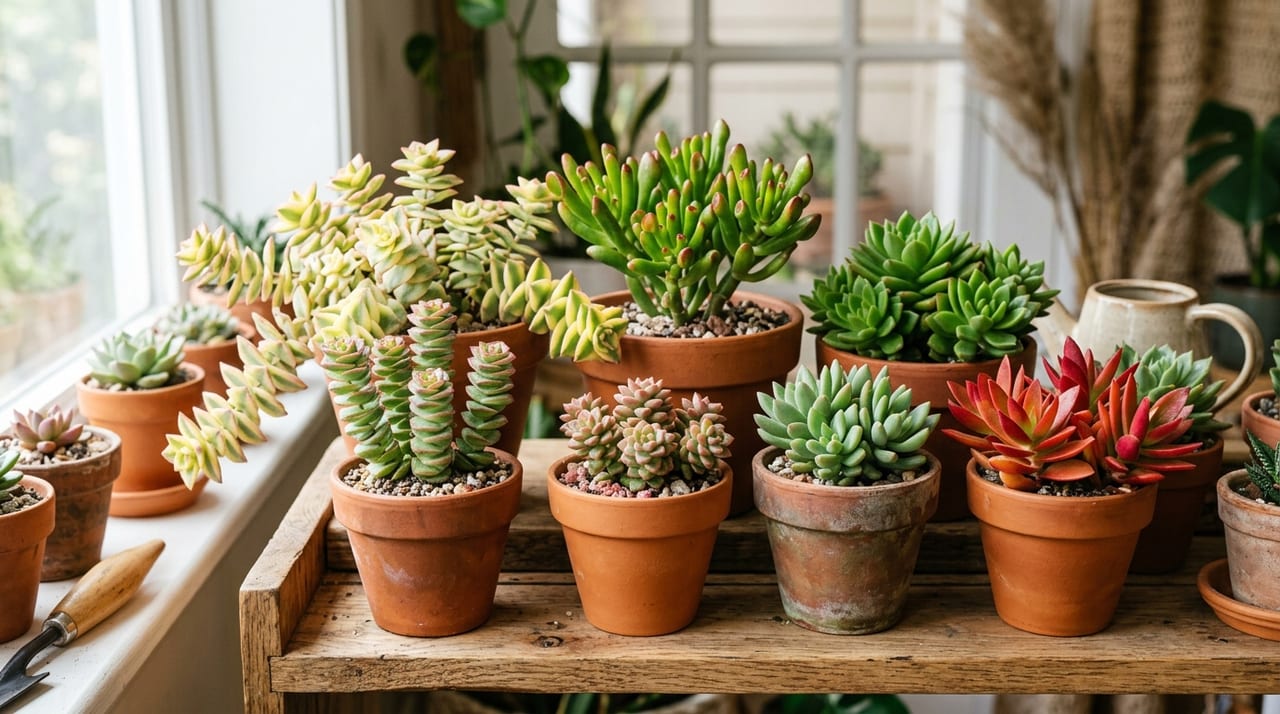
Key Takeaways
Explains the method of seed propagation for succulents. Introduces Echeveria cross-pollination and seed collection, seed-starting soil composition, water-wicking management, thinning and transplanting after germination, and a growth schedule for seedling plants.
Related Species
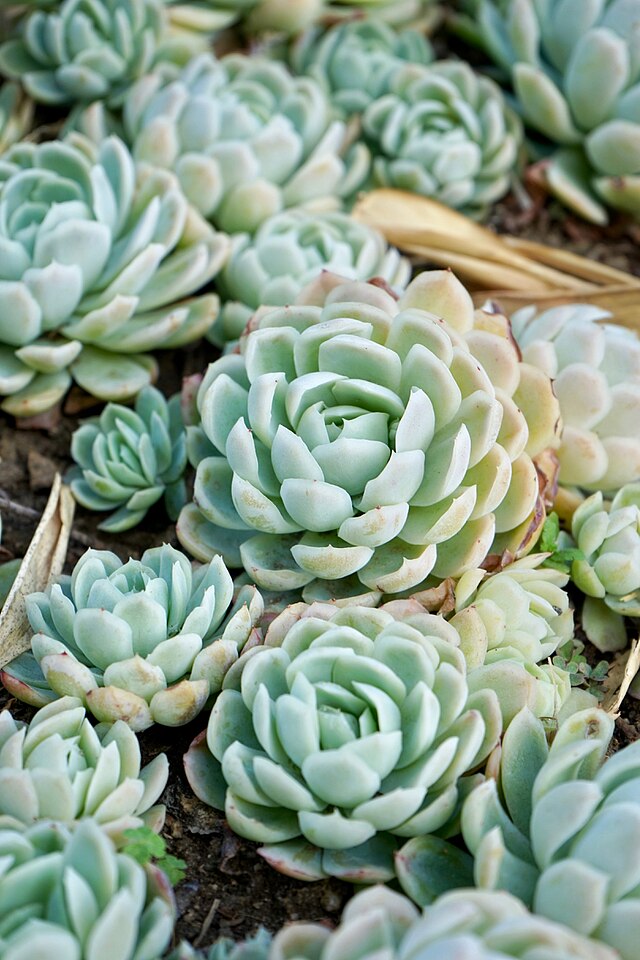
Confirmed the related article slug. Outputting refresh version.
What is Seed Propagation? The Appeal of Growing Echeveria from Seed
When it comes to propagating succulents, leaf cuttings and division are the most common methods. However, "seed propagation," or growing from seed, has its own unique charm that these methods alone cannot offer.
The greatest joy of seed propagation is creating an individual unlike any other in the world. Echeveria has given rise to countless varieties through cross-breeding, and seedlings grown from seeds you've cross-pollinated yourself hold the potential to be unlike any existing variety. Additionally, in cases where certain species are difficult to propagate by leaf cutting or when you want to obtain rare varieties not in circulation, seed propagation becomes the only option.
The process of watching tiny cotyledons grow day by day and develop leaves in a rosette pattern brings a sense of wonder different from that of leaf propagation. While it takes time, the deeper attachment that grows along the way is the true charm of seed propagation cultivation.
Timing for Sowing Seeds and Materials Needed
The optimal time for Echeveria seed propagation is spring (March–May) and autumn (September–October). Germination requires temperatures around 15–25°C, and extreme heat or cold will reduce germination rates. Avoid direct sunlight in summer or harsh cold spells in winter.
Materials you'll need are as follows.
Seeds Purchasing from trusted growers or specialty shops is the standard practice. Echeveria seeds are extremely small—most are finer than sesame seeds. Freshness is critical, so select seeds collected within the past six months. Old seeds will have significantly reduced germination rates.
Potting Soil Choose clean soil with fine particles. You can use commercially available "succulent soil," sifted to use only the fine particles, potting soil made from fine-grained red volcanic ash (Akadama) alone, or a mix of fine-grained red volcanic ash and Kanuma soil in a 7:3 ratio. Soil with high nutrient content is prone to microbial growth and causes seedling legginess, so avoid it.
Seed-Sowing Container A shallow plastic tray or seed-raising pot that is easy to manage with small seedlings works well. Choosing a container with a lid or that can be covered with clear plastic wrap makes humidity management easier until germination.
Water-Wicking Tray and Misting Bottle In Echeveria seed propagation, "water-wicking" management is standard for a while after germination. This method involves placing the container in a tray of water to absorb moisture from the bottom, preventing the soil surface from drying out.
Seed Sowing Steps
- Soil Preparation and Sterilization Sterilize the soil with boiling water to suppress fungal and microbial growth. Place soil in a pot, pour boiling water over it, mix well, and use once cooled. Because Benlate (benomyl) is not registered for use with succulents and the method of mixing it into soil is not listed on its label, boiling water sterilization is the standard approach.
- Fill Container with Soil Fill the container with soil uniformly and level the surface. Moisten thoroughly before sowing.
- Sow the Seeds Because Echeveria seeds are extremely small, place them on a piece of paper with a fold, then position them one at a time with a toothpick tip. Space them roughly 1 cm apart to avoid crowding. Covering soil over seeds is generally not necessary, as many are photoblastic seeds whose germination is promoted by light.
- Maintain Humidity Cover the container with plastic wrap or a lid to maintain humidity. Keep it in a bright, shaded location (50–60% shade), avoiding direct sunlight.
- Await Germination Given proper conditions, germination typically occurs within 1–3 weeks. Some varieties may take a month or longer. Remove the wrap or lid briefly each day for ventilation to prevent fungal growth.
Post-Germination Management: Tips for Growing Healthy Seedlings
Seedlings immediately after germination are extremely delicate. Management during this period will significantly affect their subsequent growth.
Light Exposure Once germinated, move seedlings to a bright location immediately. Insufficient light causes legginess (elongation between nodes), resulting in weak seedlings. However, exposing tender seedlings to intense direct sunlight immediately after germination will kill them, so initially manage them under about 50% shade and gradually acclimate them to brighter conditions. If managing indoors, using plant growth LED lights is also effective.
Watering and Water-Wicking Management For 1–2 months after germination, manage seedlings using the water-wicking method. Once cotyledons unfold and true leaves begin to emerge, gradually lower the water level in the wicking tray and eventually switch to standard watering. Continuing water-wicking too long risks root rot, so once 3–4 true leaves have appeared, consider it time to stop.
Thinning and Transplanting If seedlings are crowded, thin them once true leaves have emerged. When seedlings reach about 1 cm in diameter, transplant them into individual pots. Use tweezers or a toothpick to carefully lift them without damaging roots.
Fertilizer From about 3 months after germination, applying diluted liquid fertilizer (half the recommended strength or less) once monthly will promote growth. However, excessive fertilizer causes legginess, so use caution.
Growth Rate and Flowering
Echeveria seedlings grow more slowly than leaf-cutting seedlings. It takes about a year to reach a 3–4 cm diameter rosette, and some varieties take 2–5 years to reach maturity.
Flowering can begin in the second or third year in some cases. The emotion felt when a plant you've raised produces its first flower stem is unparalleled. Furthermore, by cross-pollinating flowering plants, you can collect seeds of your own original hybrid varieties.
Hand-pollinating Echeveria is not difficult—simply brush pollen onto the stigma with a cotton swab or brush. If pollination succeeds, seeds will mature and can be collected within several weeks. Once you enter the "seed propagation cycle" of sowing seeds you've collected yourself the following year, the world of succulent cultivation expands even more deeply.
Common Failures and How to Prevent Them
Fungal Growth The high-humidity environment before and during germination is favorable for fungal growth. Ventilate daily to reduce humidity. For damping-off disease where seedlings collapse at the base, you can spray Orthocide 80 WP (captan)—registered for damping-off and seedling disease on flowers and ornamental foliage plants—at a 600× dilution. Remove contaminated soil immediately.
Seeds Don't Germinate The main causes are low seed freshness, improper temperature, or soil that is too dry. Even freshly purchased seeds won't have 100% germination. Sowing 20–30 seeds and having a few germinate should be considered a success.
Seedlings Become Leggy Insufficient light is the primary cause. Windowsills indoors often lack sufficient sunlight, so consider adopting plant growth lights. Aim for about 12–14 hours of daily illumination.
Seed propagation is time- and labor-intensive, but plants raised over years from a single seed have a special value you cannot find in commercially available seedlings. Don't fear failure—try starting with dozens of seeds.
Source: MAFF Pesticide Registration Database (Orthocide 80 WP)