Succulent Leaf and Stem Propagation Guide | Tips for Improving Success Rate
Detailed explanation of succulent leaf and stem propagation methods. Covers optimal timing, soil media, management techniques, and tips for boosting success rates.
Key Takeaways
Detailed explanation of succulent leaf and stem propagation methods. Covers optimal timing, soil media, management techniques, and tips for boosting success rates.
Related Species
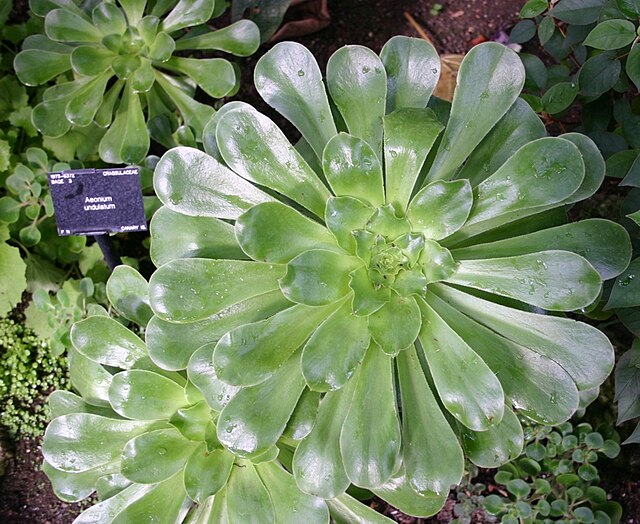
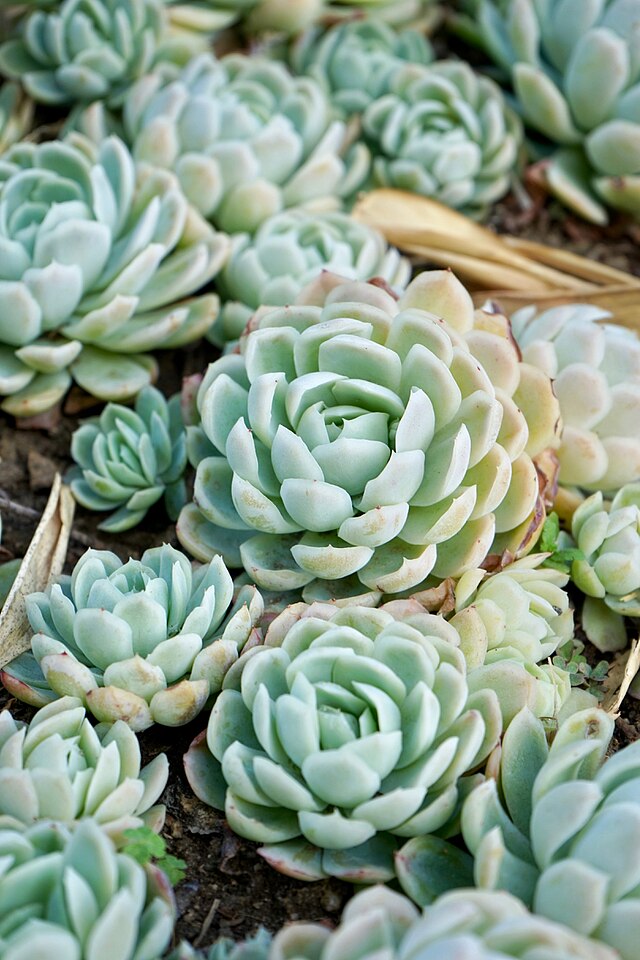
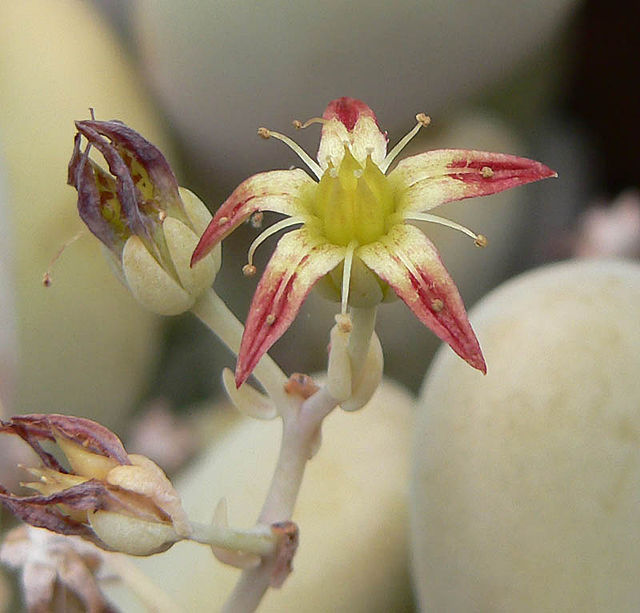
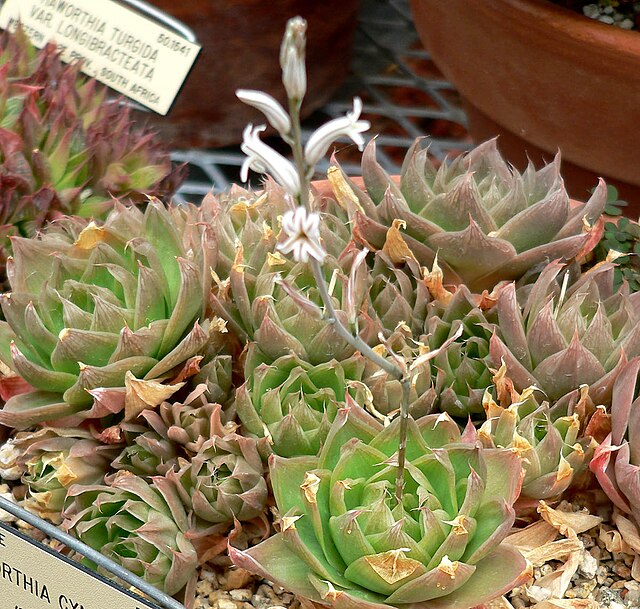
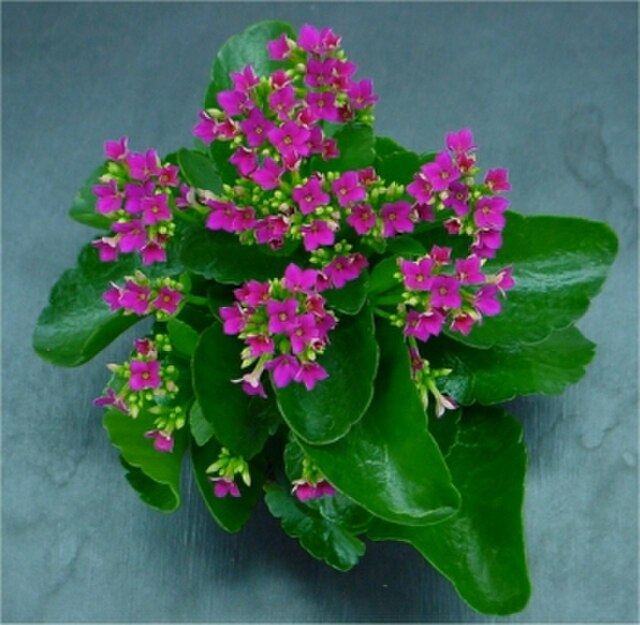
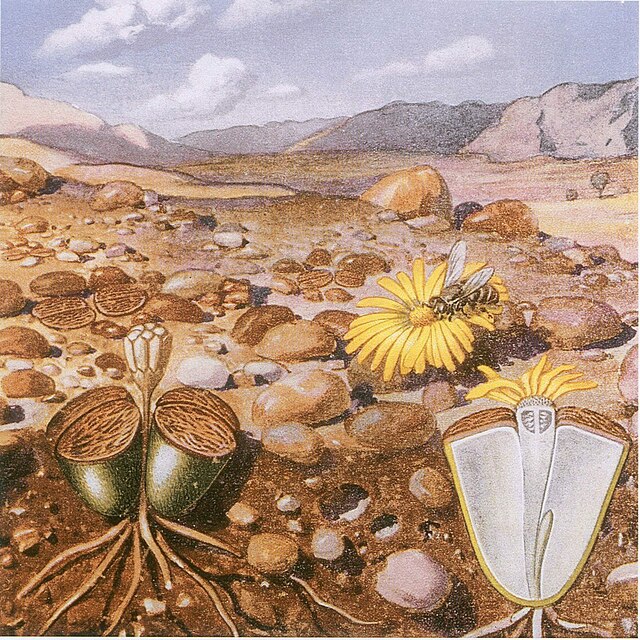
One of the attractions of succulent plants is their ability to multiply easily from leaves and stems. Leaf propagation and stem cuttings are propagation methods that even beginners can try, but subtle techniques make a big difference in success rates. Here we explain the basics through advanced techniques in detail.
Leaf Propagation Basics
Leaf propagation is a method of growing a new plant from a single leaf. It is a propagation method that succeeds easily with succulents in the Crassulacean family, such as Echeveria, Graptopetalum, and Sedum.
- Optimal Timing The growing seasons of spring (March to May) and autumn (September to November) are ideal. When temperatures are around 20–25°C, rooting happens quickly and success rates increase. Avoid mid-summer and mid-winter.
- How to Remove Leaves The most critical step affecting success rate is how you remove the leaf. Gently rock the leaf left and right, then cleanly separate it from the stem at the base. A leaf that snaps partway through ("crack") will lack the growing point, making bud emergence unlikely. Ideally, white tissue should remain at the base.
- Drying After removing, dry the leaf in bright, indirect light for 2–3 days, ensuring the cut end dries thoroughly. Insufficient drying allows bacteria to enter and cause rot.
- Arranging and Managing Arrange the leaves on dry soil media (fine red volcanic soil or vermiculite). There is no need to insert them into the soil; simply placing them on top is fine. Arranging them on shallow soil in a tray or shallow container makes management easier.
- Rooting and Budding After 2–4 weeks, fine roots emerge from the base. Once roots appear, mist lightly with water. After another 1–2 weeks, small buds (baby plantlets) appear. The original leaf continues to supply nutrients until it wrinkles and dies, so do not remove it forcefully.
Stem Cutting Basics
Stem cutting is a method of cutting stems to induce rooting, growing into larger plants faster than leaf propagation.
- Suitable Succulents It suits stemmed varieties such as Sedum, Kalanchoe, Aeonium, and Graptopetalum. It is unsuitable for stemless varieties such as Haworthia and Lithops.
- Cutting Position Cut 2–3 cm below a node using clean scissors or a blade. Wipe the blade with rubbing alcohol before use. After cutting, remove the leaves from 1–2 nodes below the cut.
- Drying the Cut Dry the cut end of the cutting in bright, indirect light for 3–5 days. For thick stems, drying for about a week is safer. Once white callus tissue forms at the cut during drying, you are ready to proceed.
- Planting and Rooting Insert into a pot filled with dry red volcanic soil or perlite. Do not water immediately after insertion; begin light watering one week later. Roots develop in 2–3 weeks, and once new growth begins, shift to normal care.
Techniques to Boost Success Rates
- Harvest from Healthy Parent Plants Leaves from diseased or pest-infested plants have lower success rates. Select full, plump, healthy-looking leaves.
- Use Clean Soil Media Reused soil risks bacterial growth. Use fresh media or soil sterilized in a microwave.
- Use Rooting Hormone Lightly apply rooting hormone like Rootone to the cut end to speed rooting, especially for stem cuttings where the effect is pronounced.
- Proper Temperature Control Ideal rooting temperature is 20–25°C. Manage in air-conditioned rooms in summer and warm windowsills in winter for year-round propagation.
- Avoid Direct Sunlight Until rooting occurs, avoid direct sunlight and maintain in bright, indirect light. Strong sunlight promotes transpiration, and without roots, dehydration causes death.
Propagation Suitability by Variety
| Classification | Variety |
|---|---|
| High success rate with leaf propagation | Echeveria (Peach Princess, Laurinze, etc.), Graptopetalum (Ghosty, Autumn Joy, etc.), Sedum (Rainbow Jade, Maiden Heart, etc.), Pachyphytum (Moonglow, Star Sedum, etc.) |
| Difficult to propagate from leaves | Aeonium (Black Rose, etc.), Sempervivum, Most Haworthia varieties |
| Easily propagated from stem cuttings | Kalanchoe, Aeonium, Crassula (Jade Plant, etc.), Senecio (String of Pearls, etc.) |
For varieties difficult to propagate from leaves, division or propagating plantlets is more reliable.
Troubleshooting
| Symptom | Cause/Solution |
|---|---|
| Leaves rot | Caused by overwatering or insufficient drying |
| Roots appear but no buds | Review temperature and light levels |
| Mold appears | Remove affected areas and move to a well-ventilated location |
Find Propagation-Friendly Succulents on GrowerDirect
On GrowerDirect, you can purchase easily propagated varieties and healthy parent plants directly from specialist growers. You can also consult with growers about propagation techniques for each variety, making propagation even more rewarding.