Tips for Successful Seed Propagation of Caudex Plants: From Sowing to First-Year Care
This guide explains the techniques for growing caudex plants from seed. It covers how to source seeds and assess their freshness, sterilization methods, growing medium composition, watering management, and a growth schedule for the first year after germination.
Key Takeaways
This guide explains the techniques for growing caudex plants from seed. It covers how to source seeds and assess their freshness, sterilization methods, growing medium composition, watering management, and a growth schedule for the first year after germination.
Related Species
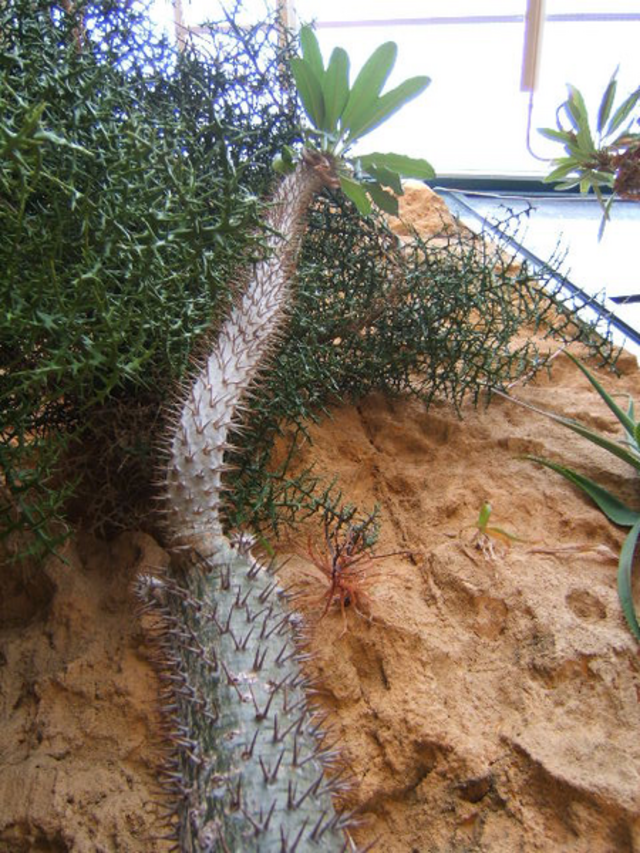
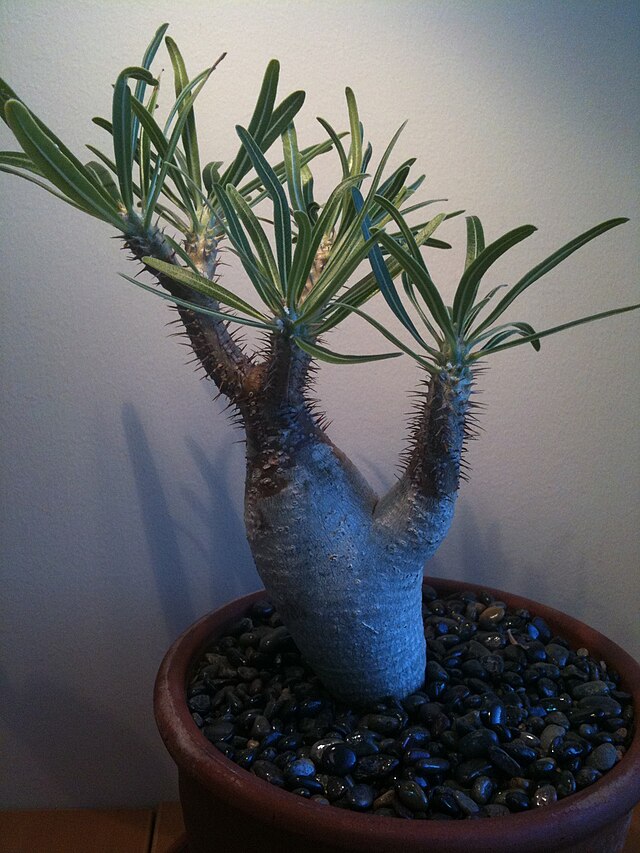
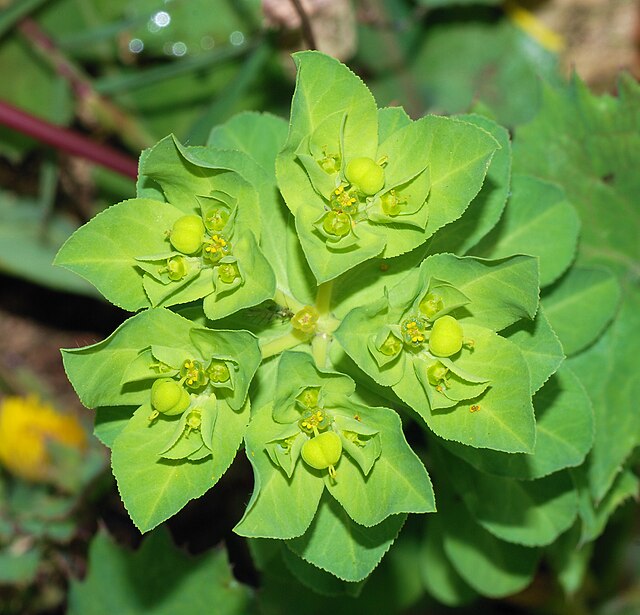
Before Attempting Caudex Seed Propagation: What You Should Know
Growing caudex plants from seed (seedling cultivation) offers a unique reward that cannot be found when purchasing established plants. The privilege of witnessing the moment of germination and observing how the caudex forms from that point onward is something only seed propagation provides.
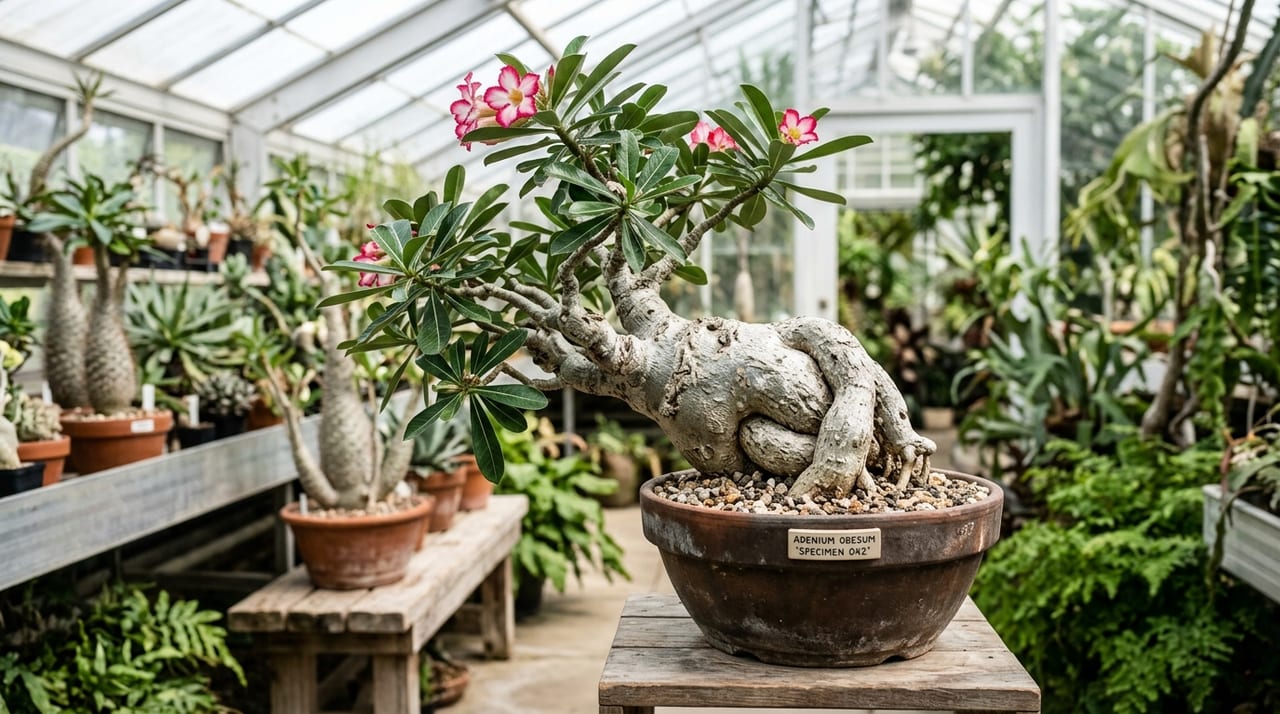
However, caudex plants such as Pachypodium, Adenium, and Euphorbia possess characteristics different from typical herbaceous flowers. Starting without understanding proper care practices can result in significantly reduced germination rates, and seedlings that do germinate may be lost entirely before the rainy season arrives.
The first thing to understand is "seed freshness." With caudex plants, freshness is critical—germination rates decline as time passes from collection. For Pachypodium gracilis, seeds collected within 6 months are considered ideal, while seeds older than a year may see germination rates drop to 30–50% or lower. Purchasing from specialty shops or growers with access to freshly collected seeds sourced locally is the first step toward higher success rates.
Pre-Sowing Preparation: Growing Medium, Containers, and Sterilization
The growing medium requires a balance of drainage and water retention. A commonly recommended composition is approximately "red ball clay (small grain) : perlite : Kanuma soil = 4:3:3," but when propagating caudex plants from seed, it is essential to use clean growing medium with all fine particles thoroughly removed. Any remaining fine particles can lead to overwatering conditions and damping off (seedling blight).
Small plastic trays or plug trays are convenient containers. The "sealed sowing" method using sealable containers like plastic boxes or ziplock bags is also effective and promotes germination while maintaining high humidity. However, sealed environments also encourage bacterial growth, so I strongly recommend sterilizing the growing medium before sowing—either by heating in a microwave or with hot water, or by moistening the medium with a diluted fungicide solution such as Benrate or Daconil.
It is also reassuring to soak the seeds themselves in a diluted fungicide solution for 1–2 hours before sowing. This "three-part system" of seed sterilization → growing medium sterilization → sealed sowing is key to minimizing early losses.
Temperature and Light Management to Promote Germination
Most caudex plants originate from Africa, Madagascar, or Central and South America, with ideal germination temperatures in the 25–35°C range. In Japan, May through August is considered the ideal sowing season, with mid-May through early June—just before the rainy season—being particularly ideal due to stable temperature and humidity.
Using a heat mat or simple heated propagation chamber is effective for ensuring stable germination. Maintaining 28–32°C typically results in Pachypodium seeds germinating 3–7 days after sowing and Adenium seeds in 2–5 days. Below 20°C, germination becomes extremely slow and the risk of being overtaken by unwanted microbes increases, so caution is warranted.
Regarding light, immediately after germination, avoid direct sunlight and provide bright shade to weak light. As the cotyledons begin to unfold, gradually increase light intensity. Newly germinated seedlings have barely any roots and are prone to drying out and dying under strong light. It is safer to gradually acclimate them using filtered light or fluorescent/LED lighting as supplementary illumination.
Watering and Fertilizing After Germination: The First Month Is Critical
The most common failure point in post-germination care is watering. While caudex plants are often thought of as "drought-tolerant," seedlings are extremely sensitive to drying. For about a month after germination, water should be supplied before the medium completely dries, maintaining a consistently moist state.
With sealed sowing, it is sufficient to mist the surface 1–2 times daily while carefully avoiding excessive drying. Once roots develop several centimeters, gradually open the lid to acclimate to ambient air and transition to normal watering practices.
Fertilization is not necessary for 2–3 weeks after germination. Once the cotyledons open and true leaves begin to appear, applying a diluted liquid fertilizer (at 2–3 times normal dilution) once per week promotes growth. Since excess nitrogen causes stretching, a balanced N-P-K fertilizer or one higher in phosphorus and potassium is preferable.
Overcoming the Rainy Season to Summer and Timing for Repotting
Japan's rainy season is the biggest challenge for caudex plants. Prolonged rain combined with excess moisture and insufficient sunlight can cause seedlings to succumb rapidly to soft rot or damping off. Basic protection involves moving plants to a sheltered eave or rain-protected location before the rainy season begins, or using a simple vinyl greenhouse to shield them from rain.
It is also important to ensure ventilation while avoiding letting the temperature drop too much. Vinyl greenhouses in particular can become too hot, so opening ventilation windows during the day is advisable. During this period, reduce watering frequency and switch to slightly drier management—watering 2–3 days after the medium dries. Prolonged intense direct sun increases the risk of leaf scorch and stem scorch, so it is best to manage light exposure gradually using shade cloth.
Repotting should be done when 4–6 true leaves have appeared and roots are visible at the base of the tray. Moving to a slightly larger pot during the vigorous growth period of July–September improves root development and accelerates caudex enlargement. To avoid damaging the roots, the cardinal rule is to carefully remove the entire soil ball and repot gently.
First-Year Seed Propagation Checklist
When evaluating seedling condition at the end of the first year, check the following points.
Caudex Enlargement: While this varies by variety, Pachypodium gracilis should develop a caudex of approximately 1–2 cm within a year. If the caudex is extremely thin and elongated, it suggests insufficient light or excess fertilizer.
Leaf Color and Firmness: Healthy seedlings display dark green leaves that are firm and turgid. Yellowing or leaf-tip dieback indicates root rot or nutrient deficiency.
Winter Preparation: As temperatures begin to fall below 15°C in autumn, gradually reduce watering; once leaves begin to drop, shift to near-complete withholding of water. Maintain plants indoors at 5°C or above during winter, keeping them nearly dry. This dormancy promotes vigorous growth in the second year and beyond.
Seed propagation requires significant effort, but the sense of attachment is equally special. A plant grown from a single seed and cultivated by your own hands holds incomparable value compared to purchased specimens. Patience and attentiveness may be the greatest secret to successful caudex seed propagation. Those interested in comparing the unique characteristics of their cultivated seedlings should also check the Top 10 Popular Caudex Plants Ranking for an overview of key species—this will help guide your selection of varieties to try next.
Related Articles
- Top 10 Popular Caudex Plants Ranking | 2026 Edition–Comprehensive Comparison of 10 Key Species — Comparison of representative species to grow from seed
- Heat Mat Guide for Caudex Plants | Root Development Promotion and Winter Warmth Management — Equipment selection for maintaining ideal germination temperatures
- Leaf and Stem Scorch Prevention for Caudex Plants | Spring Light Acclimation and Shade Management — Common principles in light adjustment for seedlings