Caudex Plant Sunburn Prevention | Spring Light Acclimation and Shade Management
Learn how to prevent leaf and stem sunburn on caudex plants. We explain the light acclimation schedule after dormancy, how to choose shade cloth density, and gradual acclimatization techniques for moving plants from indoors to outdoors.
Key Takeaways
Learn how to prevent leaf and stem sunburn on caudex plants. We explain the light acclimation schedule after dormancy, how to choose shade cloth density, and gradual acclimatization techniques for moving plants from indoors to outdoors.
Related Species
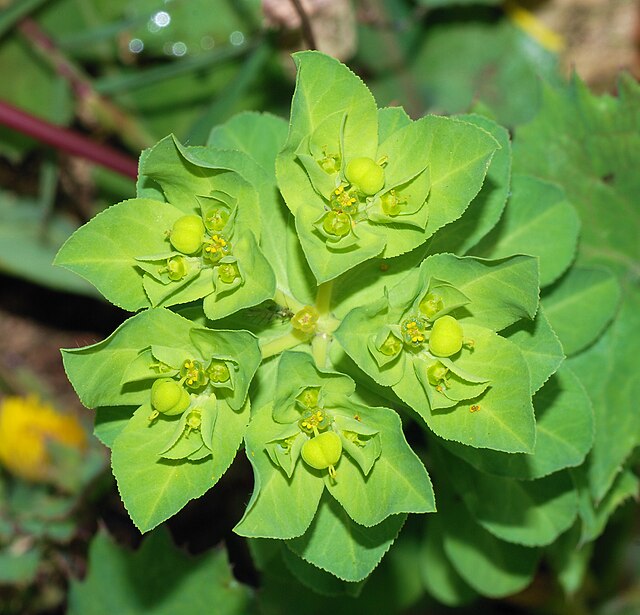
Spring's Arrival and the Risks Facing Caudex Plants
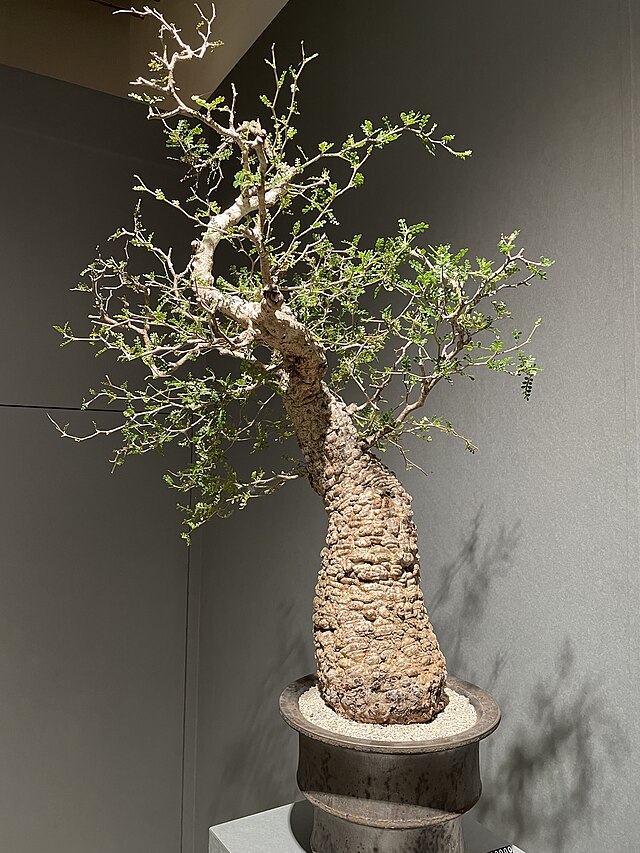
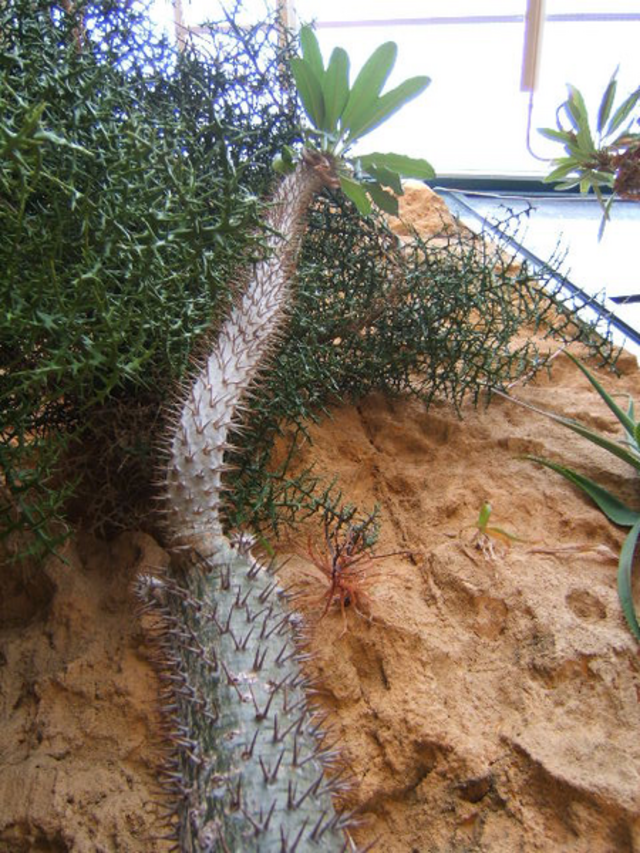
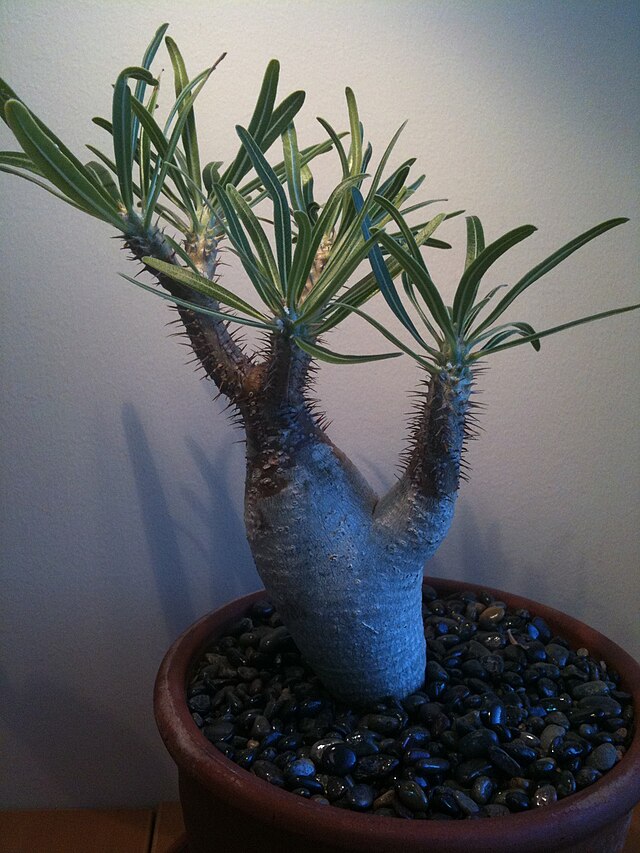
For caudex plants that have spent winter indoors, spring sunlight is a double-edged sword. Popular species like Euphorbia, Operculicarya, Adenium, and Pachypodium naturally grow under intense direct sunlight in their native habitats. However, exposing them suddenly to direct outdoor sunlight can trigger "leaf scorch" and "stem scorch." This is not just a beginner's mistake—even experienced growers repeat this accident year after year.
Leaf scorch is a phenomenon where chloroplasts are damaged by excessive light energy and heat, appearing as white to brown dry patches on the leaf surface. Stem scorch is far more serious, where the epidermal tissue of the caudex or stem dies from direct sunlight. Since scorched tissue cannot regenerate, the value of the plant itself is diminished. Correctly understanding spring light acclimation and shade management is essential for long-term caudex cultivation. The basics of daily light management are also covered in Caudex Plant Sunlight Management Guide, so it's worth reviewing alongside this.
Why Plants Scorch More Easily After Indoor Management
The fundamental cause of scorch susceptibility lies in the mechanism of "photoadaptation." Plant leaves have the ability to adjust their photosynthetic systems according to light levels. Under bright light, leaves become thicker, chlorophyll density changes, and the mechanism for dissipating excess energy as heat (heat dissipation) develops. These are called "sun leaves."
In contrast, leaves that have spent time in low-light indoor environments are in a "shade leaf" state. Chlorophyll has increased, optimizing for efficient photosynthesis even in dim light, but the defensive mechanisms against strong light are weak. When spring's intense direct sunlight hits leaves in this condition, the excess energy the plant cannot process attacks cells as reactive oxygen species, and tissues burn and die.
The intensity of direct sunlight (PAR value) in Japan in April can easily be 20–50 times stronger than indoor lighting in winter. You can see how extreme an environmental change switching suddenly to outdoor management is.
Specific Light Acclimation Steps
The acclimation period should be 2–4 weeks. Adjust based on plant condition and spring weather.
Week 1: Begin in bright shade Place outdoors in a location where direct sunlight doesn't hit, or under agricultural shade cloth (50–70% shade density). An east- or north-facing eave works fine too. Limit direct sunlight exposure to about 1–2 hours in the morning per day.
Week 2: Reduce shade density Transition to a 30–50% shade environment. Morning direct sunlight of 2–3 hours is acceptable. Continue avoiding afternoon strong light and ground reflection.
Week 3 onward: Extend direct sunlight duration If all looks well, gradually extend direct sunlight exposure. If discoloration or wilting appears on leaves or stem, go back one step. Eventually transition to sun leaves that can withstand full sun.
Nighttime temperature is also important. Don't rush outdoor management on days when nighttime temperatures drop below 15°C. The combination of low temperature and strong light easily inhibits photosynthesis and increases scorch risk.
Choosing and Installing Shade Materials
Choose shade cloth by "shade density" percentage. Commercial products come in various densities: 20%, 30%, 50%, 70%, 95%, and more.
| Shade Density | Use |
|---|---|
| 20–30% | Established plant management after acclimation completion, supplementary use when summer direct sun is too strong |
| 50% | Mid-acclimation, year-round seedling management |
| 70% | Early acclimation, recovery period immediately after repotting |
When installing, keep the material 10–20cm or more away from the plant. Direct contact between leaves and the material can cause scorching from moisture buildup and localized overheating. Also, creating airflow space above and below the cloth reduces the risk of root rot from moisture accumulation.
Agricultural shade cloth (coarse-weave agricultural fabric) offers higher air permeability than synthetic shade net and has a light-scattering effect that softens light. It's often available more cheaply at home center agricultural sections than at specialty plant shops.
Special Precautions for Preventing Stem Scorch
Stem scorch is less common than leaf scorch, but once it occurs, it's often fatal damage. Particular attention is needed for species with thick stems like Pachypodium gracilis and Operculicarya pachypus.
Three scenarios make stem scorch likely.
Sudden exposure immediately after repotting: Exposing plants to direct sun while the root system is weakened means water supply can't keep up, and stem tissue is damaged by heat. Maintain shade management for at least 2 weeks after repotting.
Long west-afternoon sun exposure: West afternoon sun after 2pm comes at a low angle and easily hits the stem's side for extended periods. Be especially careful on east-facing balconies or rooftops without shelters.
Magnification through glass: When plants are indoors near a glass window, the glass can act like a magnifying glass, concentrating light. Using curtains or window film to diffuse light is safer.
Initial symptoms of stem scorch begin with part of the stem surface discoloring to dull brown or gray. If you provide shade at this stage, you may be able to stop progression. Left untreated, tissue collapses and sinks inward, risking internal rot.
Aftercare If Scorching Occurs and Record-Keeping for Prevention
If scorching does happen, remove the scorched leaf promptly rather than leaving it. Damaged tissue is an easy entry point for fungal infections like gray mold. Let the cut surfaces dry thoroughly.
Don't forcefully cut scorched stem portions. Even if the surface is discolored, the interior may still be alive. Continue observing over 6 months to 1 year, and if growth appears, allow natural healing.
Most importantly: keep records. Note each year "when I moved plants outdoors," "how much shade I applied," and "when scorching occurred." This improves decision accuracy the following spring. Understanding the entire winter-to-spring transition together with the Complete Caudex Winter Care Guide helps you manage the annual cycle without drift.
Caudex cultivation is a long-term endeavor. Rather than rushing to apply sunlight and damaging plants, carefully managing 2–4 weeks of acclimation leads to stock cultivation over decades. Spring light is both a gift to your plant and an opportunity to showcase your skill as a caretaker.