Complete Guide to Succulent Leaf Propagation | Tips to Boost Success Rate and Care Methods
Leaf propagation of succulents is a breeding method to grow new plants from fallen leaves. Learn detailed tips for boosting success rate, from how to remove leaves, how to position them, checking for root emergence, to planting in soil.
Key Takeaways
Leaf propagation of succulents is a breeding method to grow new plants from fallen leaves. Learn detailed tips for boosting success rate, from how to remove leaves, how to position them, checking for root emergence, to planting in soil.
Related Species
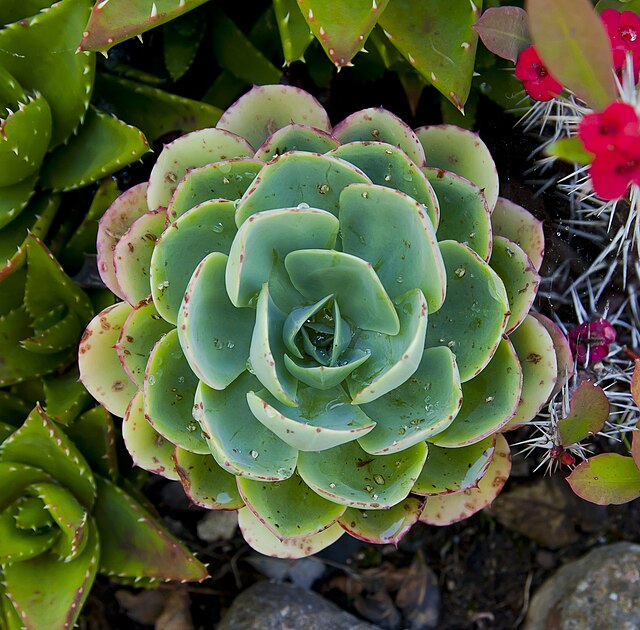
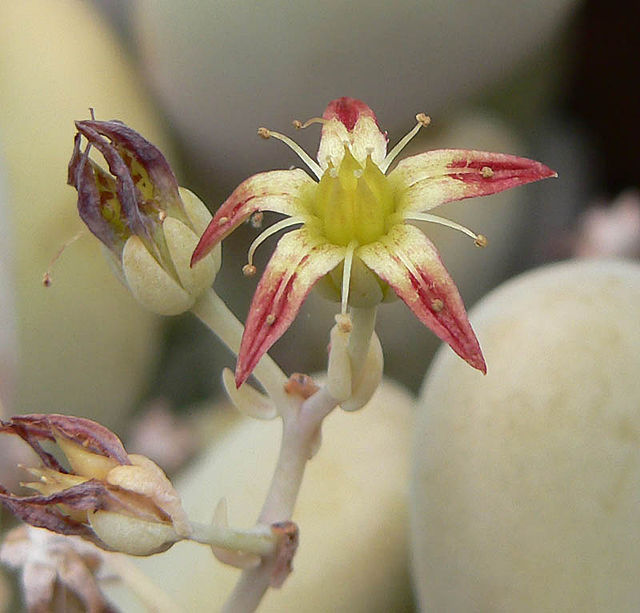
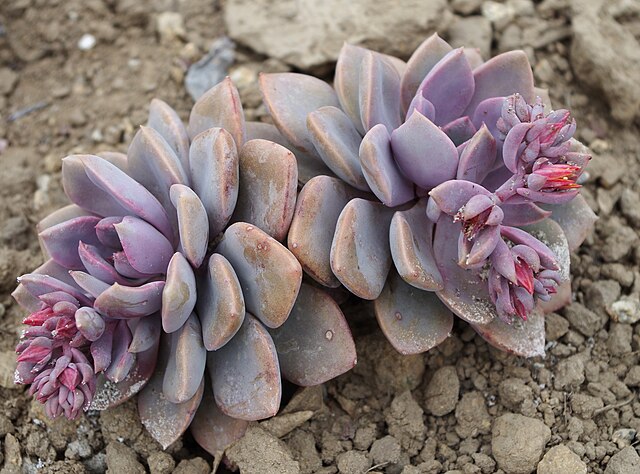
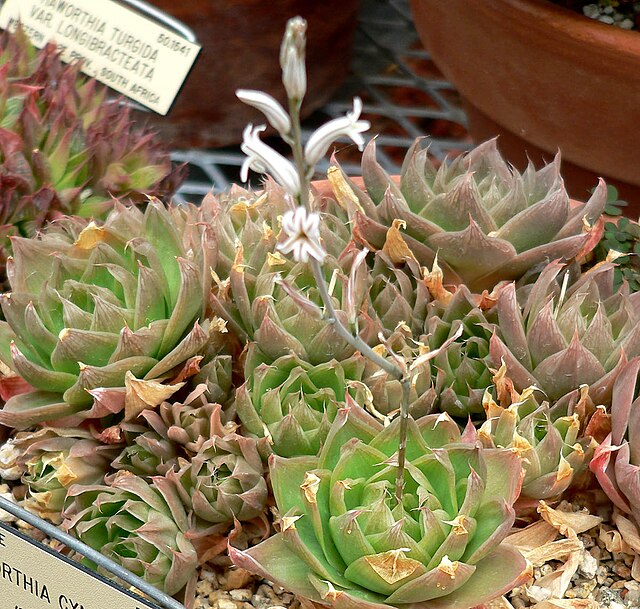
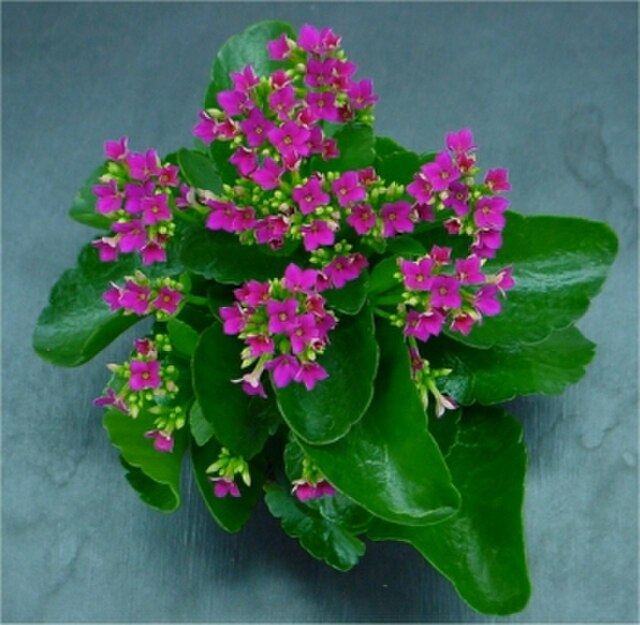
Varieties Suited and Not Suited for Leaf Propagation
Leaf propagation of succulents is a cost-free breeding method that lets you grow new plants from fallen leaves. However, not all succulents succeed with this method. Start by confirming the variety first.
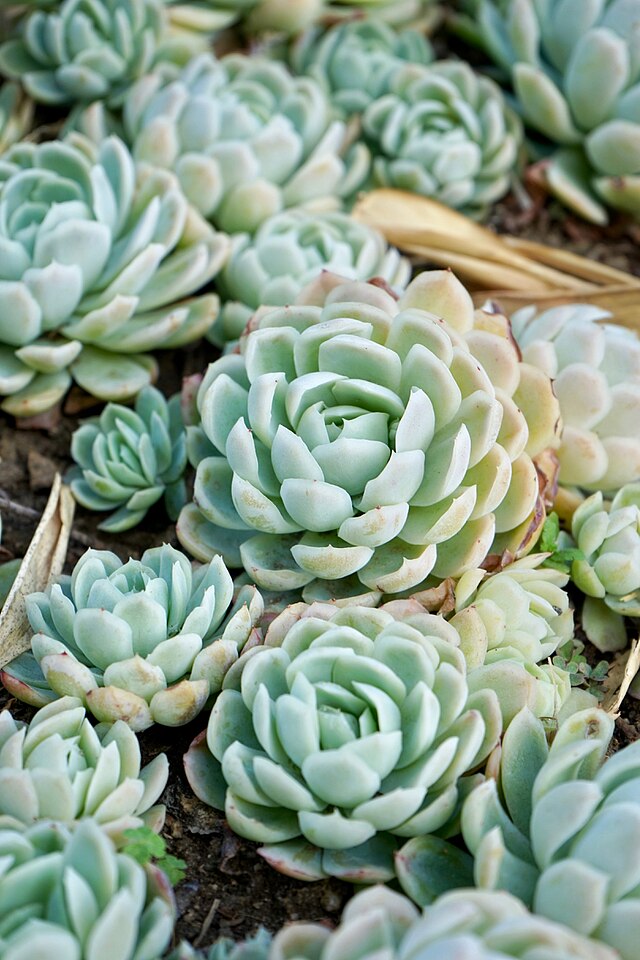
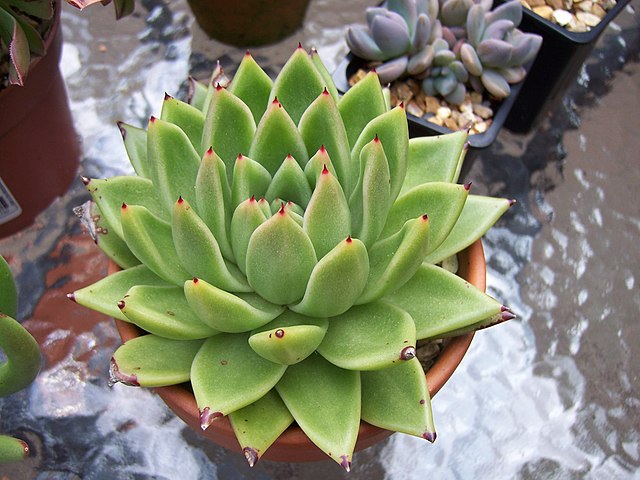
Genera well-suited for leaf propagation - Echeveria (the easiest to propagate by leaf—Echeveria agavoides in particular is a beginner-friendly choice with thick, manageable leaves) - Graptopetalum (hardy with high success rate) - Graptoveria (Echeveria × Graptopetalum hybrid) - Some Sedum species (Jade Necklace, Maiden Heart, etc.) - Pachyphytum - Some Kalanchoe species
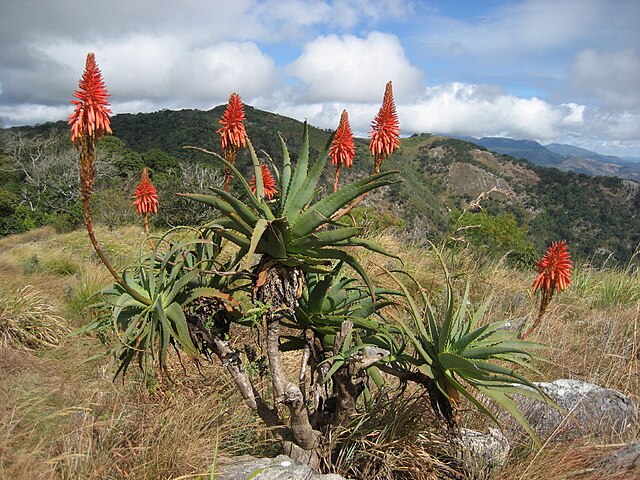
Genera not suited for leaf propagation - Haworthia (some exceptions; division or beheading are better) - Agave (large with thick leaves, but unsuitable for leaf propagation) - Aloe - Caudex plants (all succulents with caudiciform stems) - Lithops (living stones)
Getting the variety wrong means you may wait weeks without seeing roots emerge, so researching beforehand is crucial. Within Echeveria, difficult varieties like Echeveria laui and E. subsessilis tend to have lower success rates even among the same genus. Conversely, hardy varieties like Echeveria elegans are well-suited for your first leaf propagation attempts.
How to Remove Leaves | Preserving the Growth Point is Everything
The success or failure of leaf propagation is largely determined at the stage of leaf collection. The most important thing is "removing the leaf without damaging the growth point."
Correct removal method
Support the plant firmly with one hand, pinch the leaf you want to remove with your thumb and index finger, gently rock it side to side, and pull it straight out from the base of the stem. At this point, if a small white semicircular tissue (the growth point) remains at the leaf's base, you've succeeded. The growth point is the seed-like structure from which roots and new shoots emerge.
Common removal mistakes - Pulling at an angle so the leaf snaps midway → growth point is lost, no rooting occurs - Cutting the leaf with scissors → growth point won't remain, making it unusable - Leaves with insect damage, cuts, or stains → high risk of bacterial infection, lowering success rate - Leaves from diseased plants → always avoid, as you'll end up propagating pathogens too
The best time to collect leaves is early morning when it's cool. During hot daytime hours, the plant itself is stressed, making the wound prone to rot. Since heat waves have been lingering longer in recent years, if collecting during midsummer, choose early morning and immediately move the leaves to a place away from direct sunlight.
Drying and Waiting for Roots | The Courage to Resist Watering
Freshly removed leaves should not be placed on soil immediately. Waiting until the cut surface is completely dry is the most critical step to prevent decay.
Drying steps 1. Arrange the removed leaves on a clean tray or paper towel 2. Place in a bright, well-ventilated spot with no direct sunlight 3. Let dry for 1–3 days until the cut is completely dry, then proceed to the next step
How to place on soil Once drying is complete, place the leaves on the surface of a tray or shallow pot filled with succulent potting soil (or fine-grade akadama). There's no need to bury them. Ideally, the leaf's underside (growth point side) should barely touch the soil surface.
Watering management Don't water right after placing the leaves. Once roots appear, use only a light mist on the surrounding soil. "Keeping conditions on the dry side" is the golden rule for succulents, and it's especially crucial at the leaf propagation stage.
The ideal environment is a bright windowsill indoors (light filtered through sheer curtains) or an outdoor spot with bright shade away from rain. A temperature of 15–25°C is ideal, and with these conditions in place, roots will begin to emerge within 1–4 weeks.
Observing Root and Shoot Emergence and Timing for Planting
Even after roots appear, avoid rushing to plant. Timing is everything.
Root emergence to sprouting timeline 1. Thin white roots first emerge from the leaf's base (root emergence) 2. Tiny rosette-shaped new shoots then appear (sprouting) 3. The original leaf gradually shrinks and eventually falls off
This process varies greatly by variety and environment, with some taking as little as 2 weeks and others 2–3 months. Until the original leaf dies, it serves as an energy source for the new shoot, so don't forcibly remove it.
Timing for planting When the new shoot reaches 1–1.5 cm, it's ready for transplanting to an individual small pot (3–5 cm diameter).
- Fill the pot with succulent potting soil
- Make a planting hole with a bamboo stick, carefully plant without damaging the roots
- Hold off watering for 1–2 days after planting, then begin watering sparingly
- Avoid direct sunlight for the first 2–3 weeks and gradually acclimate
Season and Environment-Specific Success Strategies
"When you propagate" significantly affects success or failure.
Ideal seasons: Spring (March–May) and Fall (September–October) When succulents are actively growing, root emergence and sprouting happen quickly with the highest success rates. Spring in particular is the most reliable season for consistent results throughout the year.
Times to avoid: Midsummer (July–August) and midwinter (December–February) Midsummer's high heat and humidity cause leaves to rot easily, and even if they root, new shoots tend to rot from moisture. In midwinter, growth stops entirely, and sometimes no change occurs even after months. If you must attempt during these seasons, climate-controlled indoor care is essential.
Difficulty guide by variety - Beginner-friendly (70–90% success rate): Graptopetalum species, Echeveria agavoides, Sedum Jade Necklace - Intermediate (50–70% success rate): Echeveria elegans, all Pachyphytum species - Advanced (30–50% success rate): Echeveria laui, Colorata and other difficult species
Common Failures and How to Handle Them
As you attempt leaf propagation repeatedly, you'll encounter these stumbling blocks:
- Leaves shriveling without rooting: Likely the growth point is damaged. Start over by recollecting leaves
- Leaf cut turning black and beginning to rot: Sign of too much humidity or watering. Extend the drying period and reconsider watering frequency
- Roots emerged but no shoots appearing: During cold periods, growth may simply pause. Wait patiently until temperatures warm
Summary | Failures Are Part of Experience—Test Many to Enjoy
Leaf propagation success rates vary widely from 30–90% depending on variety, timing, and individual condition. Rather than agonizing over each single leaf, testing 10–20 leaves at once and aiming to improve overall success rate is more practical.
Successfully propagated plants are clones with identical genetics to the parent, so you can enjoy expanding your collection of favorite varieties, sharing with friends, or enriching your collection. As you get better at leaf propagation, even a single fallen leaf starts to feel precious.
By following the basics and continuing to challenge yourself, you'll develop a feel for success. Start with hardy Graptopetalum or Echeveria agavoides and experience the joy of leaf propagation yourself.